The allure of sustainable transportation is undeniable, and few projects embody this spirit more than building your own solar-powered electric car. This seemingly daunting task, however, is surprisingly achievable with careful planning, the right resources, and a healthy dose of DIY enthusiasm. Imagine the satisfaction of driving a vehicle powered entirely by the sun's energy, a testament to both ingenuity and environmental consciousness. Forget the high costs and environmental impact of traditional gasoline vehicles – this guide unlocks the potential for a truly independent and green alternative.
This project is not just about building a car; it's about understanding the intricate interplay of solar energy, electric motors, and automotive engineering. From sourcing the necessary components to mastering the complexities of electrical wiring and solar panel integration, we'll take you through every stage of the process. Ready to embark on this exciting journey? Let's dive into the step-by-step guide that will bring your dream of a DIY solar-powered electric car to life.
Preparation and Safety Guidelines
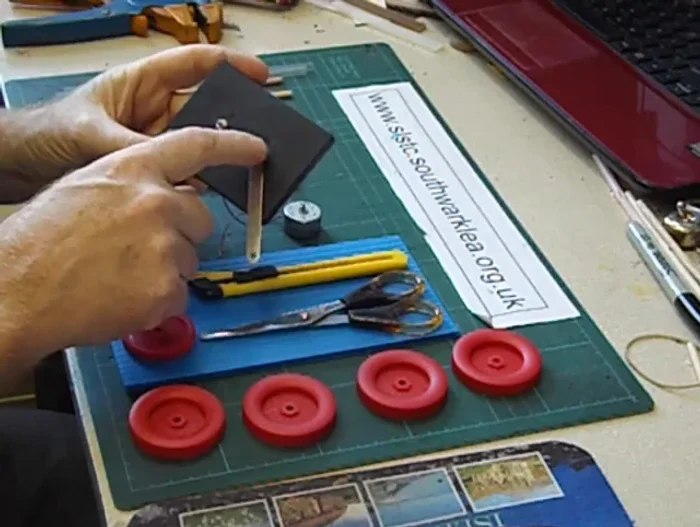
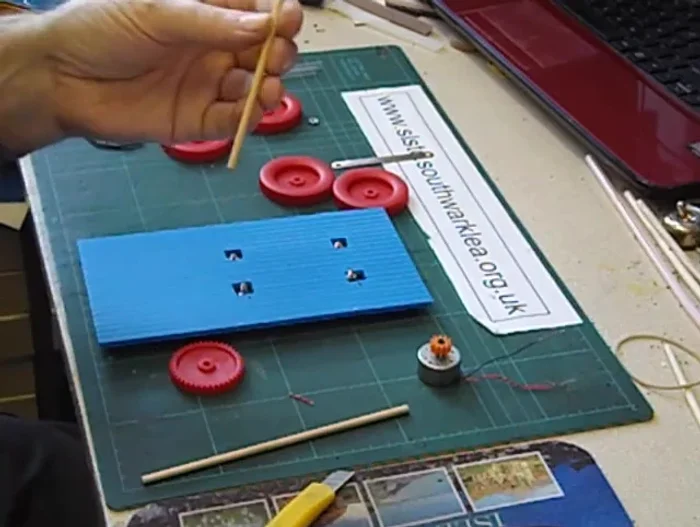
- Solar cells
- Electric motor
- Wheels and axles
- Couric's (material)
- Connectors
- Nuts
- Glue gun
- Craft knife
- Hole punch
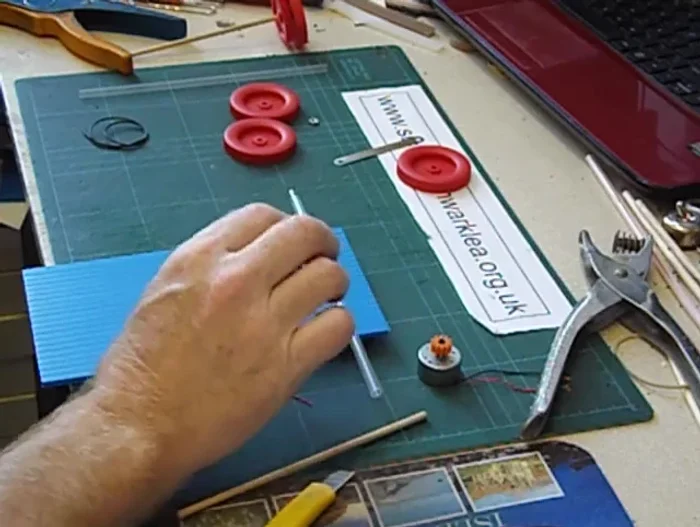
- Dowel
- Plastic straw
- Motor mount (optional)
- Soldering iron (optional)
- Pin nose pliers
- Working with electricity and high-voltage systems is extremely dangerous. Improper handling can lead to serious injury or death. If you lack experience with electrical engineering, consult a qualified professional.
- Solar panels generate DC power, while electric car motors typically require AC power. You will need an inverter to convert the DC power from your solar panels to AC power suitable for your car's motor. Incorrect wiring or use of an unsuitable inverter can damage your car's electronics and cause fires.
- The amount of power generated by solar panels is significantly limited by sunlight availability and panel efficiency. Do not expect a DIY solar-powered electric car to have the same range or performance as commercially produced electric vehicles.
Step-by-Step Instructions
Prepare Solar Panel
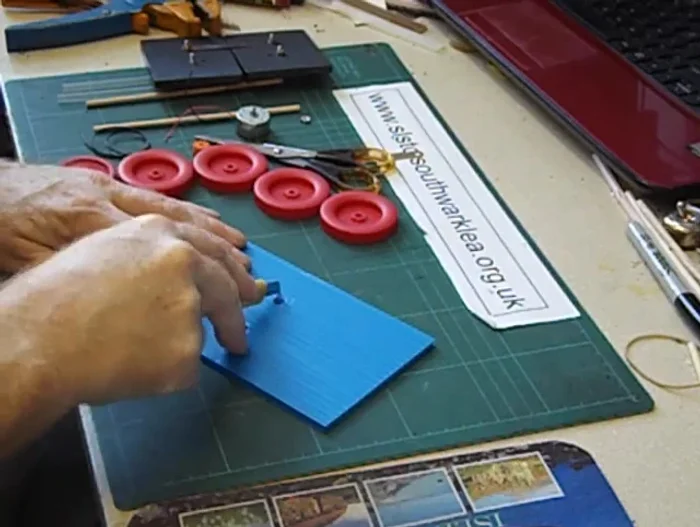
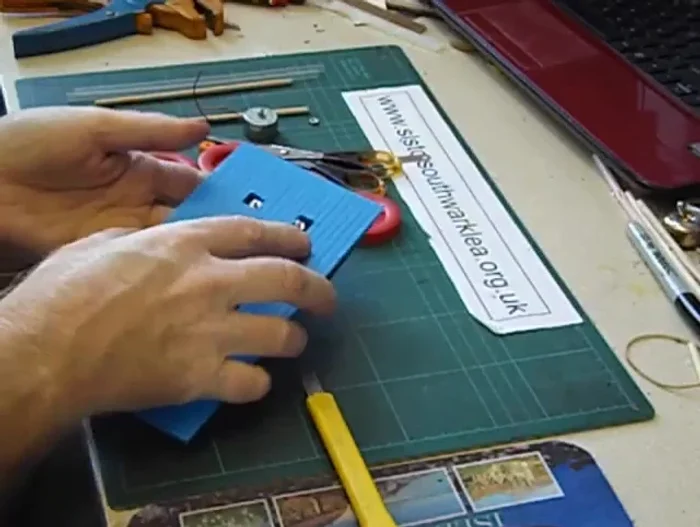
- Connect two solar cells.
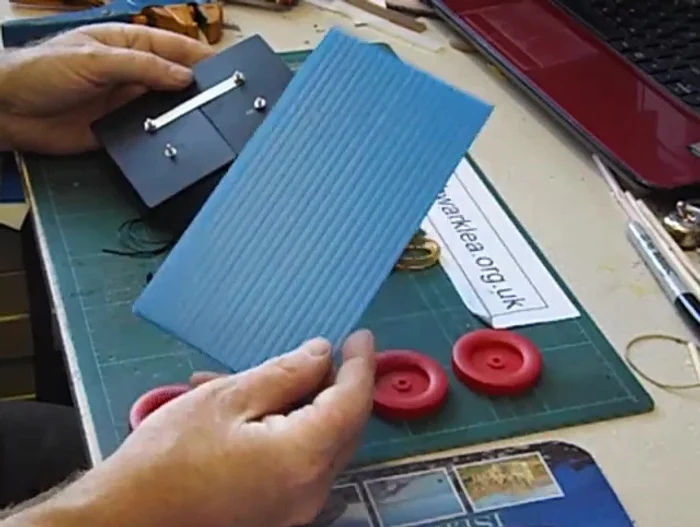
- Mount solar cells onto Couric's.
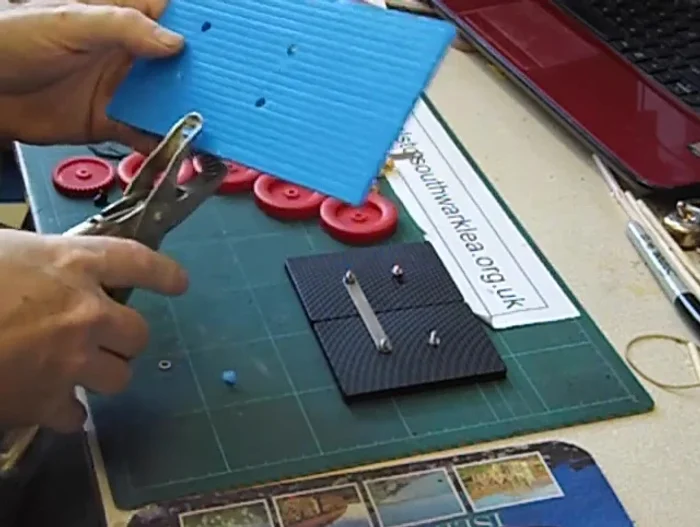
- Punch holes in Couric's for terminals.
- Enlarge holes (if needed) using a craft knife.

Prepare Solar Panel - Glue solar cells onto Couric's.
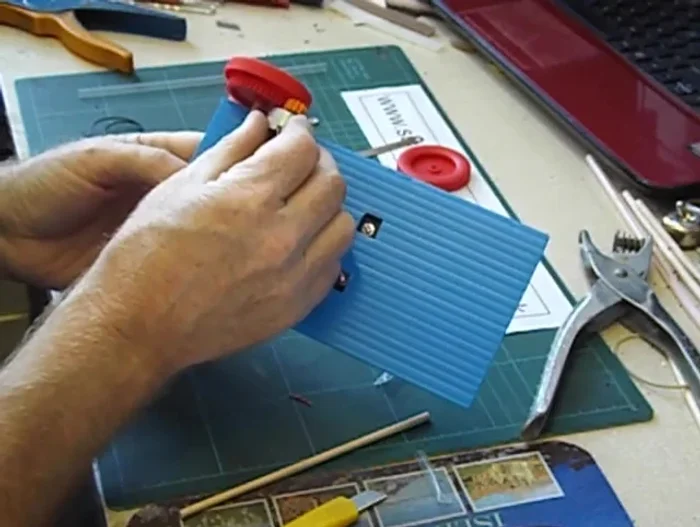
Prepare Solar Panel Prepare Electric Motor
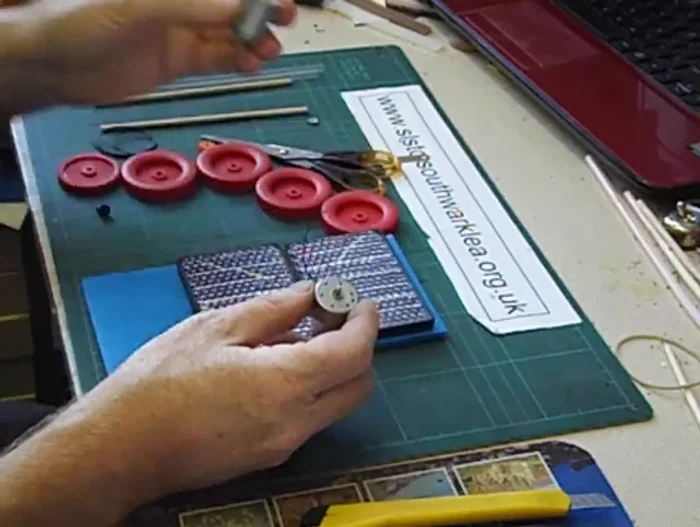
- Prepare the electric motor.
- Strip the motor wires.
Prepare Electric Motor Assemble Rear Axle
- Connect the motor to the wheel using gears and an adapter.
- Assemble the driven axle.
- Fix the driven gear to the straw using glue.
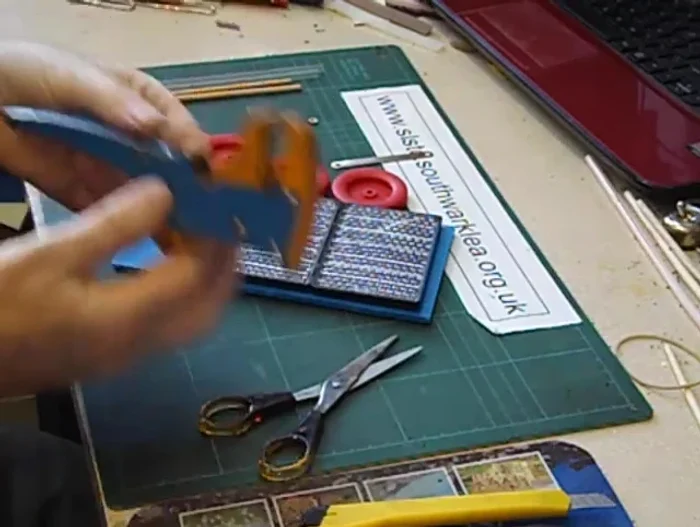
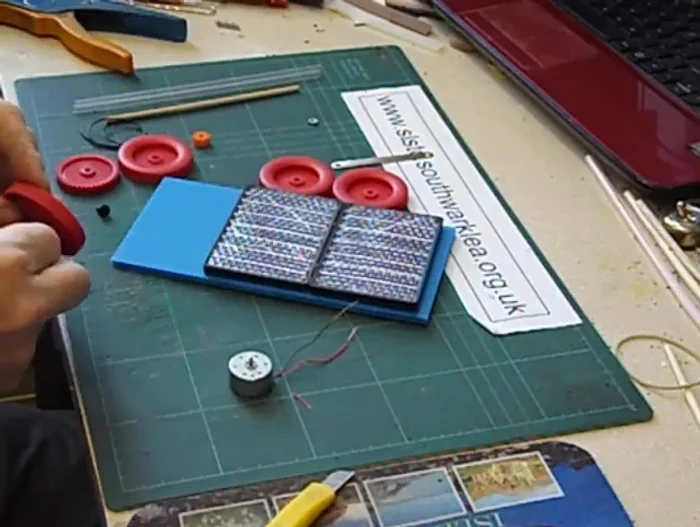
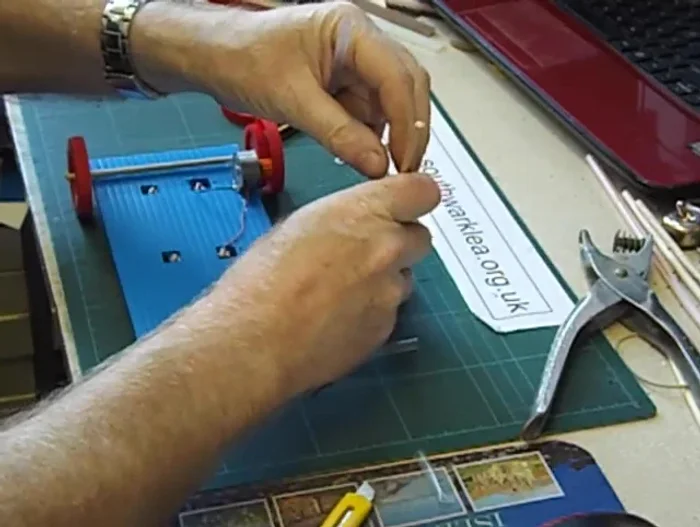
Assemble Rear Axle Mount Motor and Connect Components
- Mount the motor using glue or a motor mount.
- Connect the solar cells to the motor using nuts and wires.
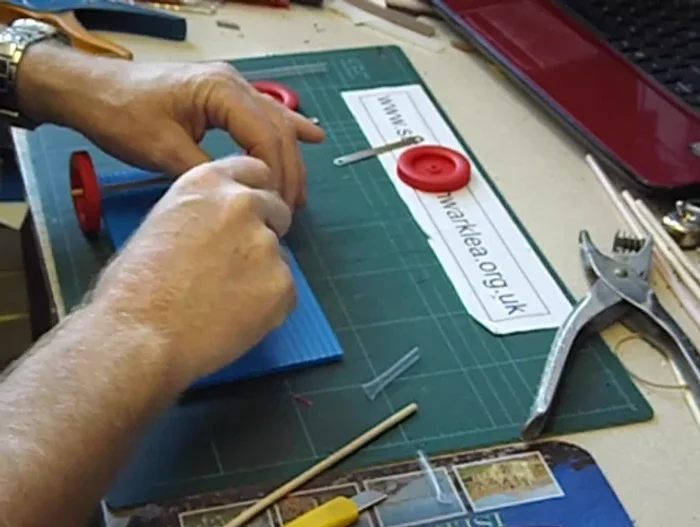
Mount Motor and Connect Components Assemble Front Axle
- Assemble the front axle.
Assemble Front Axle
Read more: Harnessing Solar Power: A Green Energy Solution
Tips
- Don't overtighten connectors on solar cells.
- Always use a cutting mat when using a craft knife.
- Use a higher wattage bulb (40W or 60W) for better results.
- Don't leave the solar car under a high-wattage bulb for too long to prevent damage.