In a world increasingly reliant on digital security, the allure of a tangible, hidden compartment for truly sensitive items remains strong. Fear not the prying eyes of houseguests or the accidental discovery by curious children – you can create your own impenetrable fortress for your most valued secrets with a DIY spy safe! This isn’t about expensive, store-bought solutions; we’re talking ingenious repurposing, clever concealment, and a dash of creative problem-solving to construct a personalized safe that blends seamlessly into your environment. Forget flimsy lockboxes and easily-guessed hiding spots.
This ultimate guide provides a comprehensive, step-by-step walkthrough to building your very own customized spy safe, from choosing the perfect hiding place and selecting the right materials to mastering the techniques that will ensure your secrets remain…well, secret. Ready to embark on this exciting project and learn the tricks of the trade? Let's dive into the detailed instructions and unlock the potential of your own covert storage solution.
Preparation and Safety Guidelines
- White cardstock
- Pen
- Fabric
- Double-sided tape
- Scissors
- Shoe
- Popsicle sticks
- Hot glue gun
- Heavy-duty scissors
- Black paint
- Sponge brush
- Paper towel
- Ruler
- Location, location, location! Choose a hiding spot that's inconspicuous but also accessible to *you*. Avoid obvious places like under the bed or in a drawer.
- Security is only as strong as its weakest link. Use strong, easily replaceable components (like locks) that are unlikely to be easily picked or bypassed.
- Never rely on a single hiding place for important items. Diversify your hiding strategy to limit losses in case one hiding spot is compromised.
Step-by-Step Instructions
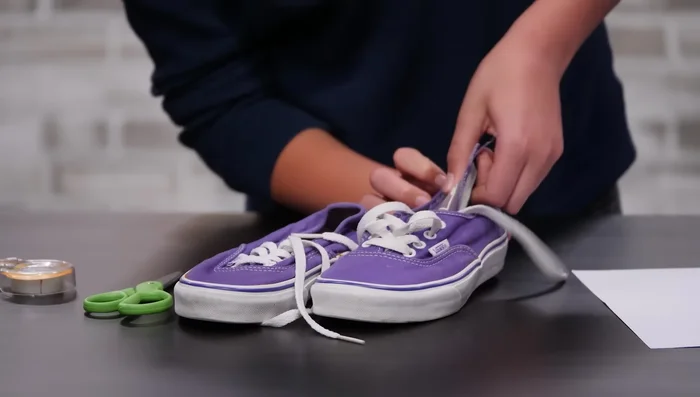
Create Hidden Message in Fake Shoe Sole
- Create a hidden message inside a fake shoe sole.
- Remove the insole of the shoe and trace it onto cardstock.
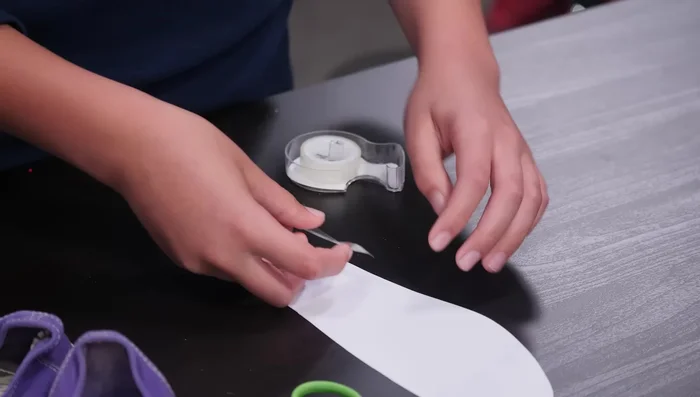
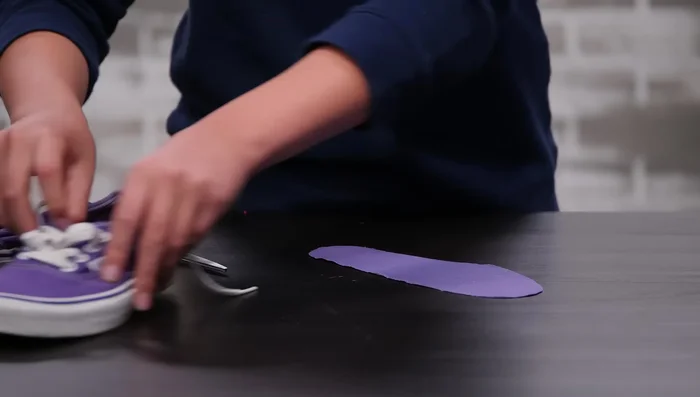
- Cut out the paper sole, cover it with double-sided tape, and attach fabric to match the shoe.
- Write your secret message on the cardstock side of the sole.

Create Hidden Message in Fake Shoe Sole - Place the fake sole back into the shoe, fabric side up.
Create Hidden Message in Fake Shoe Sole Construct Puzzle Box Safe
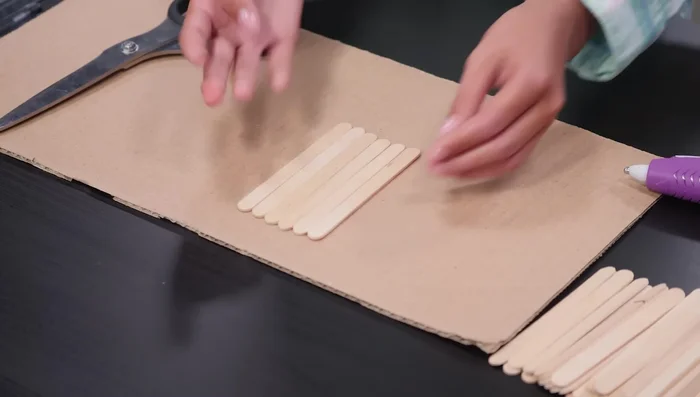
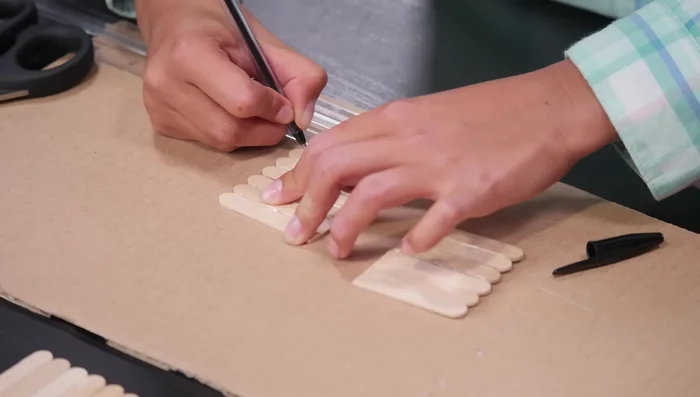
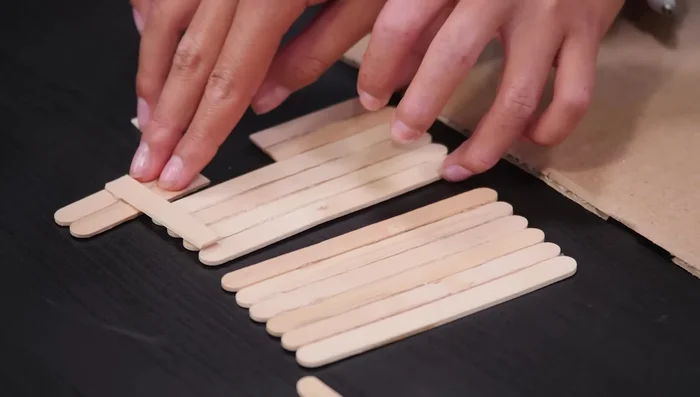
- Build a puzzle box safe.
- Glue popsicle sticks together to form the sides and top of the box.
- Create a trick latch mechanism using additional popsicle sticks.
- Assemble the box, ensuring the trick latch is incorporated.
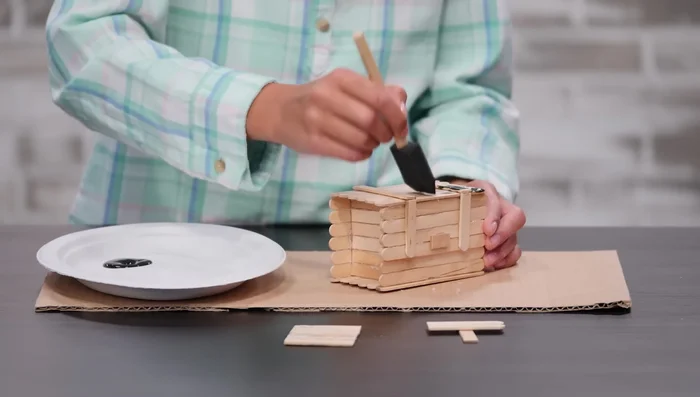
Construct Puzzle Box Safe - Paint the box black and let it dry.
Construct Puzzle Box Safe Final Assembly and Opening Mechanism
- To open, slide the t-shaped piece into place and wedge the side panel into the box. Then, pull on the t-shaped piece to open.
Read more: Boost Your Social Skills: A 10-Step Guide for Kids & Teens
Tips
- Use fabric that closely matches the color of the shoe sole for a convincing disguise.
- Make sure the glue is completely dry before handling the box to ensure the structure holds well.