The world of optics, brimming with fascinating phenomena like reflection, refraction, and dispersion, can often seem inaccessible. However, unlocking the secrets of light doesn't require expensive laboratory equipment. With a surprisingly simple kit, readily assembled from common household items or inexpensively purchased, you can perform compelling experiments that demystify these fundamental principles of light and color. Imagine bending light with a prism, creating stunning rainbows, and exploring the laws of reflection with mirrors – all from the comfort of your own home.
This article provides a detailed, step-by-step guide to conducting several engaging optics experiments, perfectly suited for both beginners and those seeking a refresher. We’ll explore each phenomenon individually, offering clear instructions and insightful explanations to solidify your understanding. Ready to delve into the captivating world of light? Let's begin with our first experiment!
Safety Guidelines
- Never look directly at the sun through any optical device, including lenses or mirrors. Permanent eye damage can result.
- Handle glass components with care to avoid cuts. If a lens or prism breaks, use appropriate cleaning tools to avoid further injury.
- Supervise children closely during all experiments and ensure they understand the safety precautions.
Methods: Laws of Reflection using a Mirror
Tools Needed
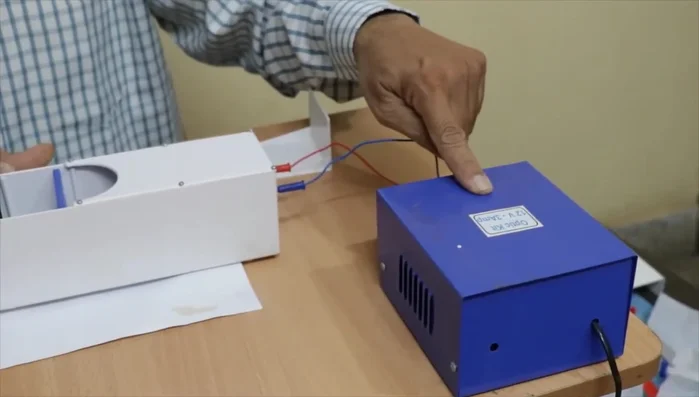
- Light source
- Condensing lens
- Mirror with protractor
- Plastic plate with single/multiple slits
Step-by-Step Instructions
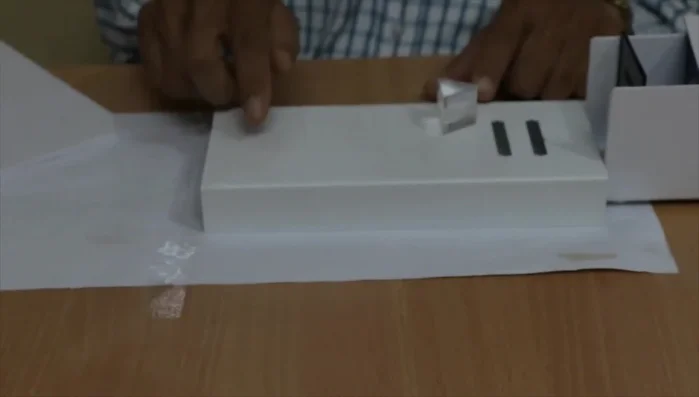
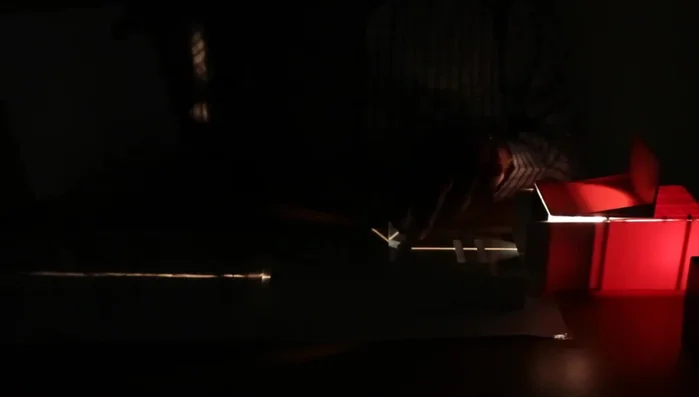
Experiment Setup
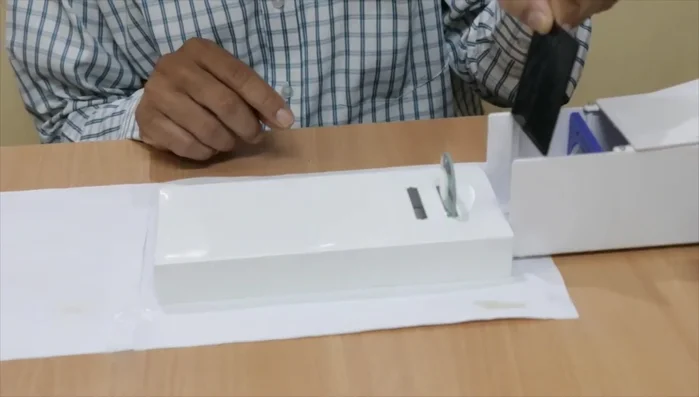
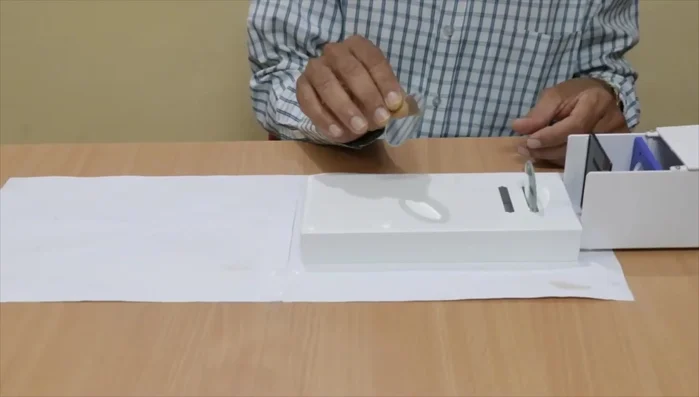
- Set up the light source, condensing lens, and mirror with protractor.
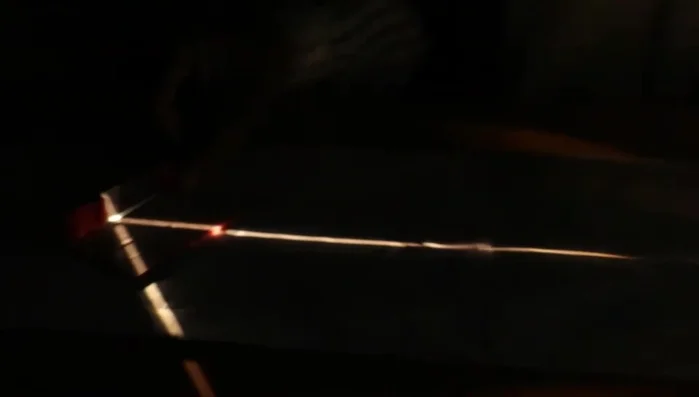
- Place the plastic plate with a single slit to create a single ray of light.

Experiment Setup Law of Reflection Verification
- Adjust the mirror to different angles (e.g., 20, 30, 40 degrees).
- Observe and measure the angles of incidence and reflection to verify the law of reflection.
Law of Reflection Verification
Tips
- Ensure the mirror is properly positioned and the incident ray is accurately aligned.
Methods: Focal Point Determination using Concave and Convex Mirrors
Tools Needed
- Light source
- Condensing lens
- Plastic plate with three slits
- Concave mirror
- Convex mirror
Step-by-Step Instructions
Setup for Ray Experiments
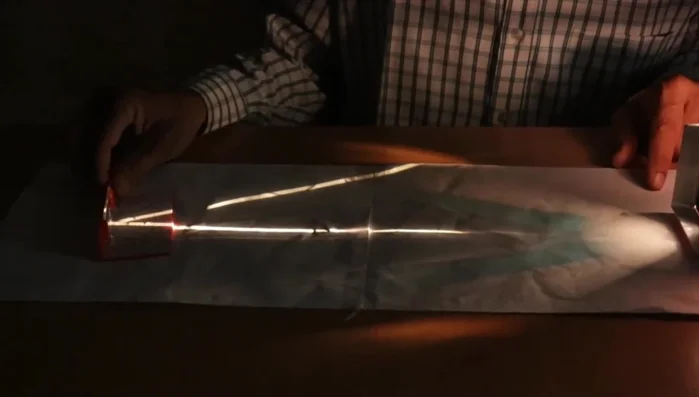
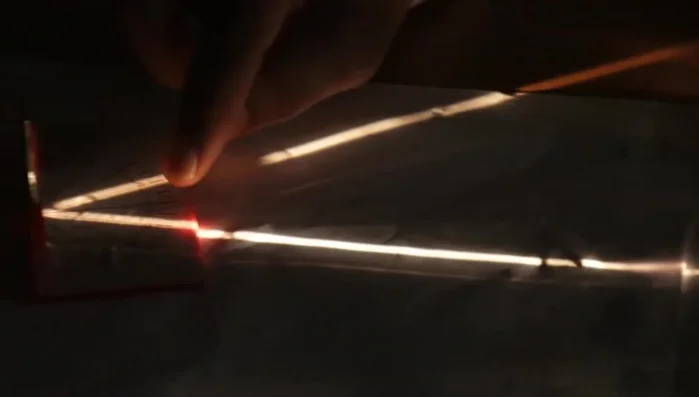
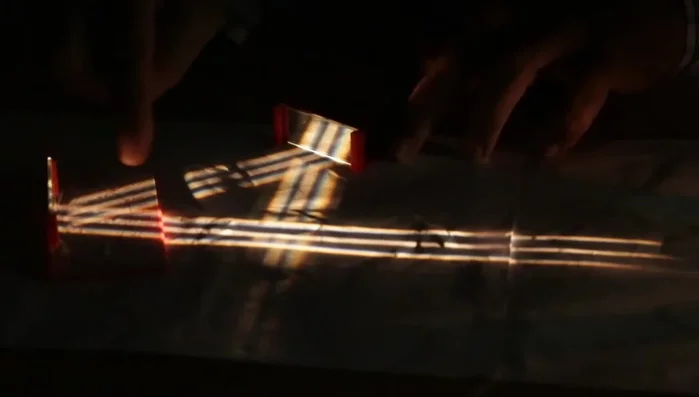
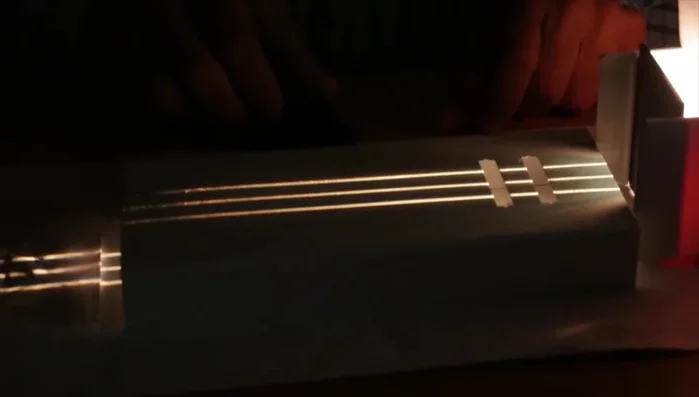
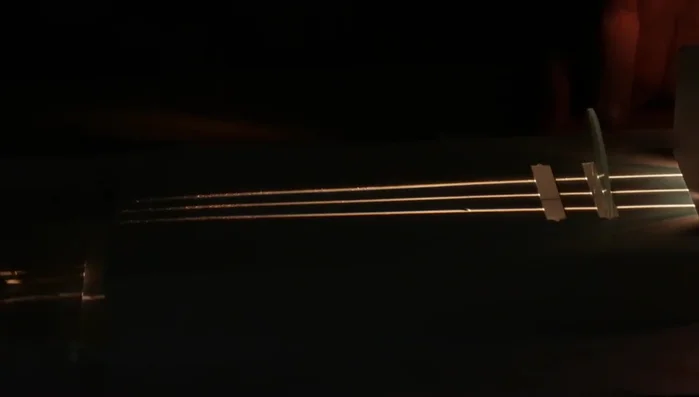
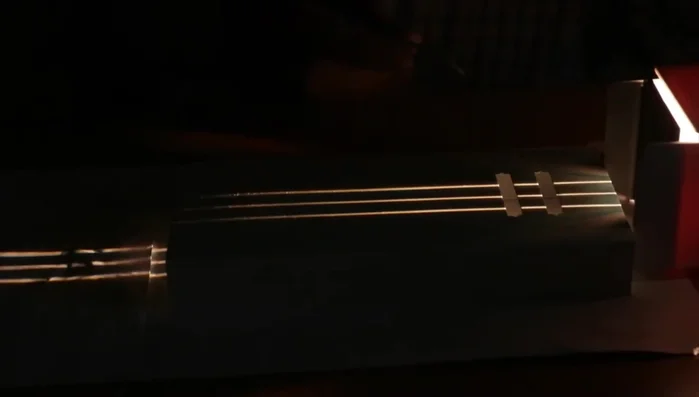
- Set up the light source, condensing lens, and plastic plate with three slits to create parallel rays.
Setup for Ray Experiments Focal Point Determination with Concave Mirror
- Place the concave mirror in the path of the parallel rays.
- Observe the convergence of the rays at the focal point.
Focal Point Determination with Concave Mirror Focal Point Determination with Convex Mirror
- Repeat the process with a convex mirror and observe the divergence of the rays.
Focal Point Determination with Convex Mirror


Tips
- Adjust the mirror's position to clearly see the focal point or divergence pattern.
Methods: Convergence and Divergence using Convex and Concave Lenses
Tools Needed
- Light source
- Condensing lens
- Plastic plate with three slits
- Thick convex lens
- Thin convex lens
- Thick concave lens
- Thin concave lens
Step-by-Step Instructions
Experimental Setup
- Set up the light source, condensing lens, and plastic plate with three slits.
Experimental Setup Convergence with Convex Lenses
- Place a thick convex lens in the path of the rays and observe the convergence.
- Repeat with a thin convex lens and note the difference in focal length.
Convergence with Convex Lenses Divergence with Concave Lenses
- Place a thick concave lens in the path of the rays and observe the divergence.
- Repeat with a thin concave lens and note the difference in divergence.
Divergence with Concave Lenses

Tips
- Carefully measure the focal length of the lenses to compare the effects of thickness.
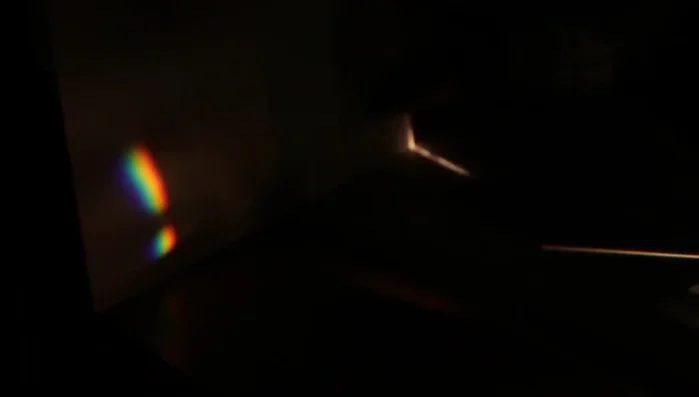
Methods: Dispersion of Light using a Prism and Rainbow Formation
Tools Needed
- Light source
- Equilateral prism
- White sheet
Step-by-Step Instructions
Setting up the experiment for dispersion
- Set up the light source and place the equilateral prism in the path of the light.
Setting up the experiment for dispersion Observing Rainbow Formation
- Observe the dispersion of light into its constituent colors (rainbow formation).
Observing Rainbow Formation Recombining the colors
- Place a second prism in the path of the dispersed light to recombine the colors into white light.
Recombining the colors
Tips
- Adjust the prism's angle to achieve optimal dispersion and rainbow formation.
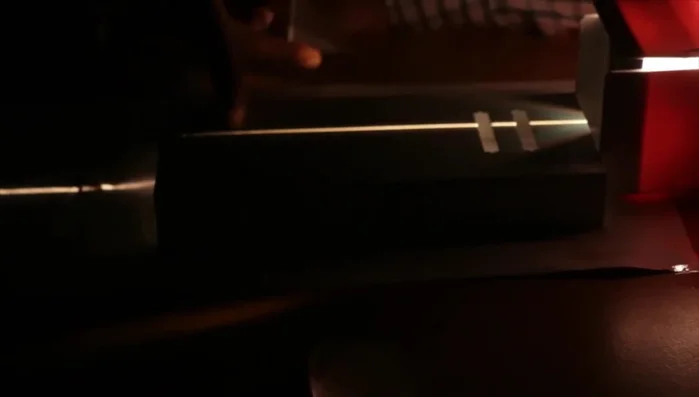
Methods: Internal Reflection and Rainbow Formation using a Right-Angle Prism
Tools Needed
- Light source
- Right-angle prism
Step-by-Step Instructions
Experimental Setup for Internal Reflection
- Set up the light source and place the right-angle prism in the path of the light.
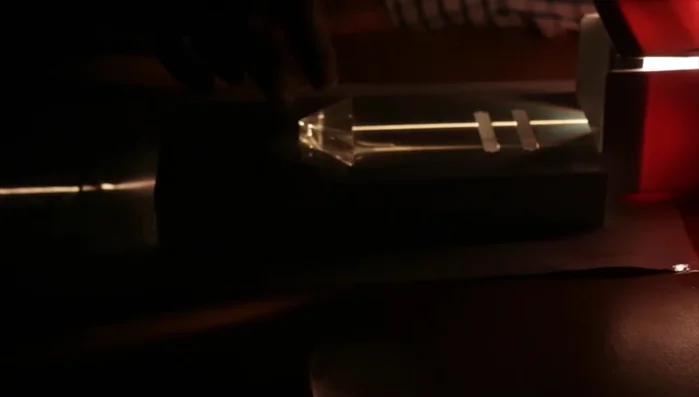
Experimental Setup for Internal Reflection Demonstrating Internal Reflection
- Observe the internal reflection of the light within the prism, resulting in the light exiting parallel to the incident ray.
Demonstrating Internal Reflection Rainbow Formation using Internal Reflection and Dispersion
- Illustrate rainbow formation by showing how the light bends, reflects internally, and disperses upon exiting the prism.
Rainbow Formation using Internal Reflection and Dispersion

Tips
- The right-angle prism demonstrates how internal reflection within a water droplet contributes to rainbow formation.
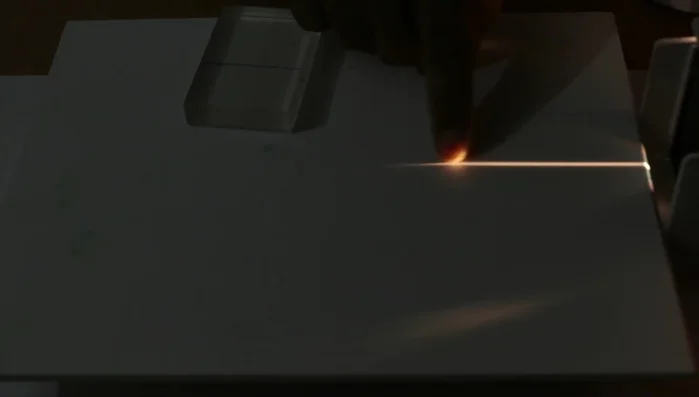
Methods: Refractive Index Determination using an Acrylic Slab
Tools Needed
- Light source
- Acrylic slab
- Protractor
Step-by-Step Instructions
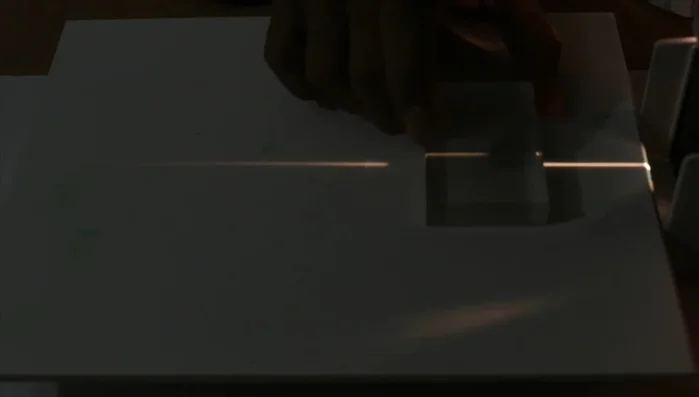
Experimental Setup
- Set up the light source and place the acrylic slab in the path of the light.
Experimental Setup Perpendicular Ray Observation
- Observe how a ray passing perpendicular to the slab's surface goes straight through.
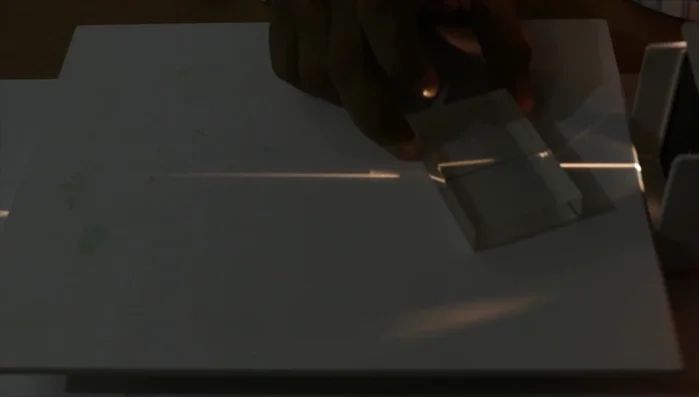
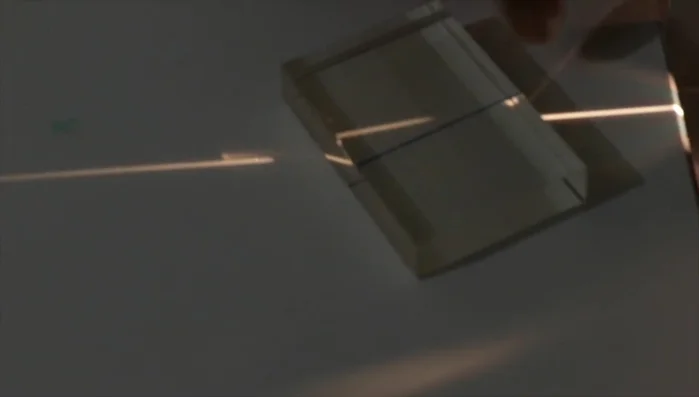
Perpendicular Ray Observation Oblique Ray Observation
- Tilt the slab or the light source to create an angle of incidence and observe the refraction of light.
Oblique Ray Observation Refractive Index Calculation
- Measure the angles of incidence and refraction using a protractor to calculate the refractive index of the acrylic material.
Refractive Index Calculation
Tips
- Accurate measurement of angles is crucial for calculating the refractive index.