Harness the power of the sun and embark on a thrilling journey into the world of robotics! Building your own solar-powered robot is not only a fun and rewarding project, but also a fantastic way to learn about renewable energy, electronics, and mechanical engineering. This exciting endeavor combines creativity with practical skills, allowing you to design and construct a unique machine that operates solely on sunlight. Imagine the satisfaction of seeing your creation move and function, entirely powered by the sun's energy – a testament to your ingenuity and a small step towards a more sustainable future.
This comprehensive guide provides a step-by-step approach to building your very own solar-powered robot, from selecting the right components to assembling the final product. Whether you're a seasoned robotics enthusiast or a curious beginner, this detailed process will equip you with the knowledge and confidence to bring your robotic vision to life. Let's get started!
Safety Guidelines
- Always disconnect the solar panel and battery before making any modifications or repairs to your robot. Electricity can be dangerous.
- Use appropriate safety glasses when working with soldering irons or other tools that could cause eye injury.
- Ensure all wiring is properly insulated and securely connected to prevent shorts and fires. Avoid loose wires or exposed connections.
Methods: Building the Basic Solar Robot
Tools Needed
- Solar-powered robot kit
- Angled wire cutters
- File (or sandpaper)
Step-by-Step Instructions
Prepare the Parts
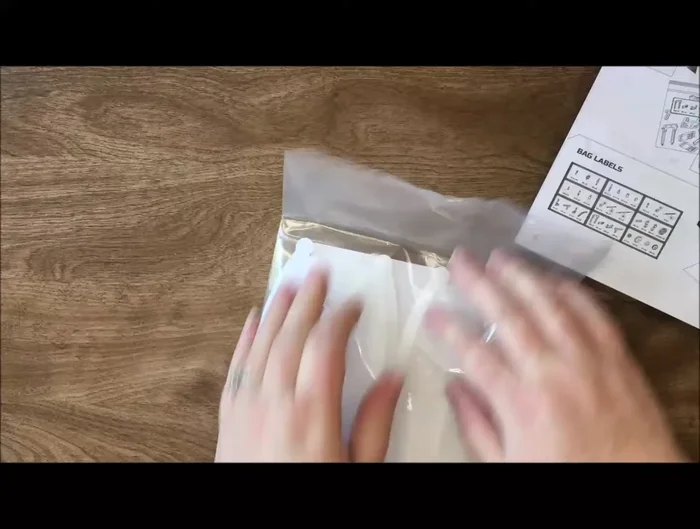
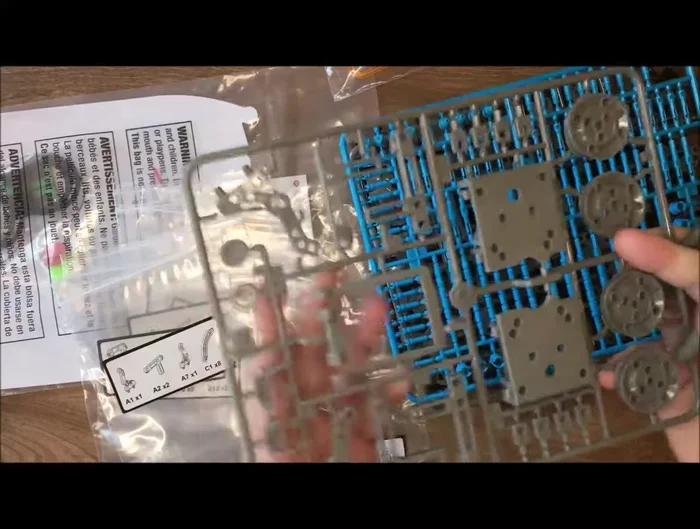
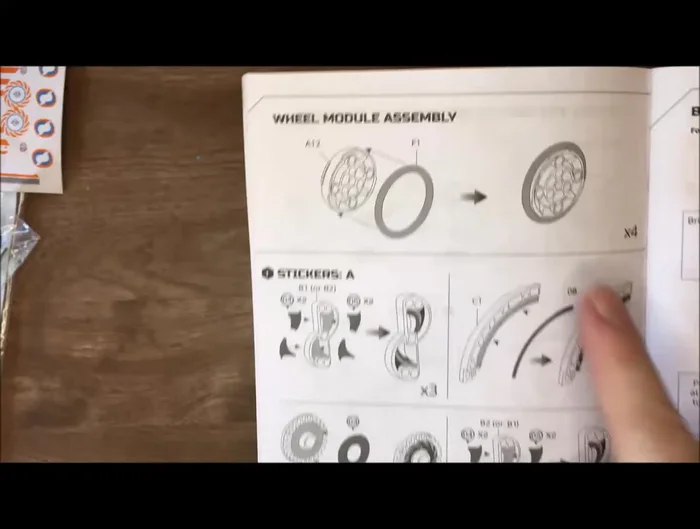
- Label all nine bags with the provided stickers.
- Carefully cut out all plastic pieces from the sheets, using angled cutters. File down any rough edges.

Prepare the Parts Assemble the Robot Body
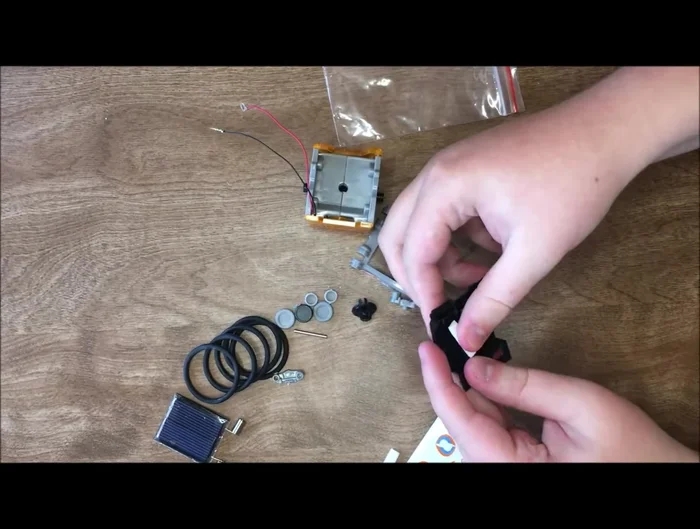
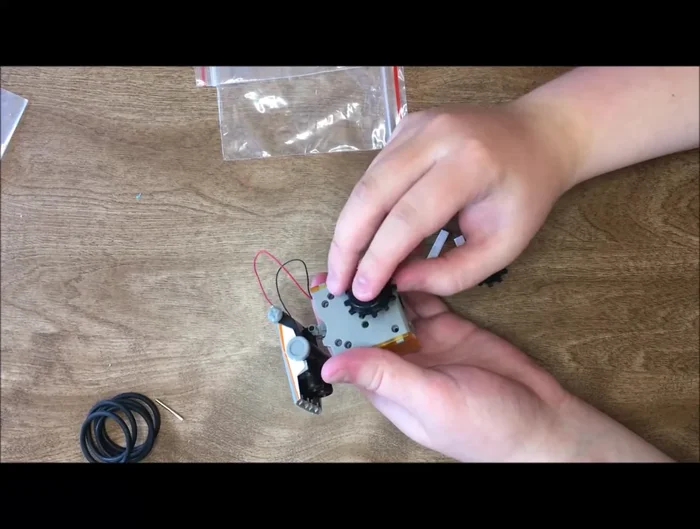
- Assemble the base of the robot, including the wheels, motor, and gear assembly. Ensure wires are neatly tucked away.
Assemble the Robot Body Decorate the Body
- Apply stickers to the robot's body.
Decorate the Body Attach the Solar Panel and Head
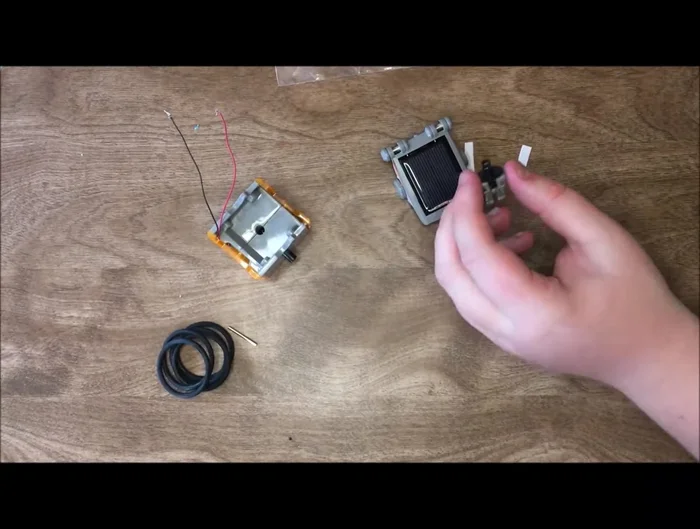
- Attach foam pads to the head base, then place the solar panel on top, securing it with the foam.
- Assemble the neck and attach the head to the base, connecting the wires (red to positive, black to negative).
Attach the Solar Panel and Head Final Assembly and Testing
- Attach the wheels to the robot's base. Test the robot in sunlight to ensure functionality; if it doesn't move, check the gray piece is fully inserted.
Final Assembly and Testing Finishing Touches
- Add final stickers and rubber band treads to complete the robot.
Finishing Touches


Tips
- Double-check the instruction manual and bag labels frequently to ensure you have the correct pieces.
- It's faster to have two people work on cutting and filing the parts simultaneously.
- When assembling the neck, it's easier to attach the head with only one gray piece initially.