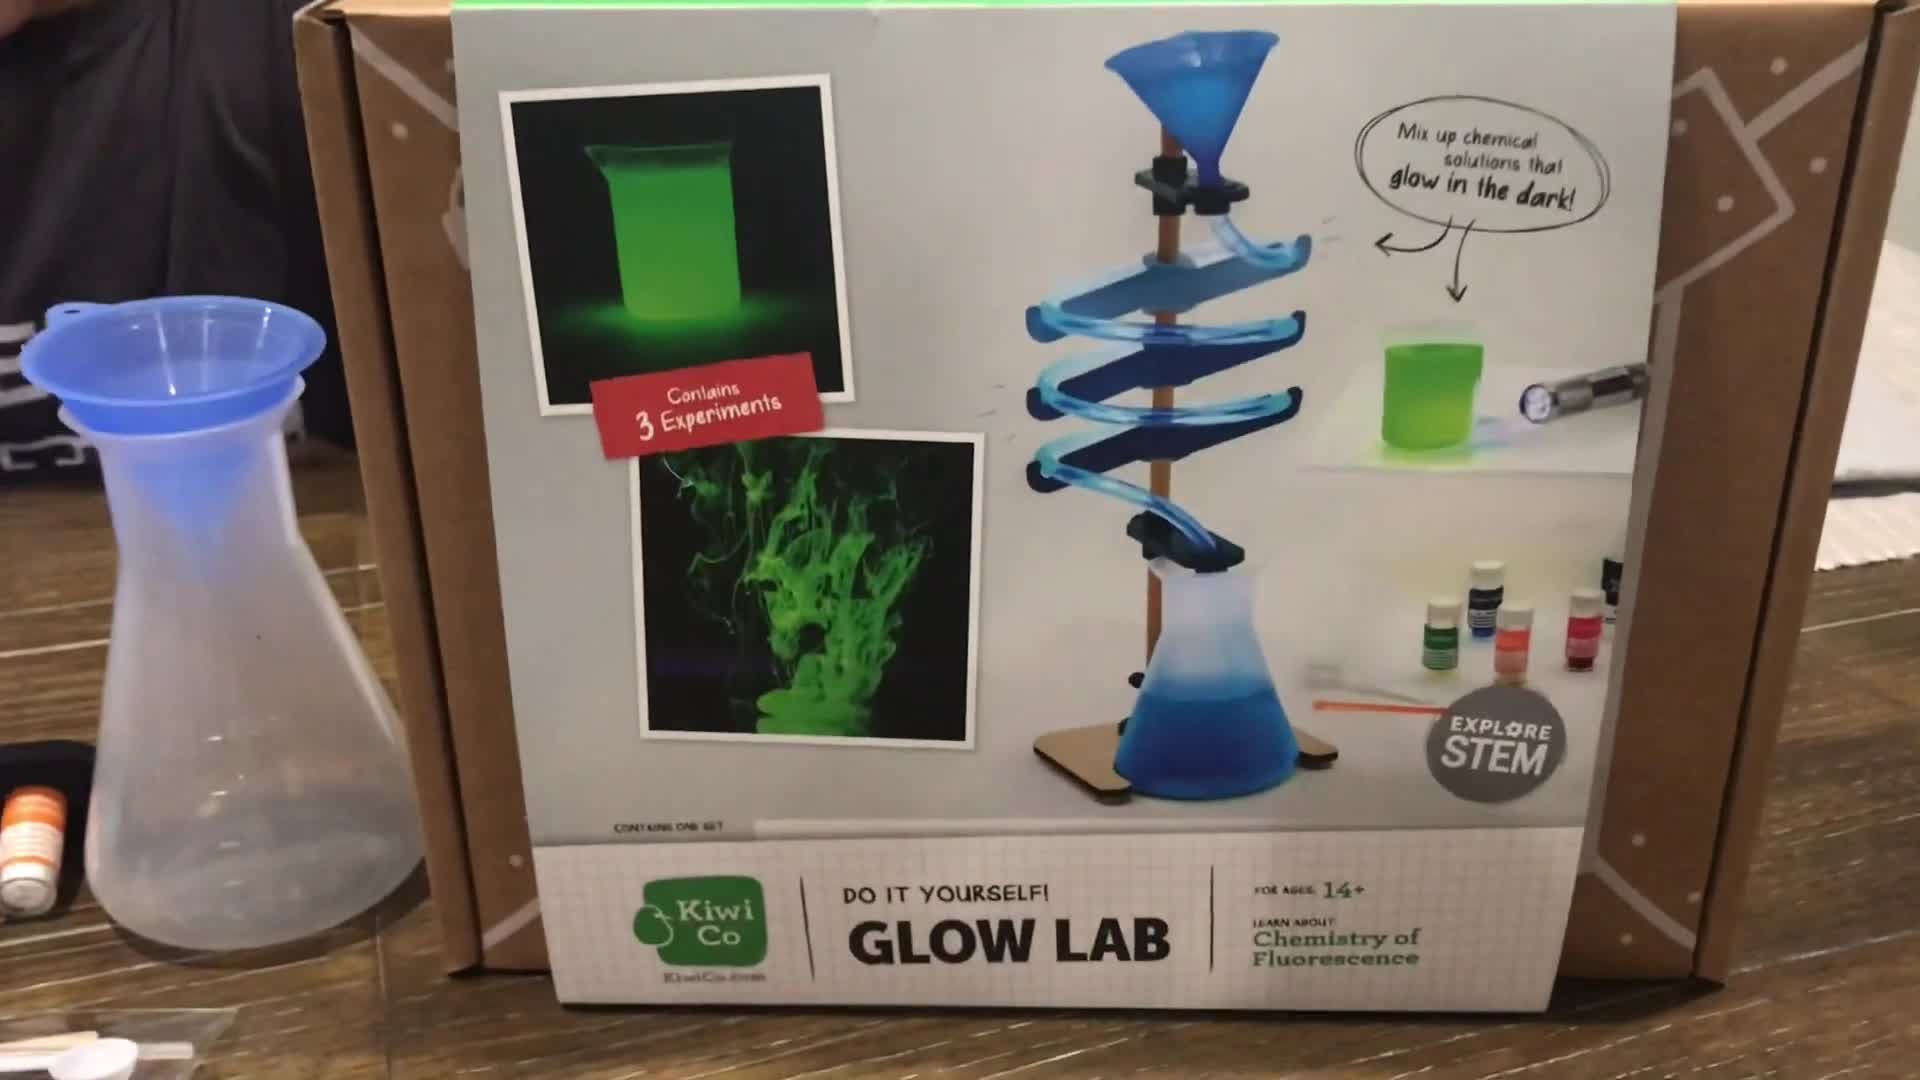
This review explores the My Glow Lab science kit, designed to provide teens with a fun and educational experience in the world of chemistry and light. We delve into the ease of assembly, highlighting both the straightforward aspects and the minor challenges encountered during setup. The focus is on the hands-on experiments, detailing the processes involved and the visually striking results achieved using fluorescein and zinc sulfide. We examine the clarity of the instructions and offer suggestions for improvement.The review assesses the effectiveness of the kit in demonstrating key scientific concepts such as fluorescence and phosphorescence. The visual impact of each experiment is described, comparing and contrasting the glowing effects of the two chemical substances. Ultimately, we determine the overall value and enjoyment derived from the My Glow Lab kit, considering its suitability for anyone seeking an engaging and rewarding hands-on science project.
Pros And Cons
- Do-it-yourself science kit.
- Includes materials for multiple experiments.
Read more: Smartivity Magic of Science Kit Review: 50+ Engaging Experiments for Kids
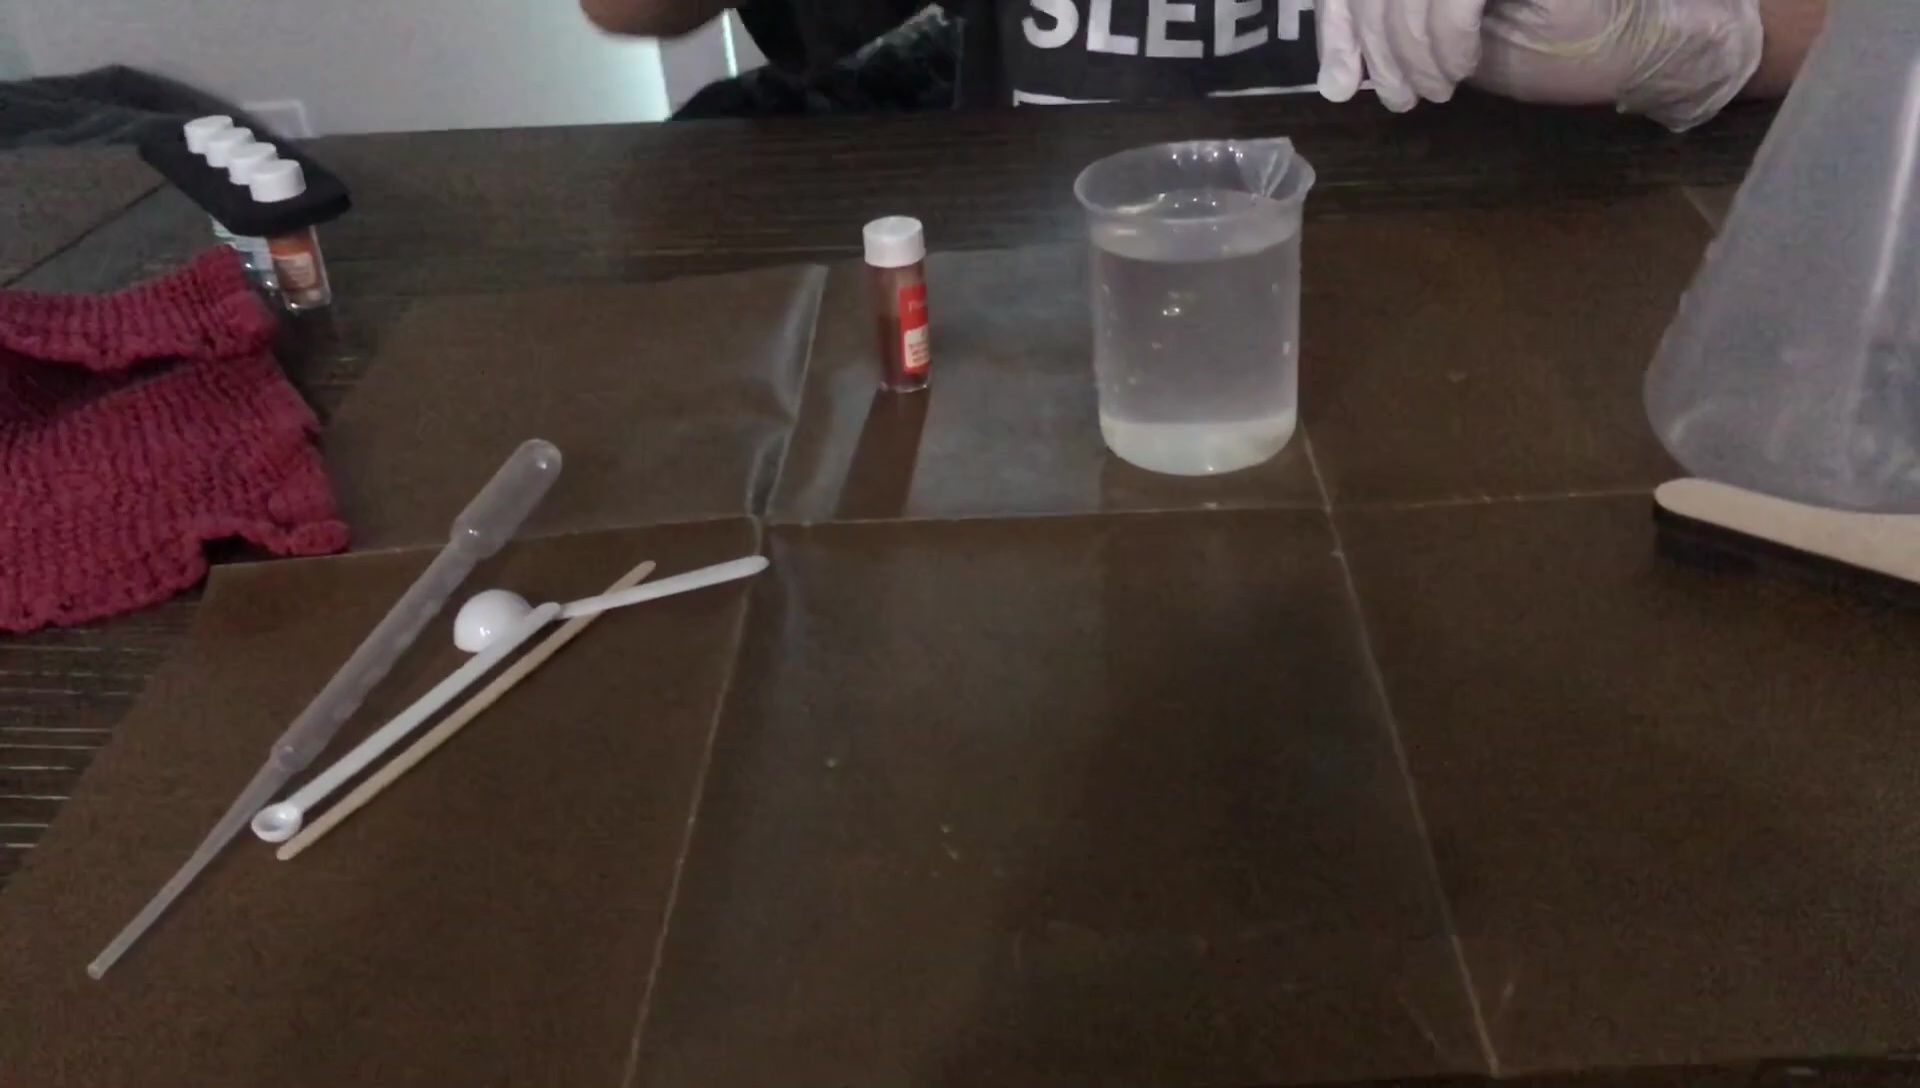
Unboxing and Assembly
The My Glow Lab kit arrived well-packaged. Assembly was relatively straightforward, although the instructions could benefit from clearer diagrams. The various components – base plate, tubes, clips, and flask – fit together easily once I understood the process. Paying close attention to the numbered components is crucial for success.

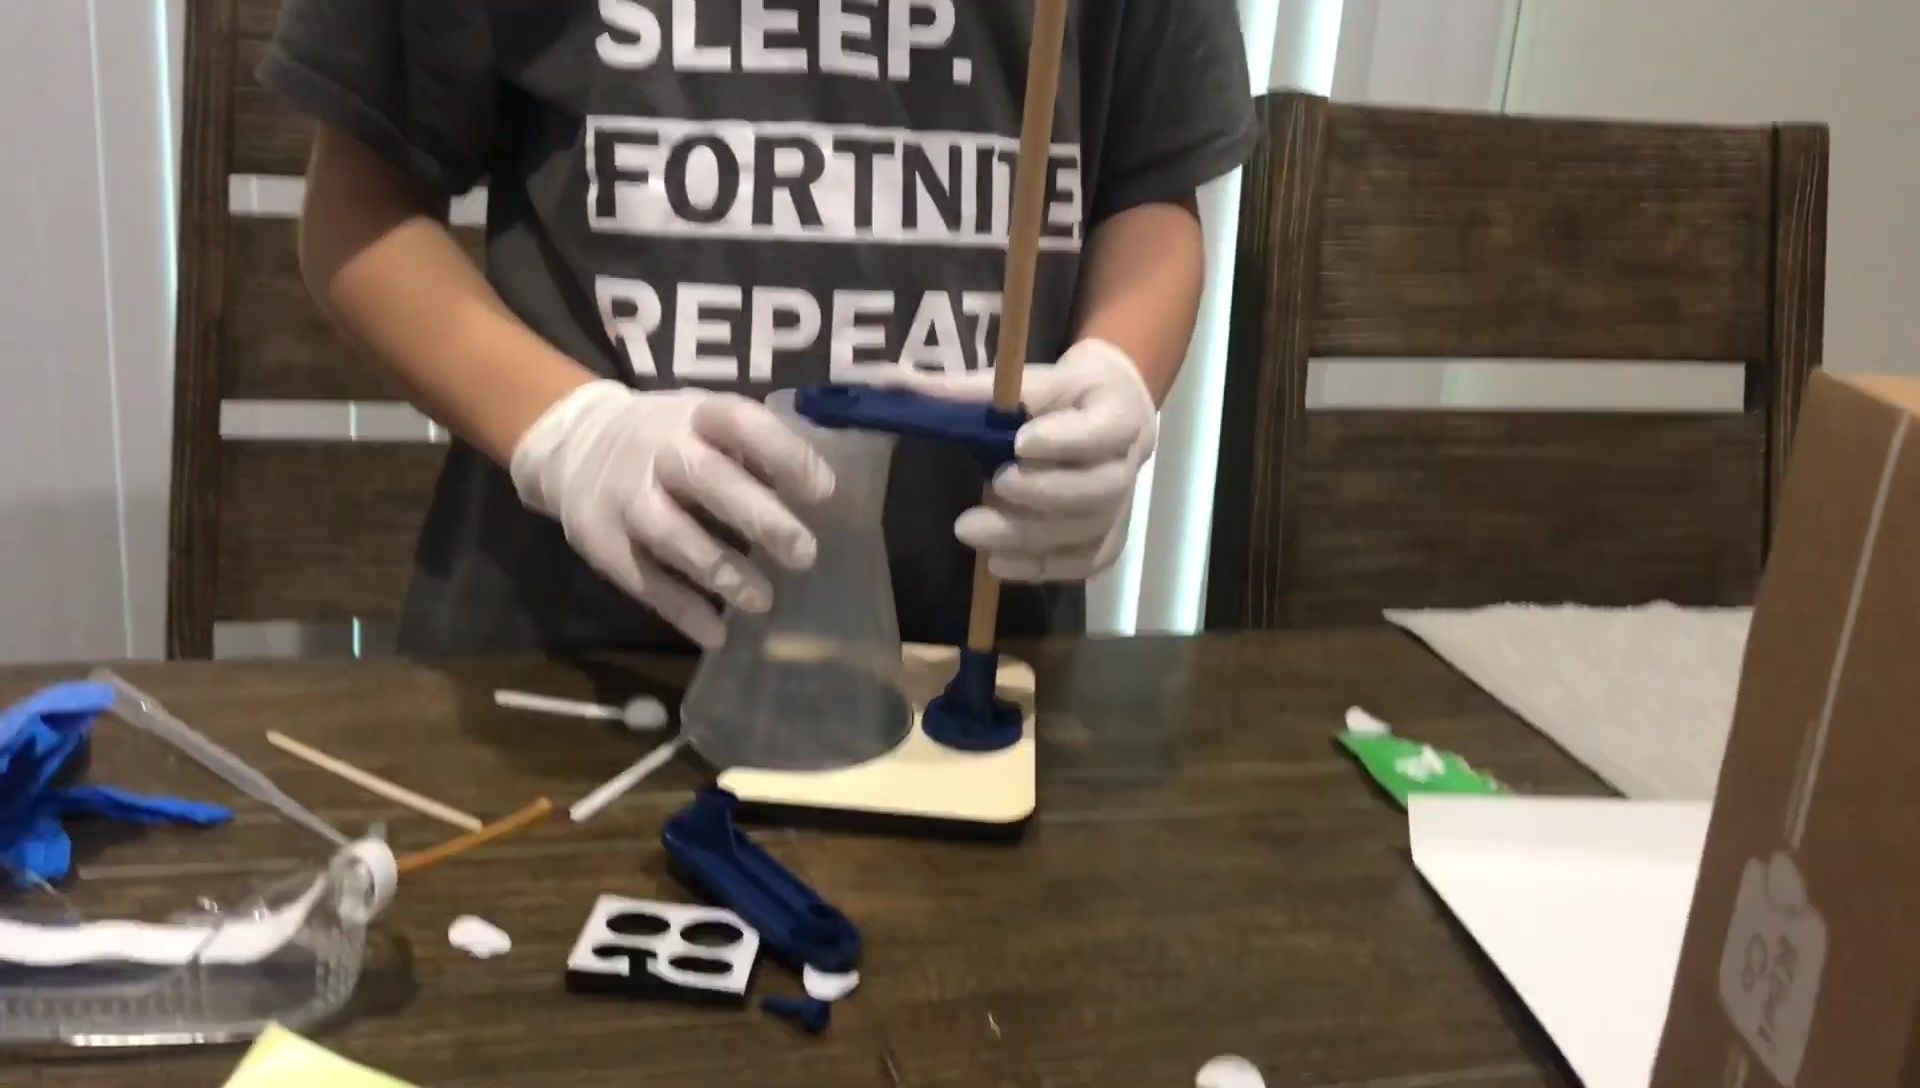
Preparing the Spiral Stand
Setting up the spiral stand was a little trickier. The small parts required patience and precise placement. I found it helpful to refer back to the instructions and pictures multiple times. The process of attaching the sticky foam strips and the spiral clips felt intuitive after the initial stages.


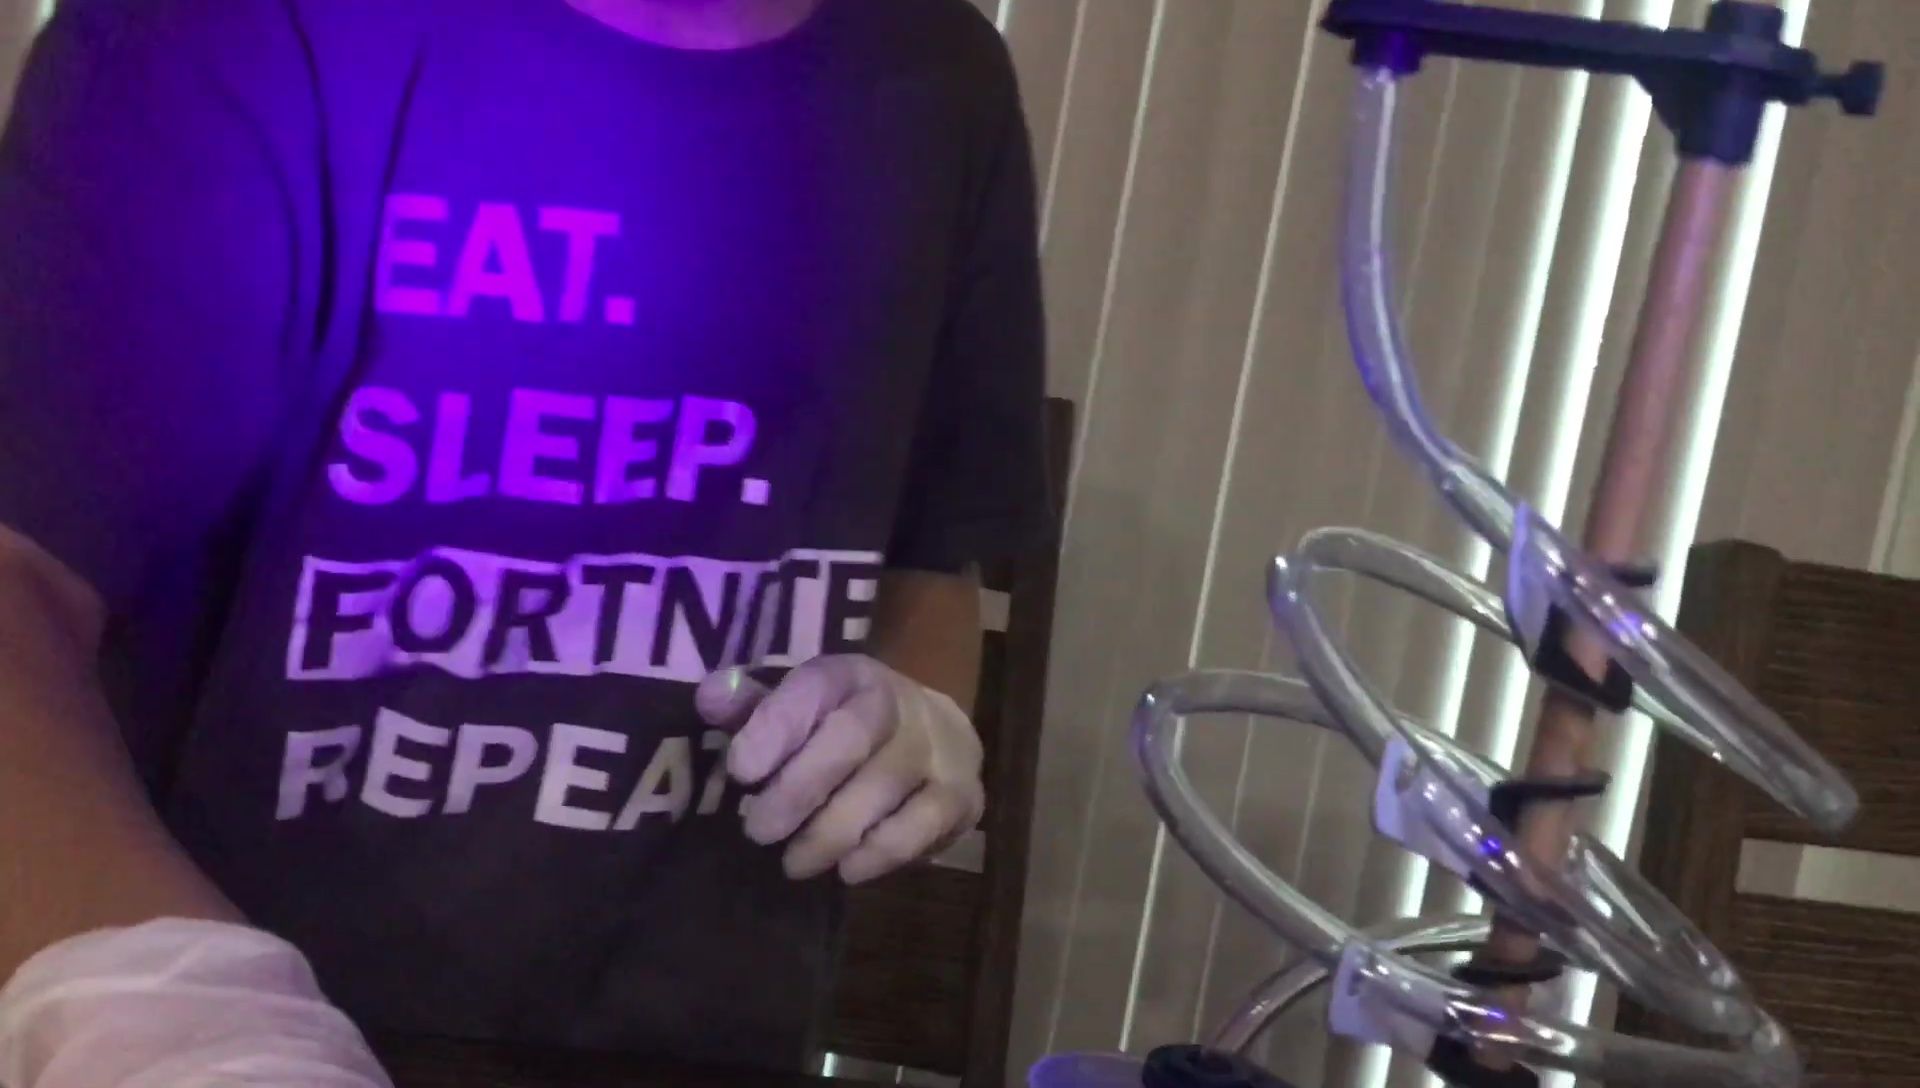
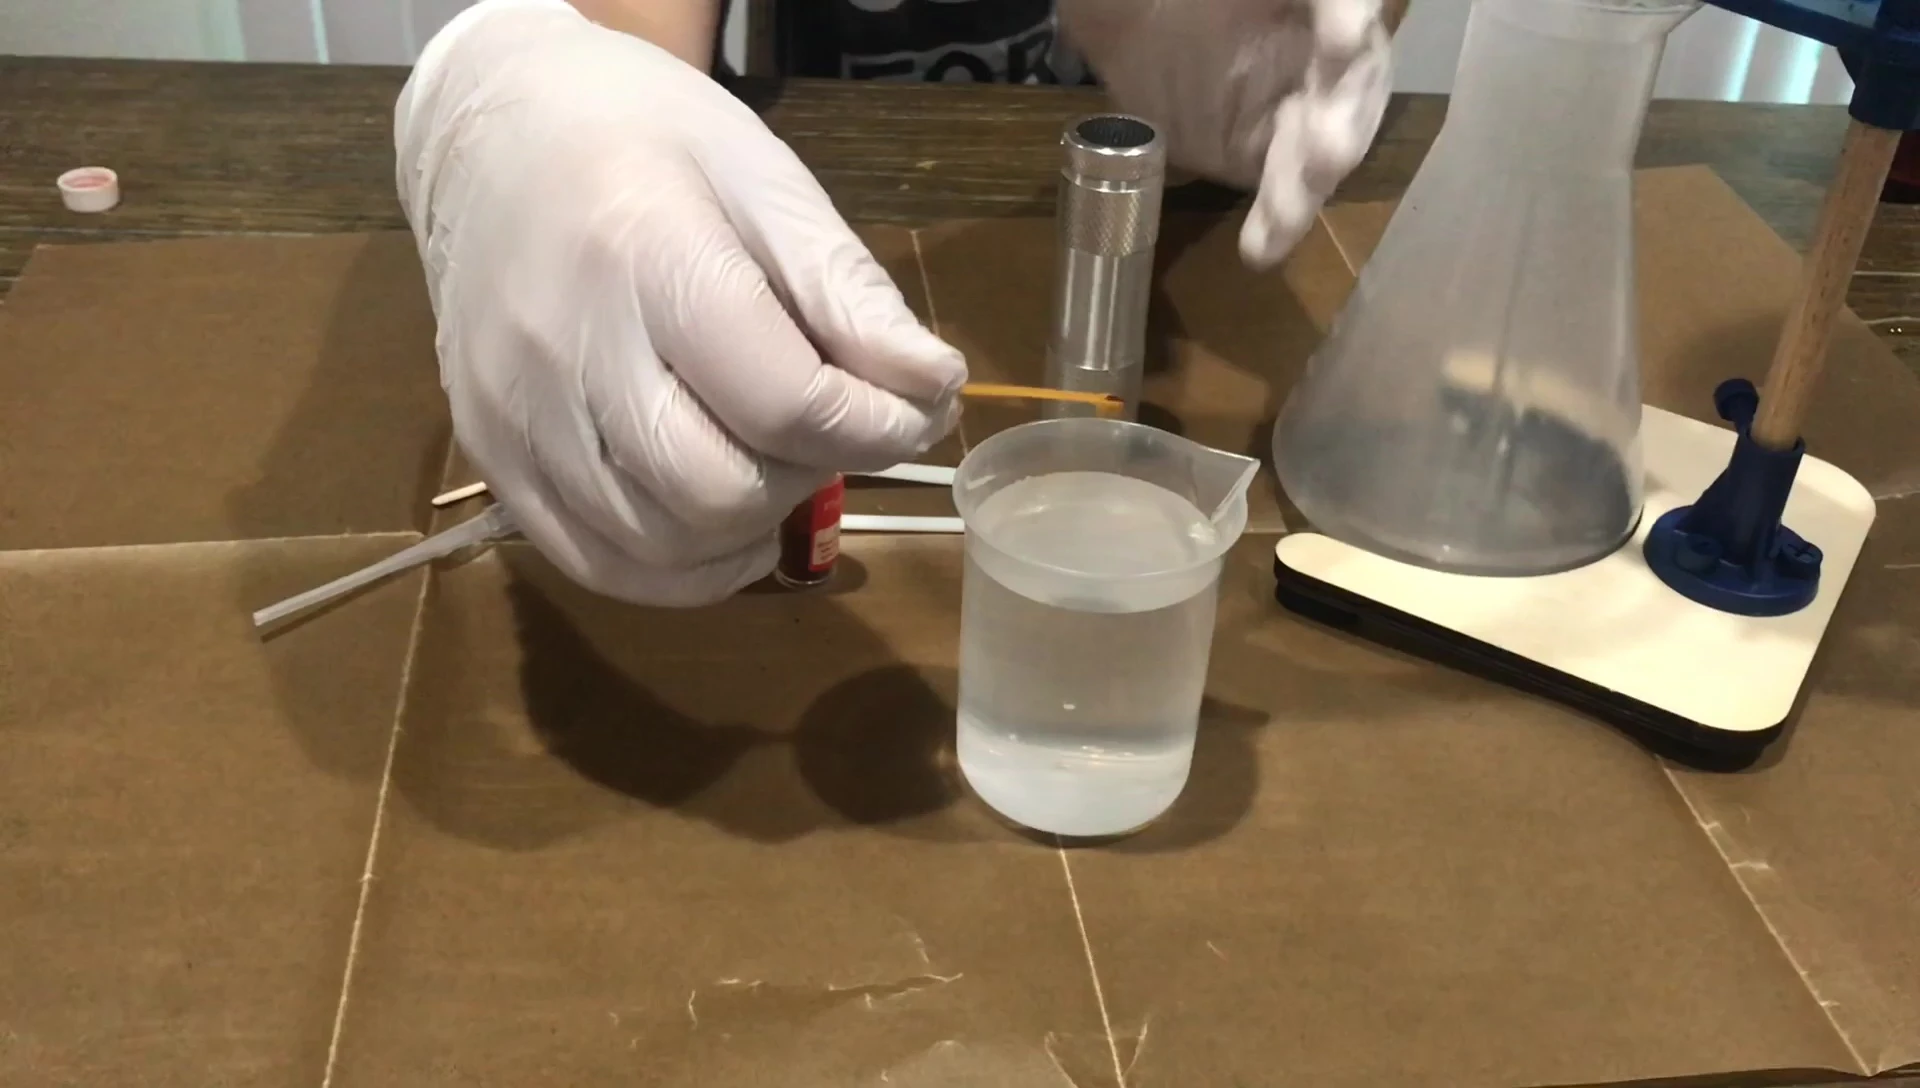
First Experiment: Fluorescein and UV Light
The first experiment involved fluorescein, water, and a UV flashlight. The instructions were easy to follow. The effect of the fluorescein glowing under the UV light was mesmerizing. Adding the fluorescein to the water created a visually stunning effect, especially when stirred.

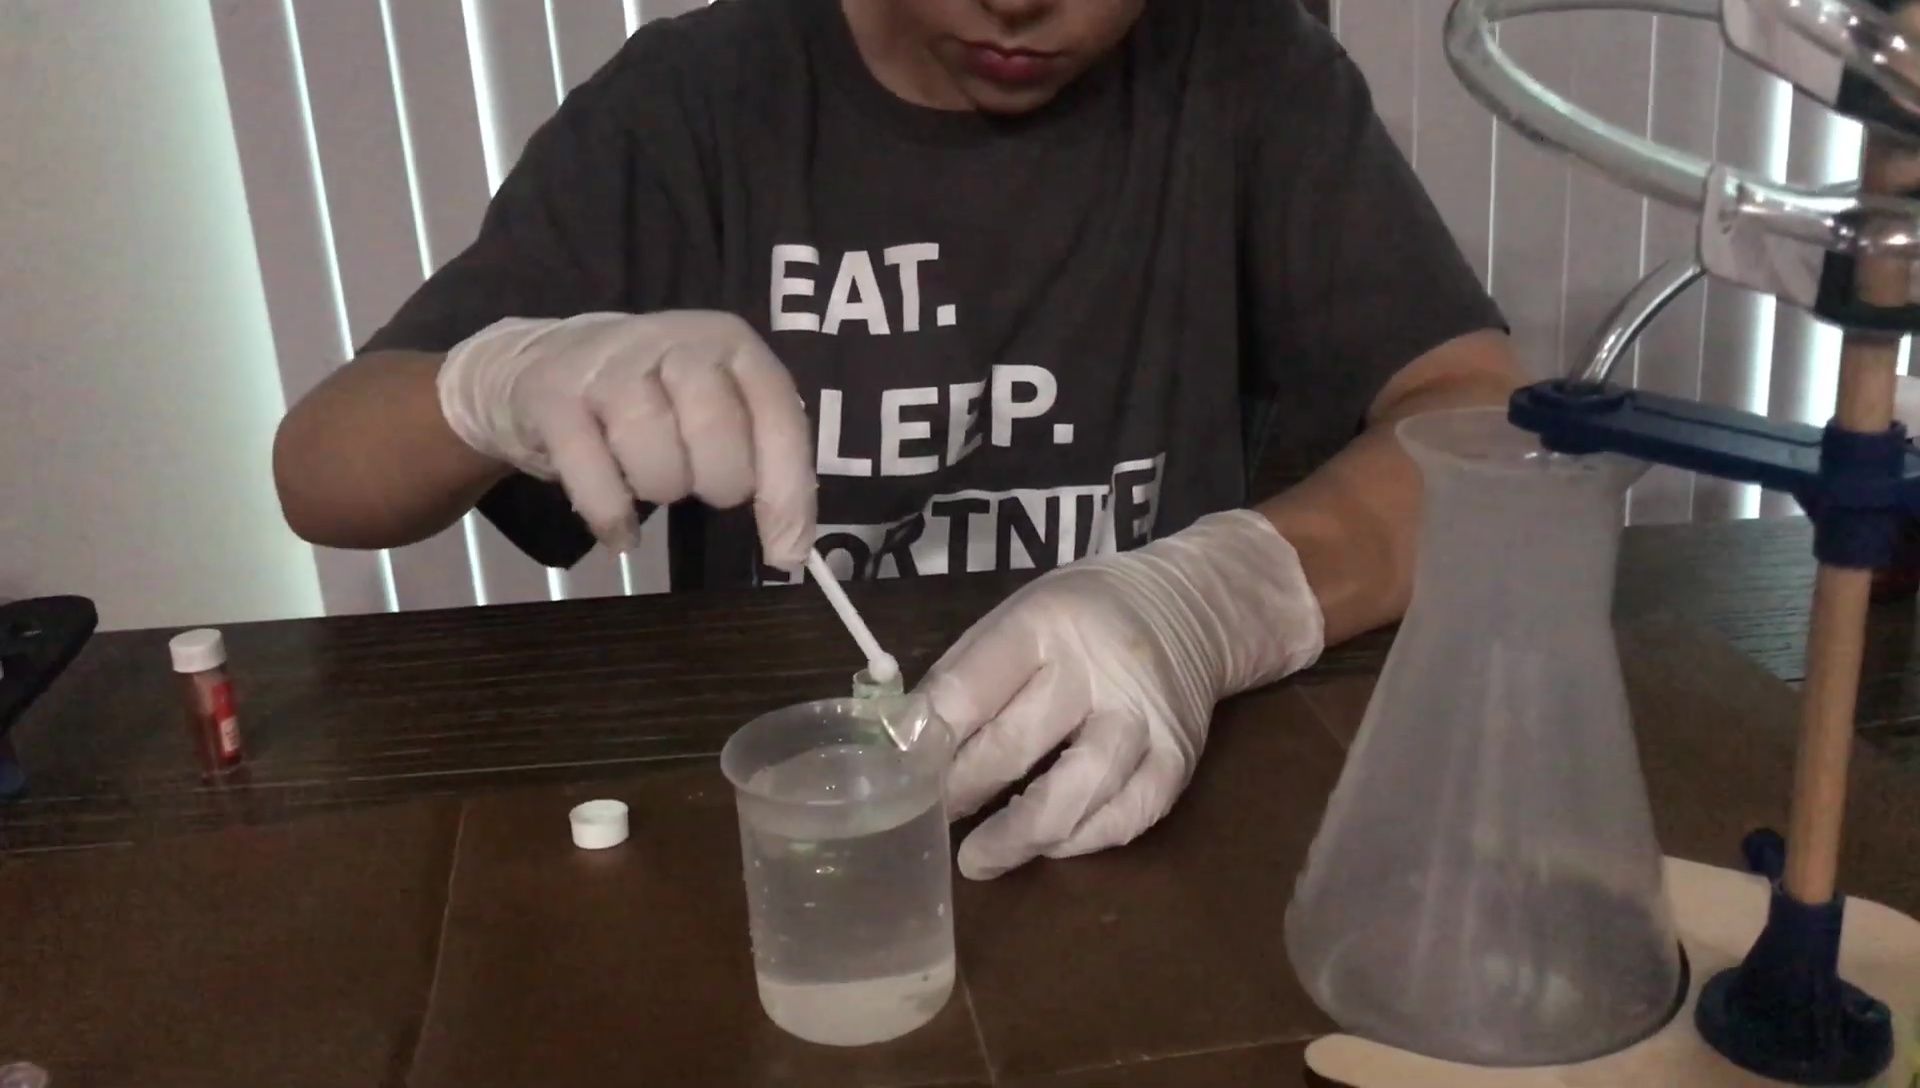
Second Experiment: Zinc Sulfide and Phosphorescence
The second experiment used zinc sulfide. The reaction with the UV light and the resulting glow was different than the fluorescein; it continued to glow even after the UV light was removed. This demonstration of phosphorescence was a fascinating contrast to the fluorescence seen in the previous experiment.
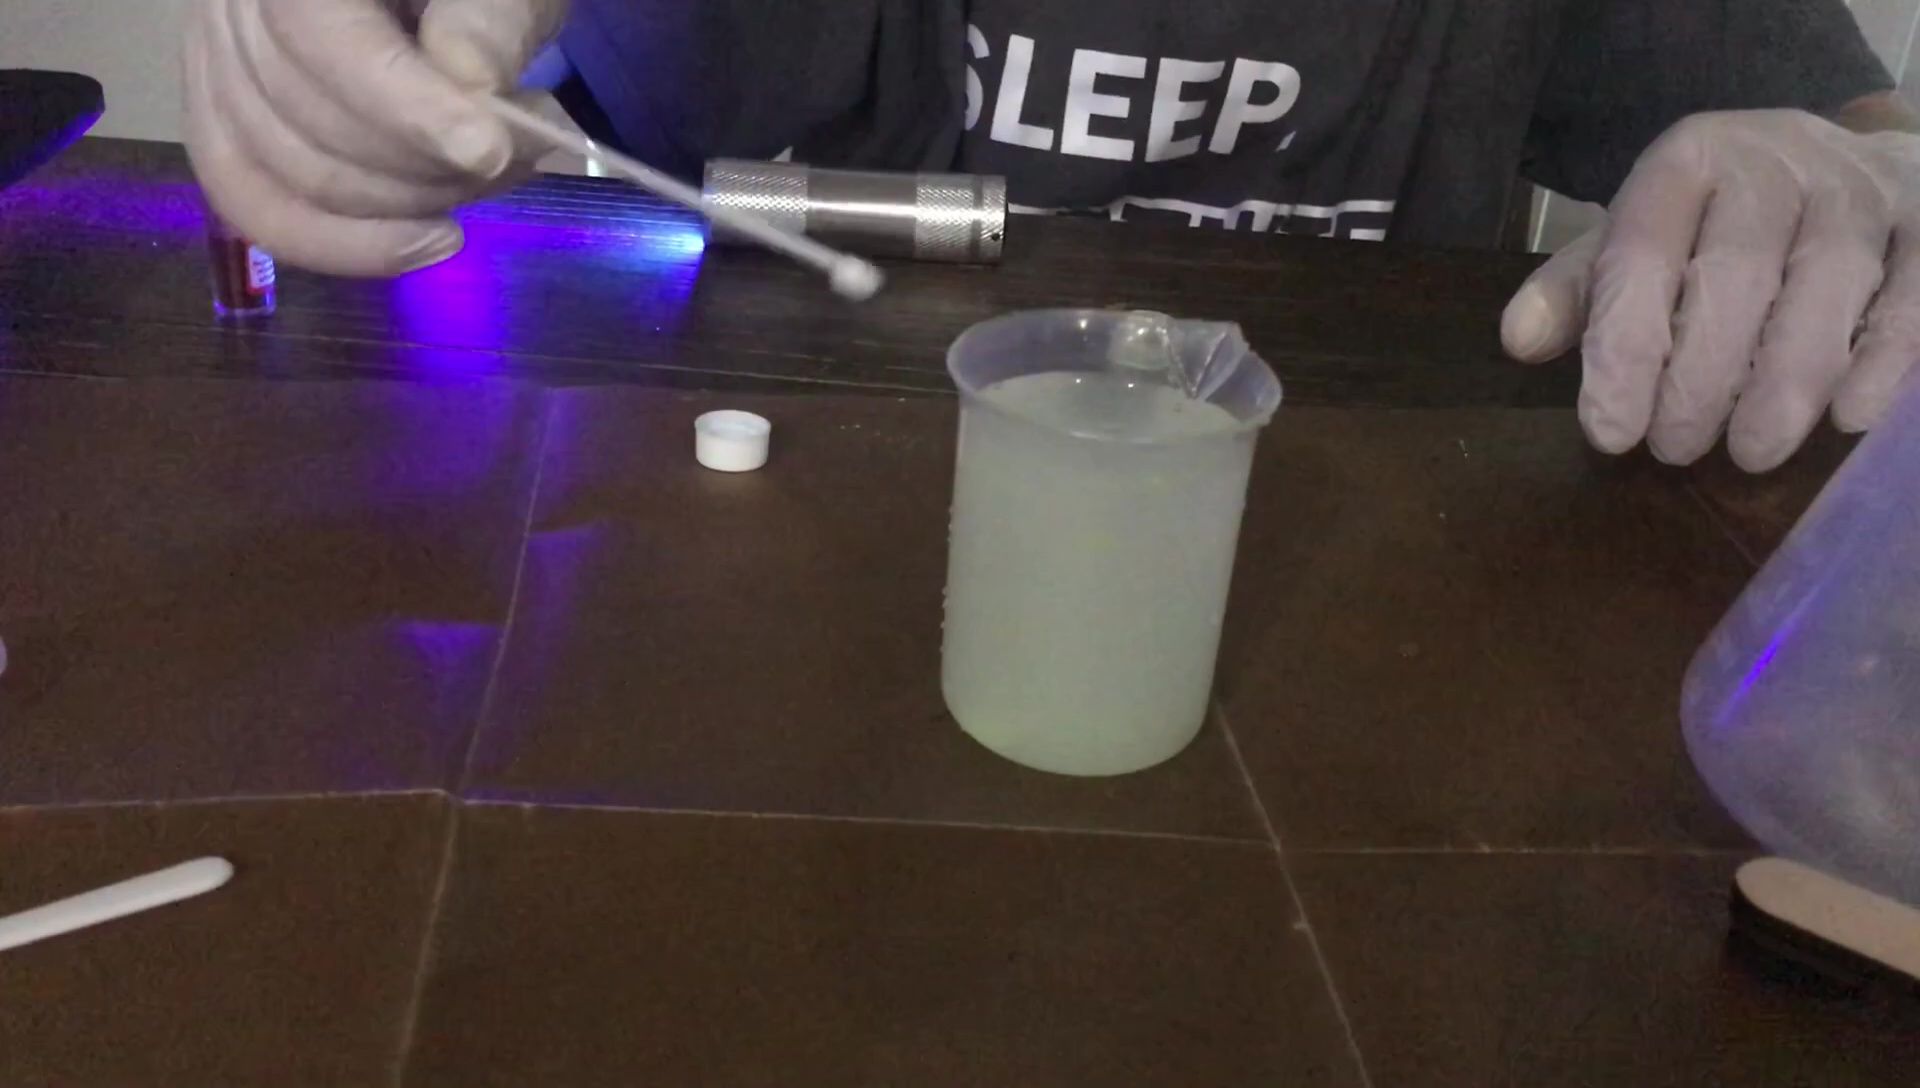
Combined Experiment and Conclusion
The final experiment combined both fluorescein and zinc sulfide solutions. The resulting effect created a spectacular visual display. This kit is a fantastic tool for learning about fluorescence and phosphorescence, making science fun and engaging. The clear instructions (although some diagrams could be improved) and the impressive results make it a worthwhile purchase for anyone interested in hands-on science experiences.