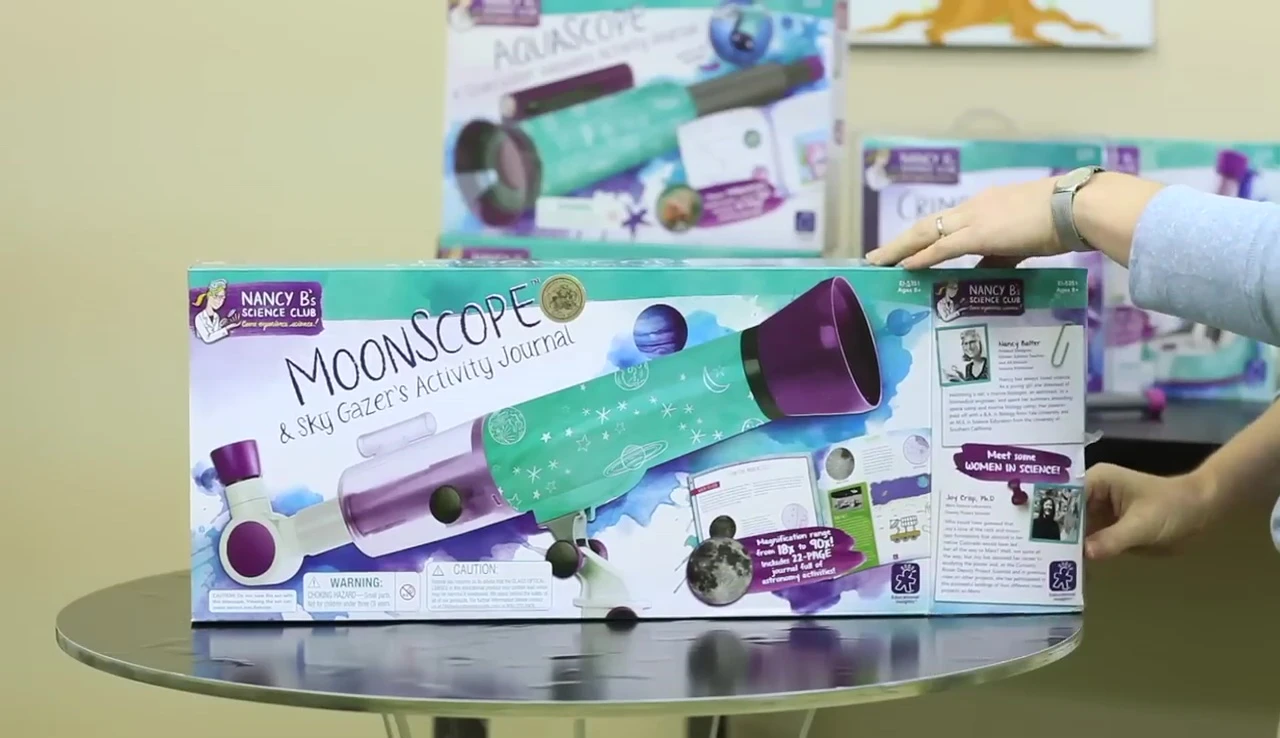
Unveiling the cosmos has never been easier! This step-by-step guide provides a comprehensive walkthrough for setting up your Nancy B's Science Club MoonScope™, transforming your backyard into a front-row seat to the wonders of the night sky. From unpacking the sturdy tripod and telescope to mastering the art of focusing and using the different eyepieces, we'll guide you through every stage of the process. Whether you're a seasoned astronomer or a curious beginner, this guide will empower you to confidently explore the moon, stars, and beyond.This review will detail each step of the MoonScope setup, ensuring a seamless experience for users of all skill levels. We will cover attaching the telescope to the tripod, selecting and using the eyepieces (including the 20mm and 4mm), focusing techniques for both daytime practice and nighttime observation, and utilizing the moon filter for optimal viewing of bright celestial objects. We'll also discuss the importance of clear skies and provide tips for locating objects using the finder scope. Prepare to embark on an exciting journey of astronomical discovery!
Read more: Top 5 Learning Resources for Kids' Optics
Unboxing and Tripod Setup
First, carefully unpack your Nancy B's Science Club MoonScope™. You'll find a tripod, the telescope itself, eyepieces, a moon filter, and all necessary accessories. Begin by setting up the sturdy tabletop tripod. Open it up and place it on a stable surface, ensuring it's firmly positioned for optimal viewing.
This provides a solid base for your MoonScope. Take your time to make sure the tripod legs are evenly spread and the whole structure is stable. You don't want any vibrations impacting your viewing experience.
Attaching the Telescope and Eyepieces
Attach the MoonScope to the tripod by aligning the holes and securing it with the provided screw. It's crucial to ensure a tight and stable connection. Next, remove the lens cap from the front of the MoonScope and the cap from the diagonal mirror. Don't forget this important step!
Now, select the 20mm eyepiece (the larger one). It offers a wider field of view, making it ideal for initially locating celestial objects. Remove the caps from the eyepiece and carefully insert it into the telescope's designated slot above the diagonal mirror.
Daytime Practice and Nighttime Observation
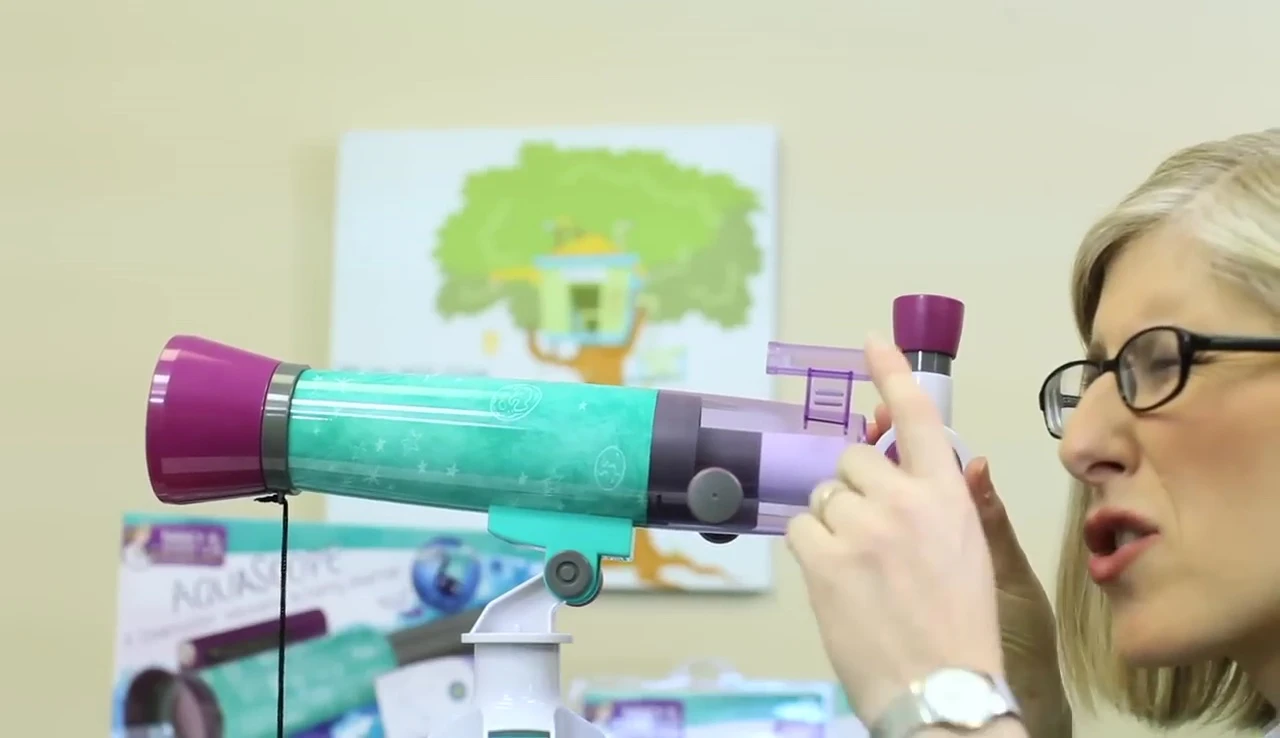
Before nighttime viewing, practice focusing during the day. Target a distant object, such as a tree or building, to get acquainted with the focus knobs. This will help you understand how to adjust the telescope for clear viewing.
For nighttime observations, remember clear skies are essential. The MoonScope won't work on cloudy nights. Always begin with the 20mm eyepiece and use the finder scope to locate your desired object. Then, carefully adjust the focus for sharp images.
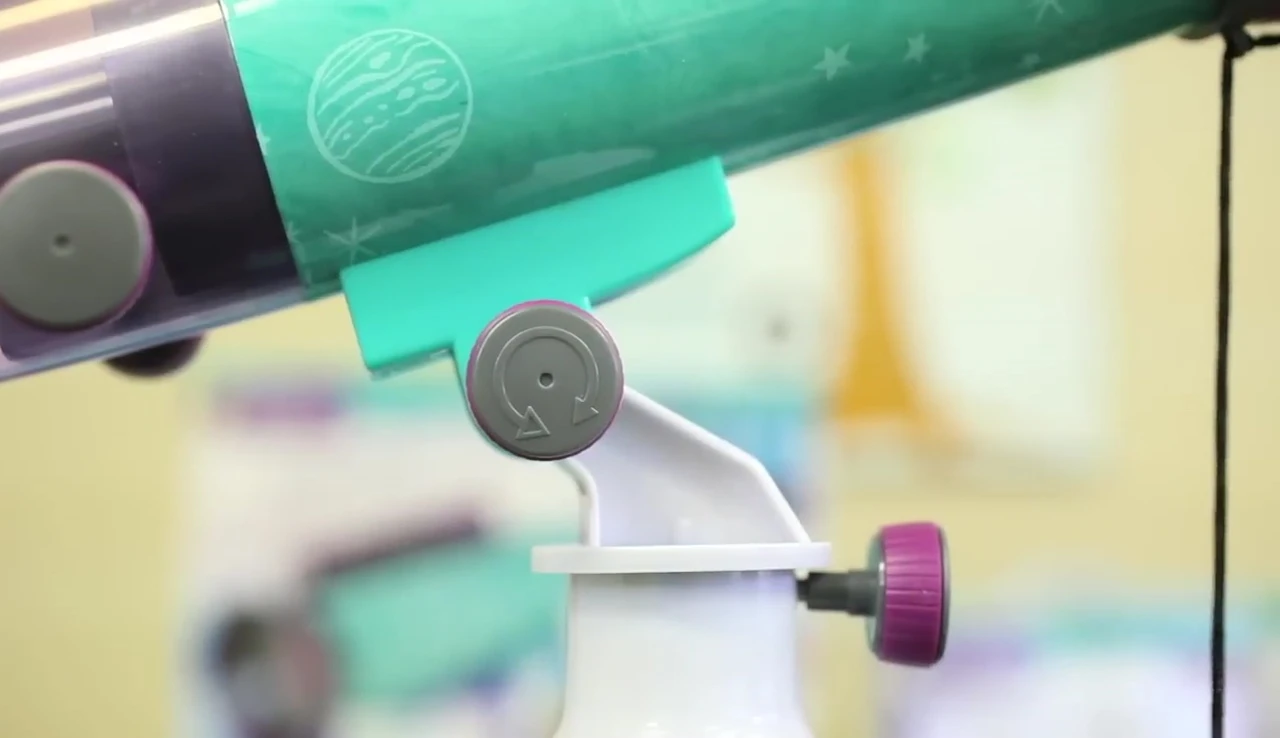
Using the Finder Scope and Focusing
Loosen the altitude and azimuth lock knobs to move the MoonScope. Look through the finder scope, positioning your object in the crosshairs. Tighten the knobs to secure the position. If using the MoonScope at night, briefly shine a flashlight on the finder scope – a glowing ring will appear, making it easier to locate in the dark.
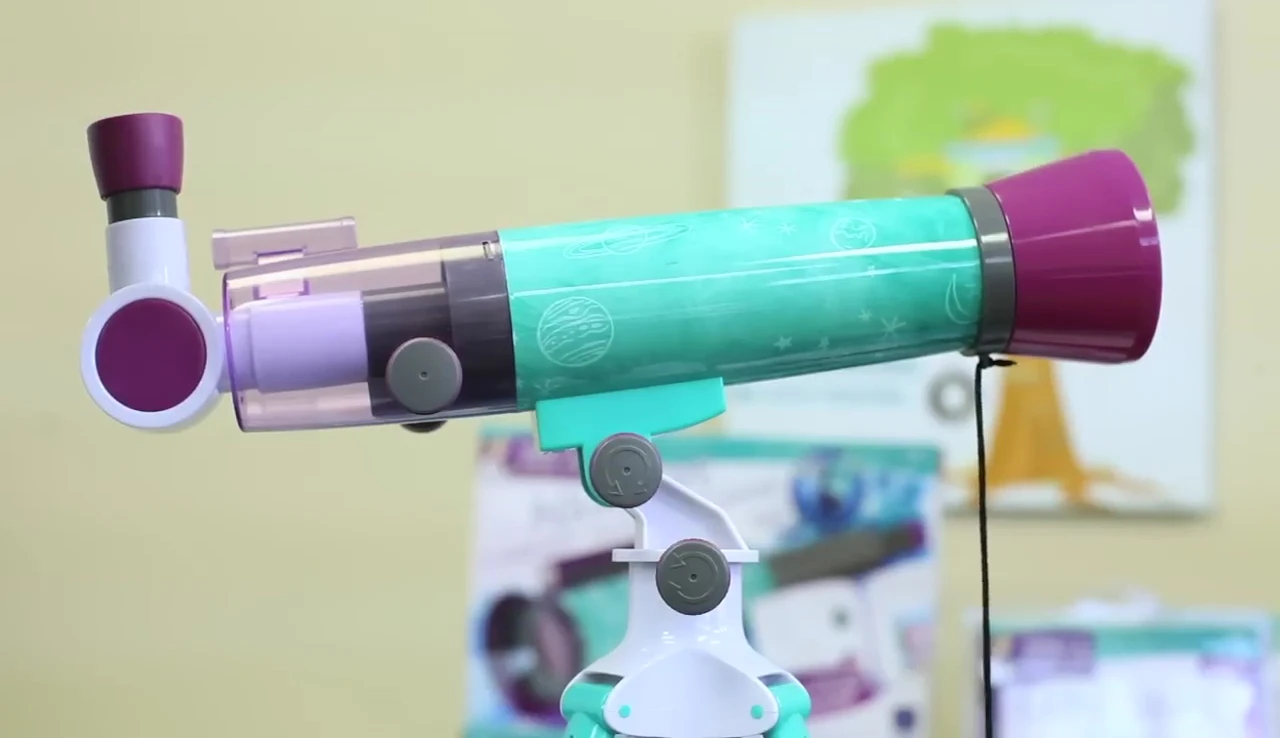
Once your object is centered in the finder scope, look through the eyepiece. Adjust the focus knobs until the image is clear and sharp. You can switch to the smaller 4mm eyepiece for higher magnification after you've initially located and focused your target using the 20mm eyepiece.
Magnification and Moon Filter
The 4mm eyepiece provides 90x magnification, revealing greater detail. However, always start with the 20mm eyepiece. Remember to frequently adjust the MoonScope to keep your object in view, as the Earth's rotation constantly shifts the position of celestial bodies.
When observing a bright object like a full moon, use the moon filter. Attach it to the back of the eyepiece before inserting it into the telescope. This reduces glare and enhances detail visibility.
Conclusion
The Nancy B's Science Club MoonScope™ is a great entry-level telescope, perfect for beginners and families interested in exploring the night sky. Its simple setup and user-friendly design make it easy to use, even for those with limited astronomical experience. The inclusion of two eyepieces allows for versatility in magnification, providing both wide-field viewing and closer examination of celestial objects.
The moon filter is a useful addition for viewing bright objects like the moon, preventing overexposure and allowing for better detail observation. While it may not offer the same level of power as larger, more expensive telescopes, its ease of use and affordability make it a fantastic tool for introducing children and adults to the wonders of astronomy. Overall, it's a highly recommended product for its simplicity and value.