Uncover the wonders of crystallography with the National Geographic Crystal Growing Lab Kit! This comprehensive review dives into the exciting process of cultivating your own dazzling crystals, from unboxing to showcasing your breathtaking results. We explore the kit's contents – a detailed manual, high-quality materials, and a surprisingly sophisticated display base – providing a detailed account of the crystal-growing experiment. Prepare to be amazed by the ease of use and the stunning final product.This review covers every aspect of the National Geographic Crystal Growing Lab Kit experience, from the clarity of the instructions and the quality of the components to the captivating display options. Discover if this STEM activity lives up to its promise of an engaging and educational journey into the fascinating world of crystals. Learn about the process, the challenges, and ultimately, the rewarding results of creating your own unique crystal collection.
Pros And Cons
- Includes display base with lighting modes (standard, breathing, candle flickering)
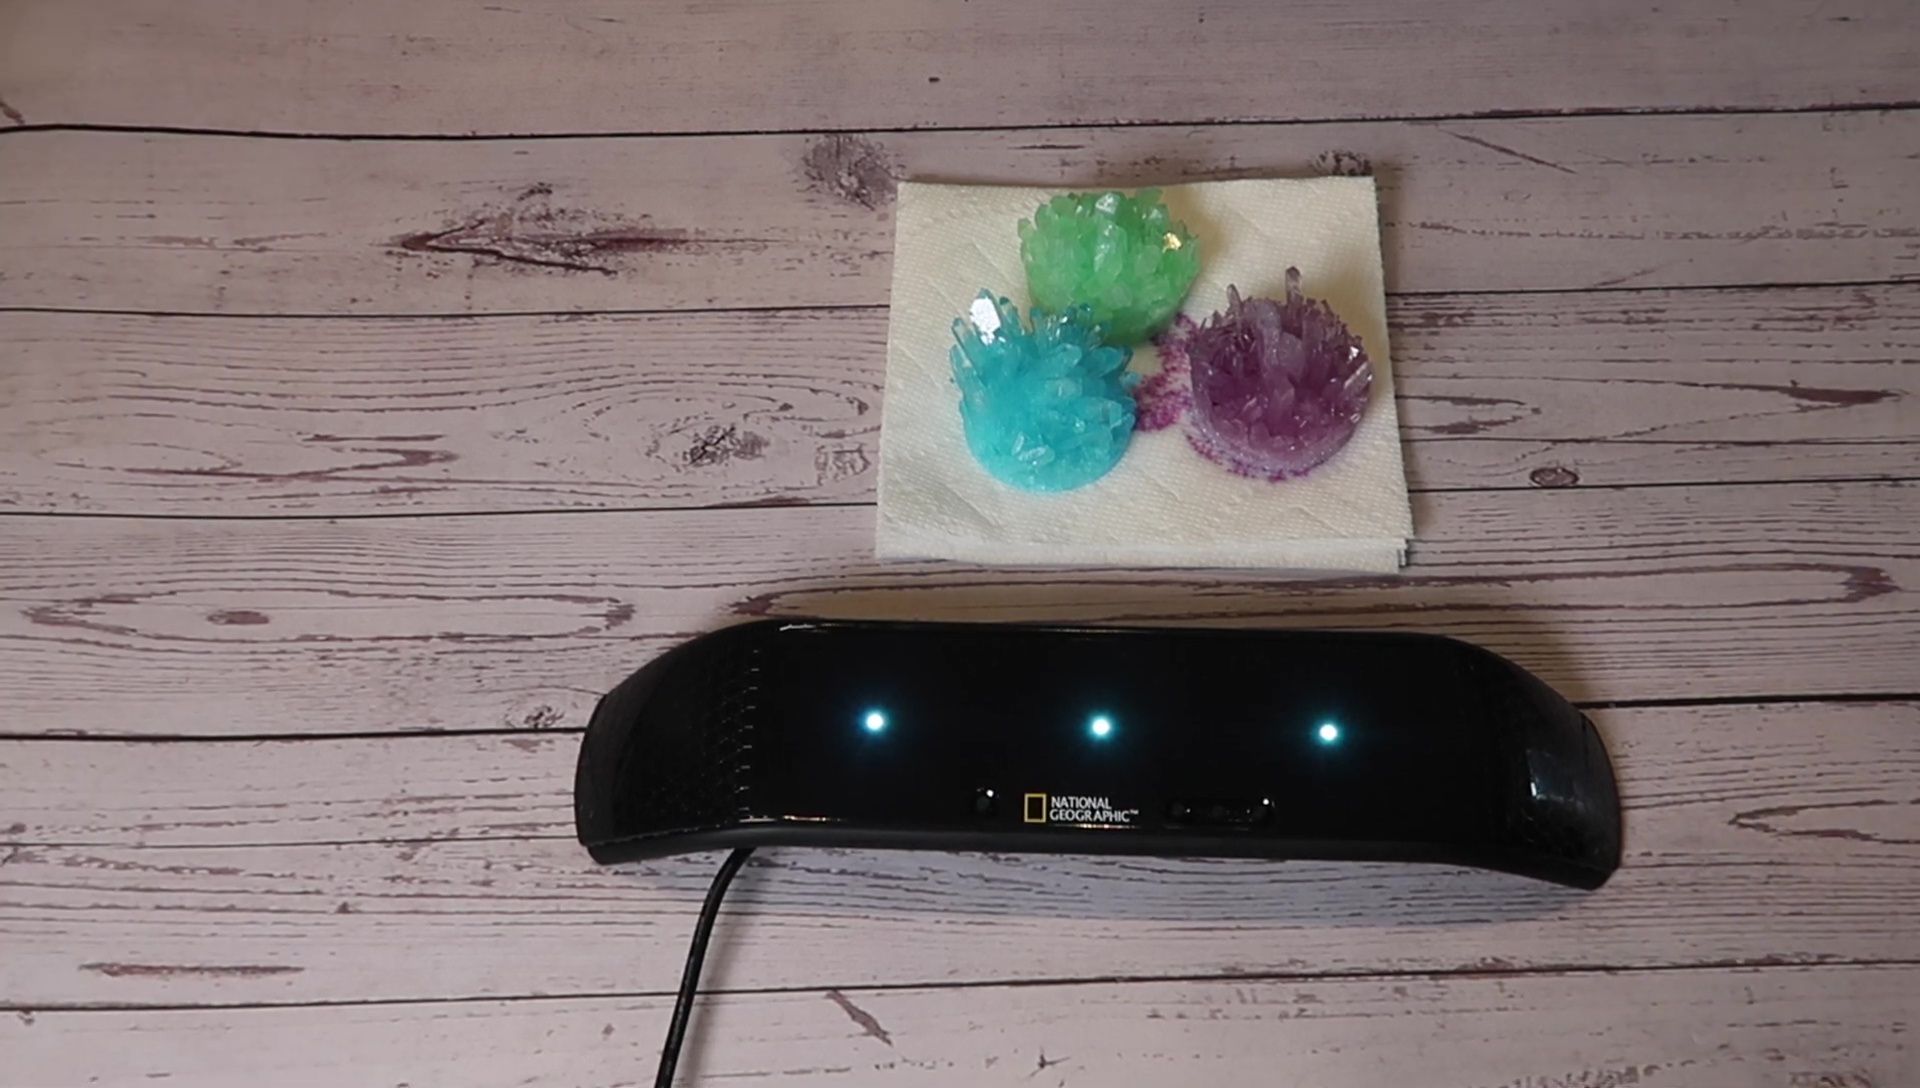
- Allows for growing three crystals
- Provides a detailed manual with instructions and scientific information
- Crystals grow with decent detail and a flat base for easy display.
- Crystal growth takes up to 7 days per crystal (total of 21 days for all three)
- Adult supervision is required due to use of hot water.
- The provided seed rocks and colored powders may result in inconsistencies in crystal size and shape. The reviewer expresses some disappointment that the crystal growth did not significantly exceed the container in a week.
Read more: Smartivity Magic of Science Kit Review: 50+ Engaging Experiments for Kids
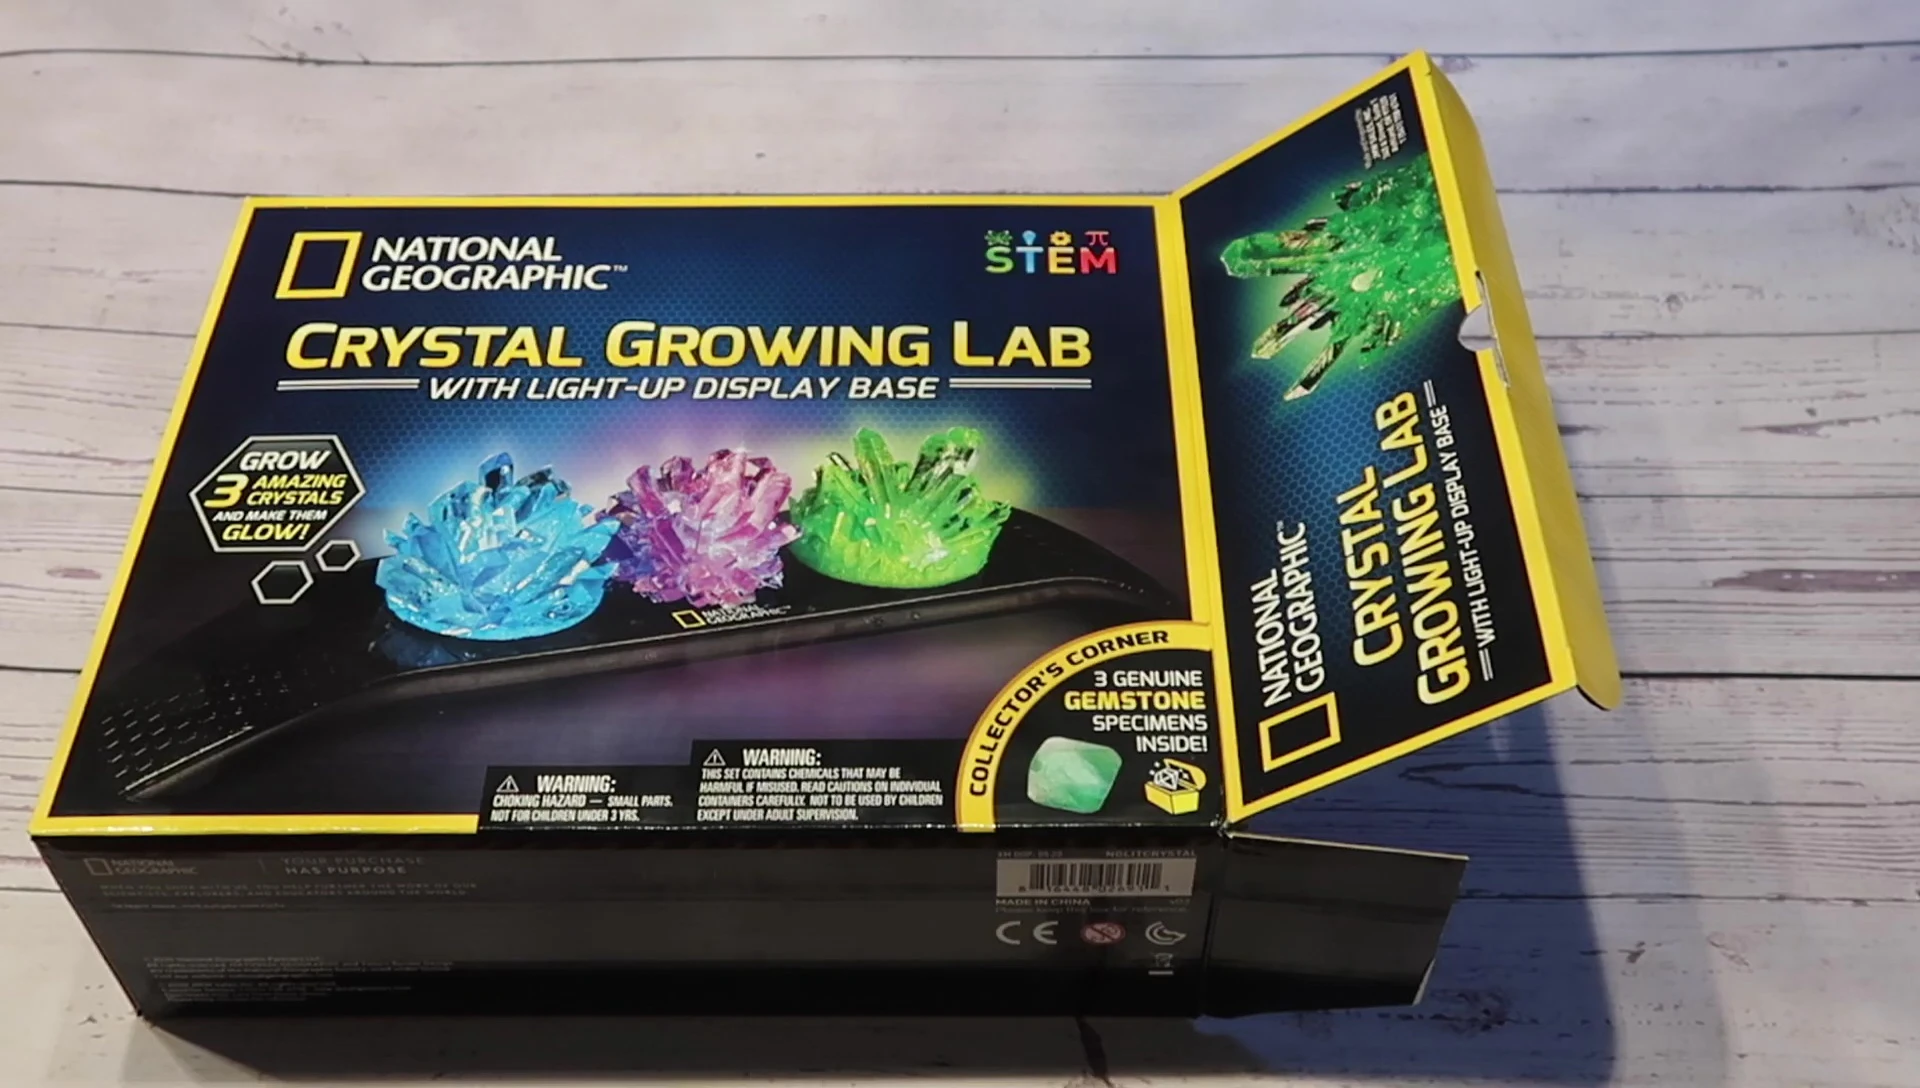
Unboxing and Kit Contents
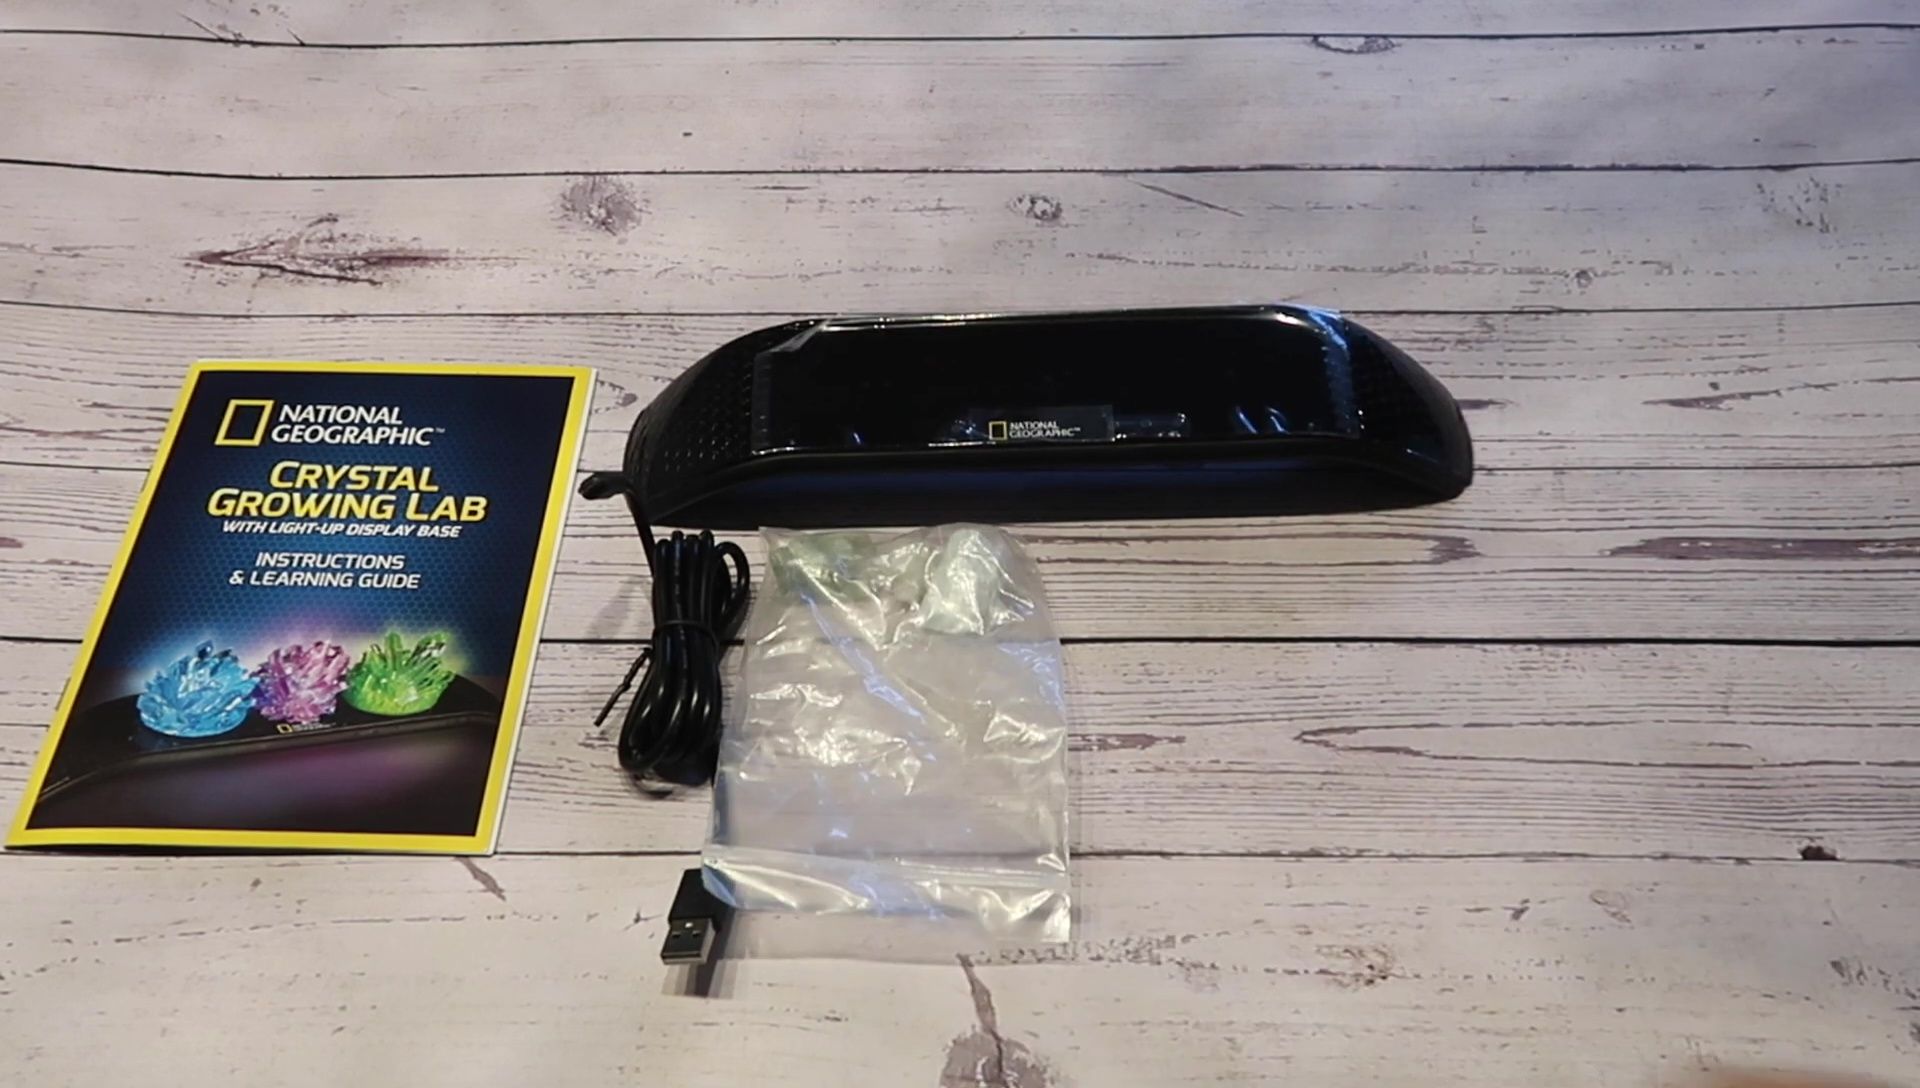
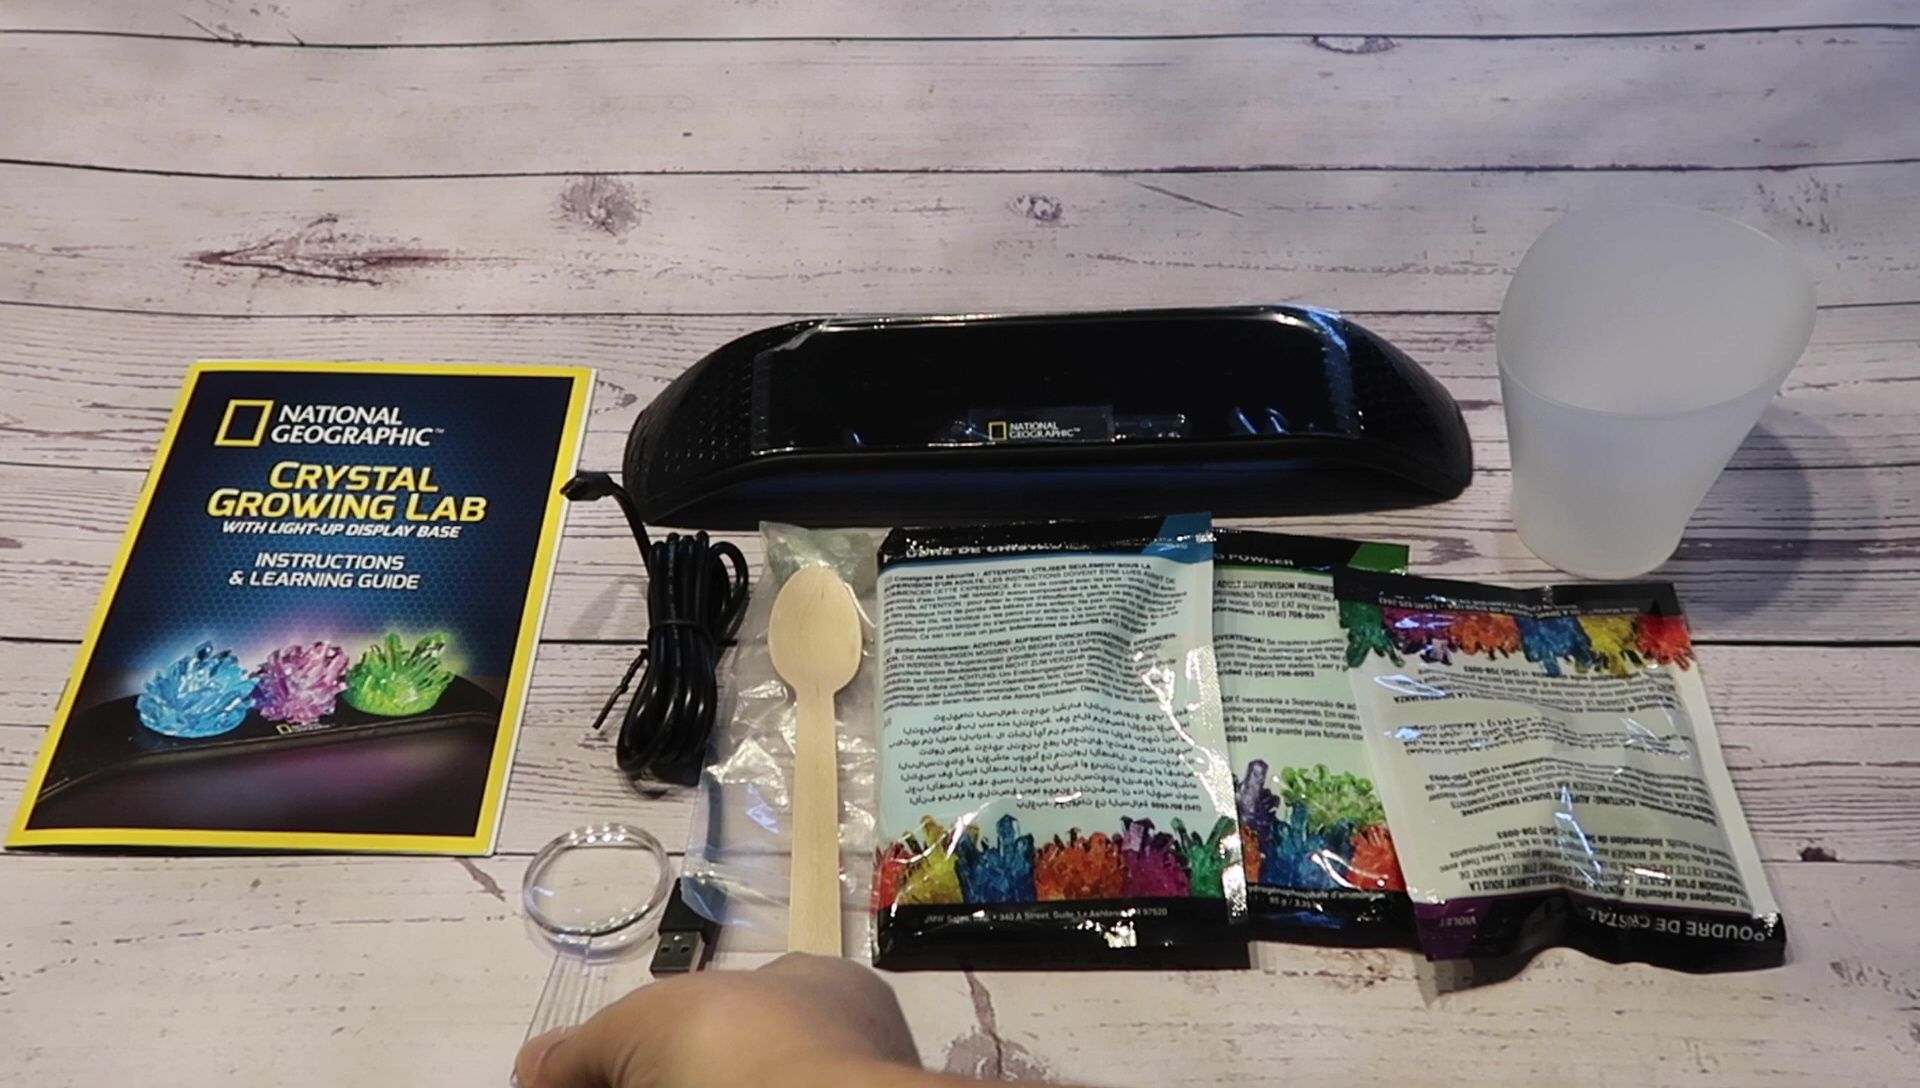
The National Geographic Crystal Growing Lab kit arrived neatly packaged. Inside, I found everything needed for a successful crystal-growing experiment: a detailed manual, a sleek display base with a power charger, three assorted gemstones (a fun bonus!), a heat-resistant mixing jug, three bags of crystal-growing powder, a wooden stirring spoon, a magnifying glass, and seed rocks.
The manual was surprisingly comprehensive, covering safety precautions, detailed instructions, and even some fascinating background information on crystal formation and types of crystals.
The quality of the materials was impressive; the jug felt sturdy, and the other components were well-made and appropriate for the task.
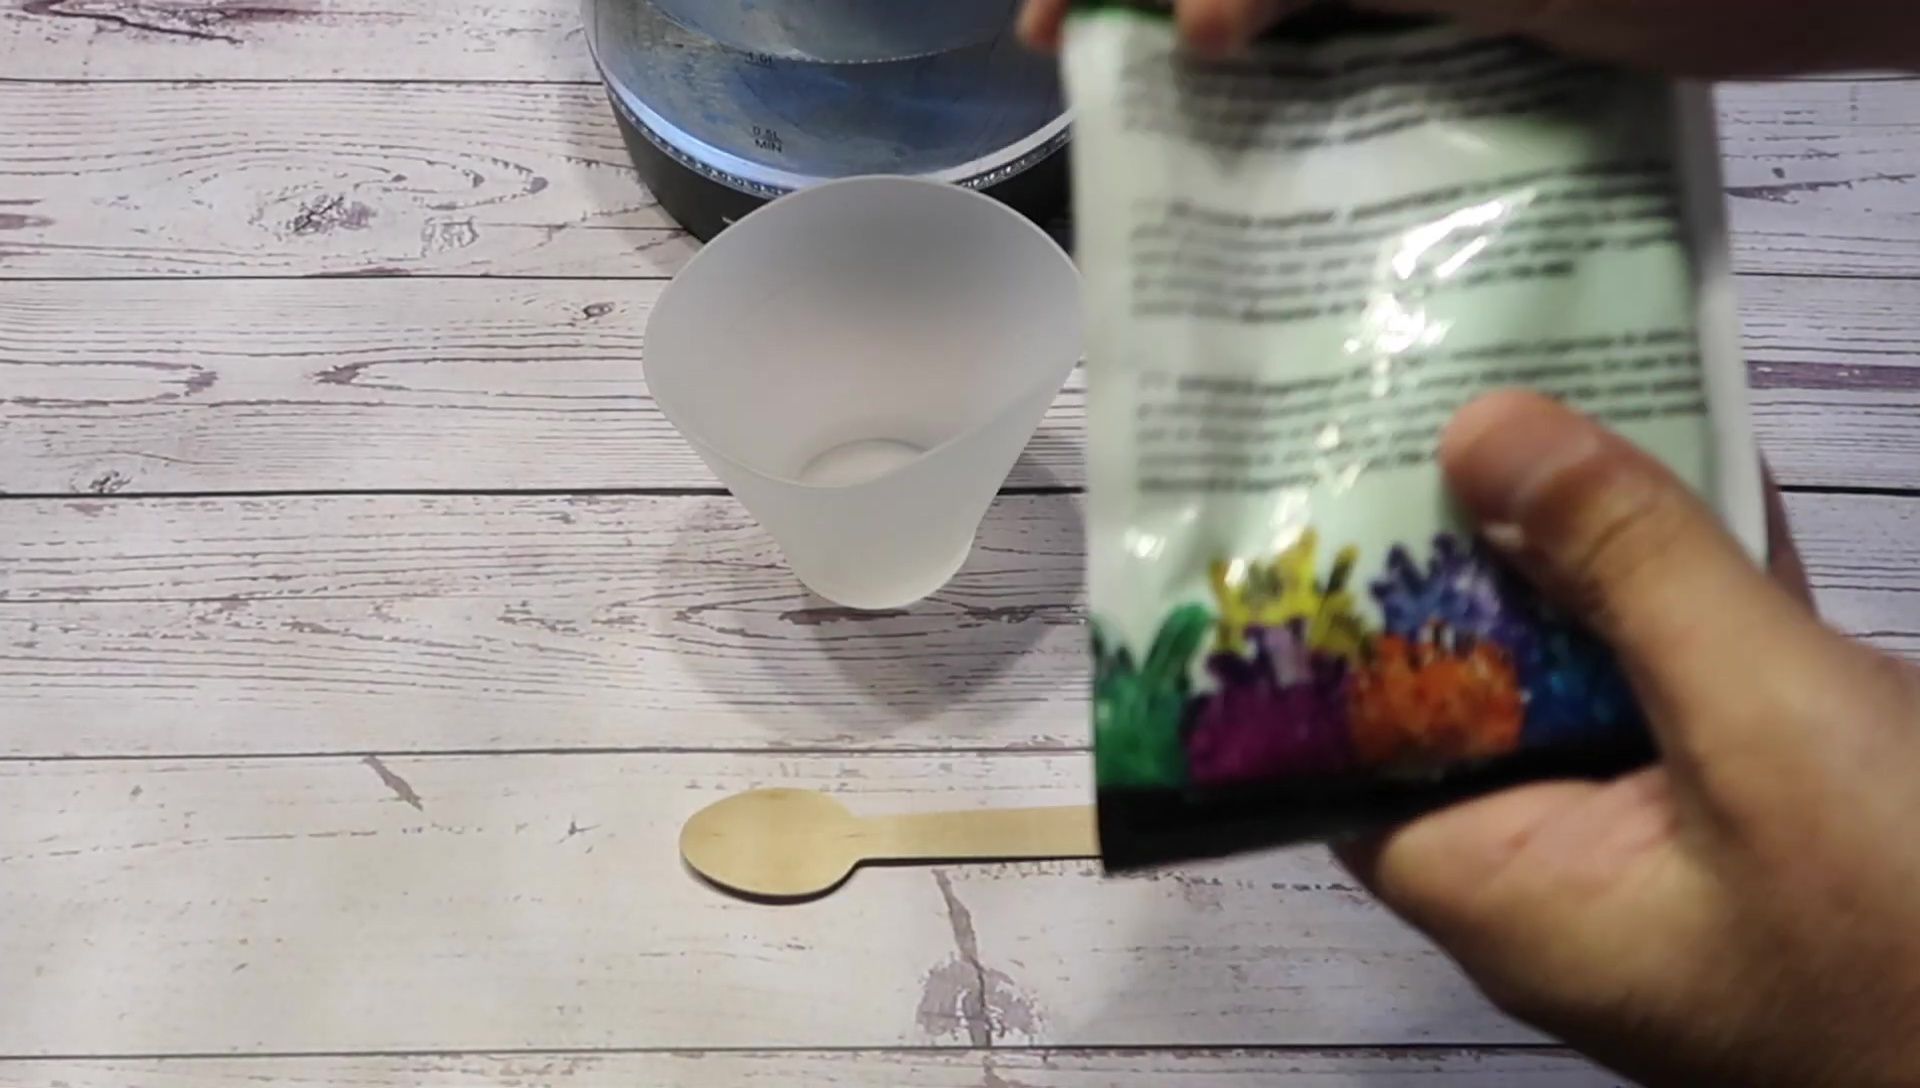
Growing the Crystals
The instructions were clear and easy to follow. After carefully removing any lumps from the crystal-growing powder, I added the entire contents of one bag to the growing chamber. I then filled the chamber to the indicated line with boiling water, carefully stirring the solution for two minutes until completely dissolved.
Following the instructions, I waited 10 minutes before gently lowering the seed rock into the solution using the wooden spoon, ensuring it was centered to encourage even growth. I then covered the chamber to prevent evaporation during the first 24 hours, remembering to remove it afterward.

The waiting period was the most challenging part, but the anticipation was worth it. I followed the recommendation to keep the crystal in a warm, stable environment. After a week, I carefully extracted the crystal from the chamber.

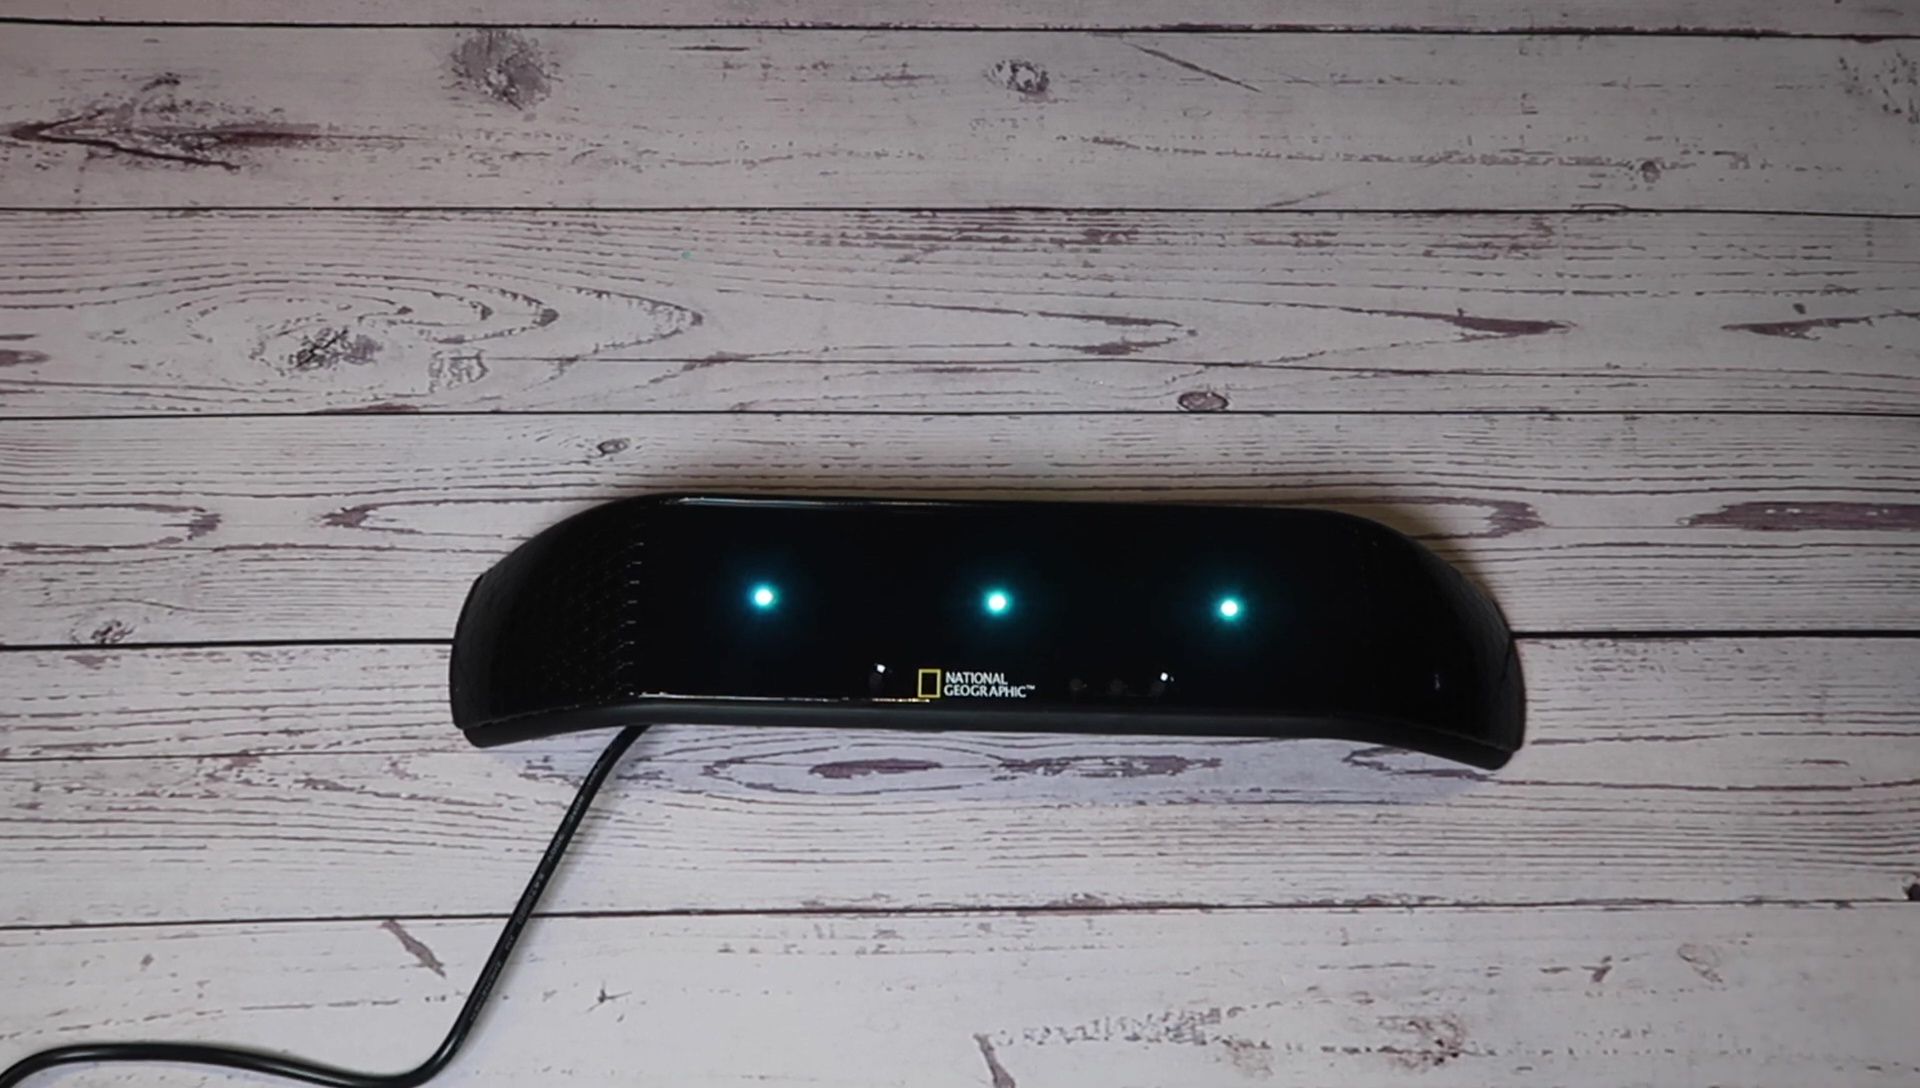
The Display Base and Lighting Features
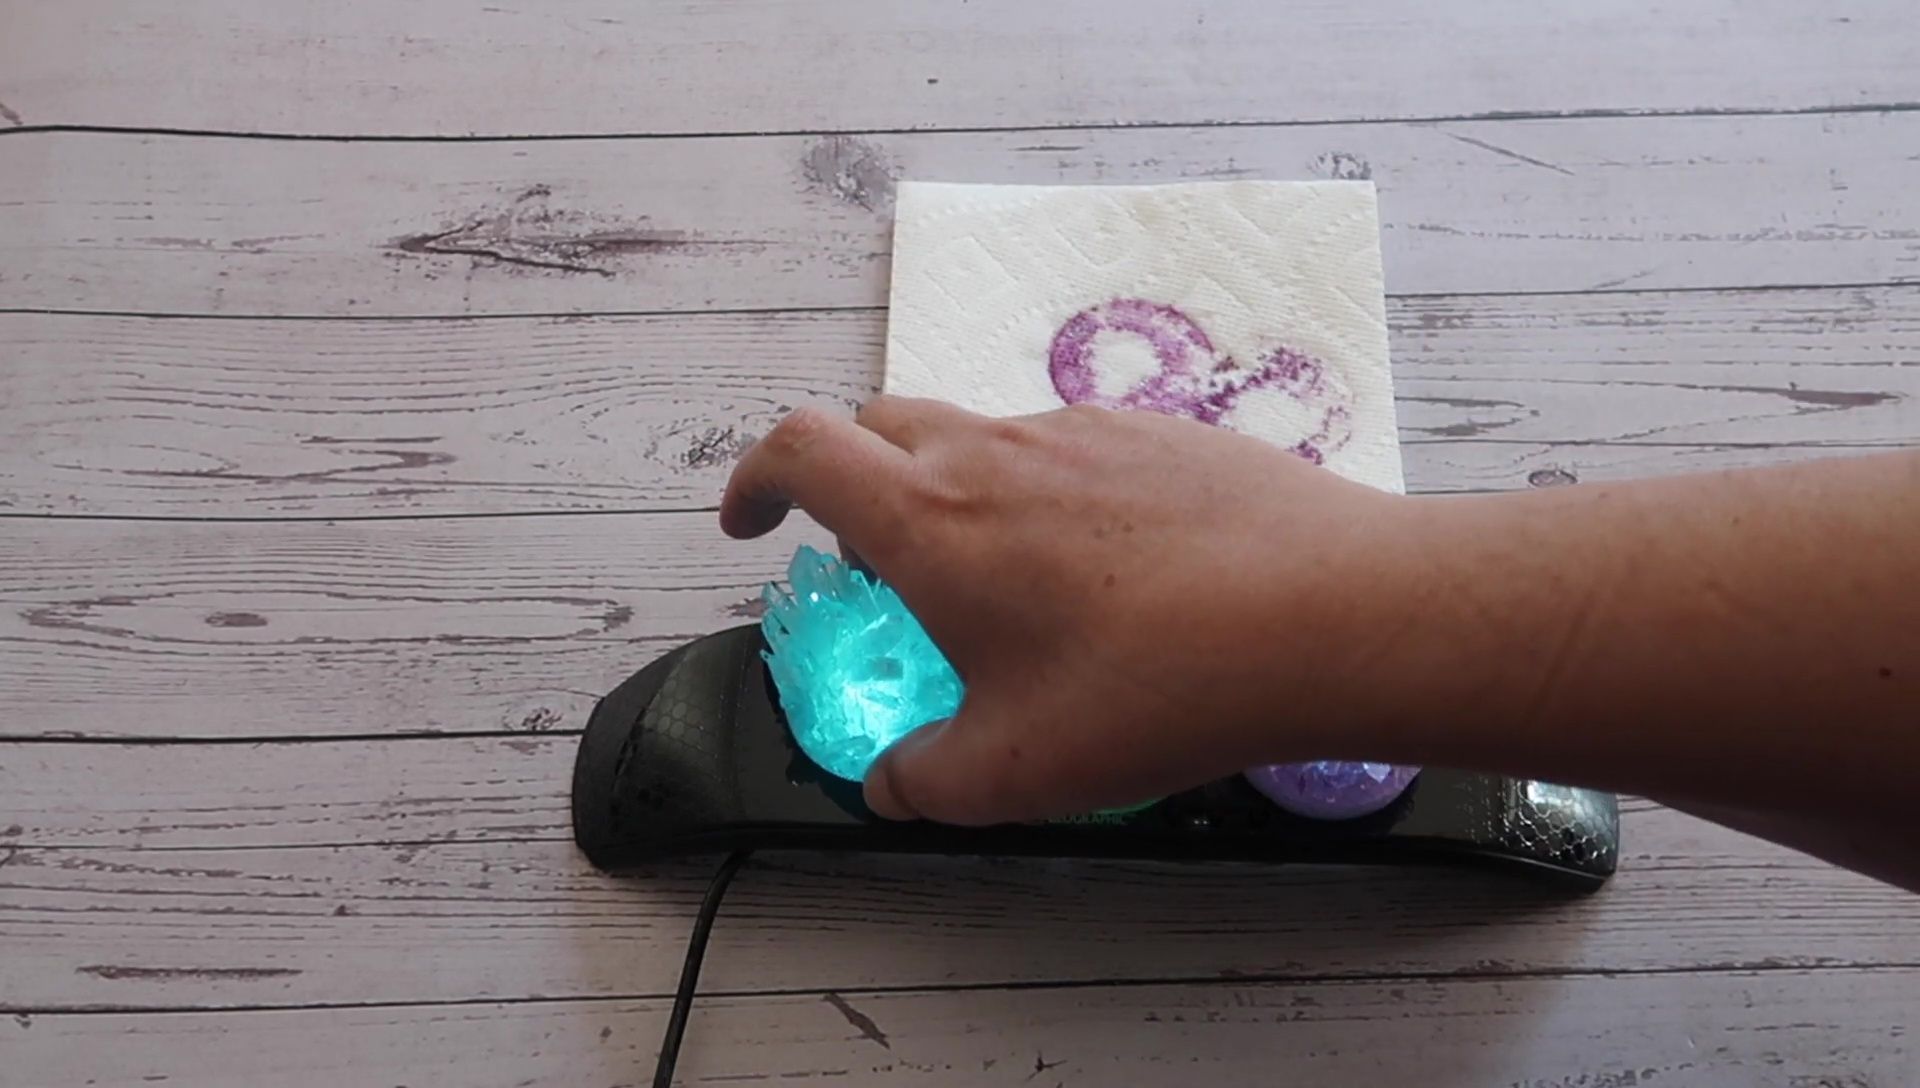
Once the crystals were dry, I placed them on the provided display base. This base is surprisingly sophisticated, offering multiple lighting modes (standard, breathing, and candle flicker), brightness levels, and a range of colors.
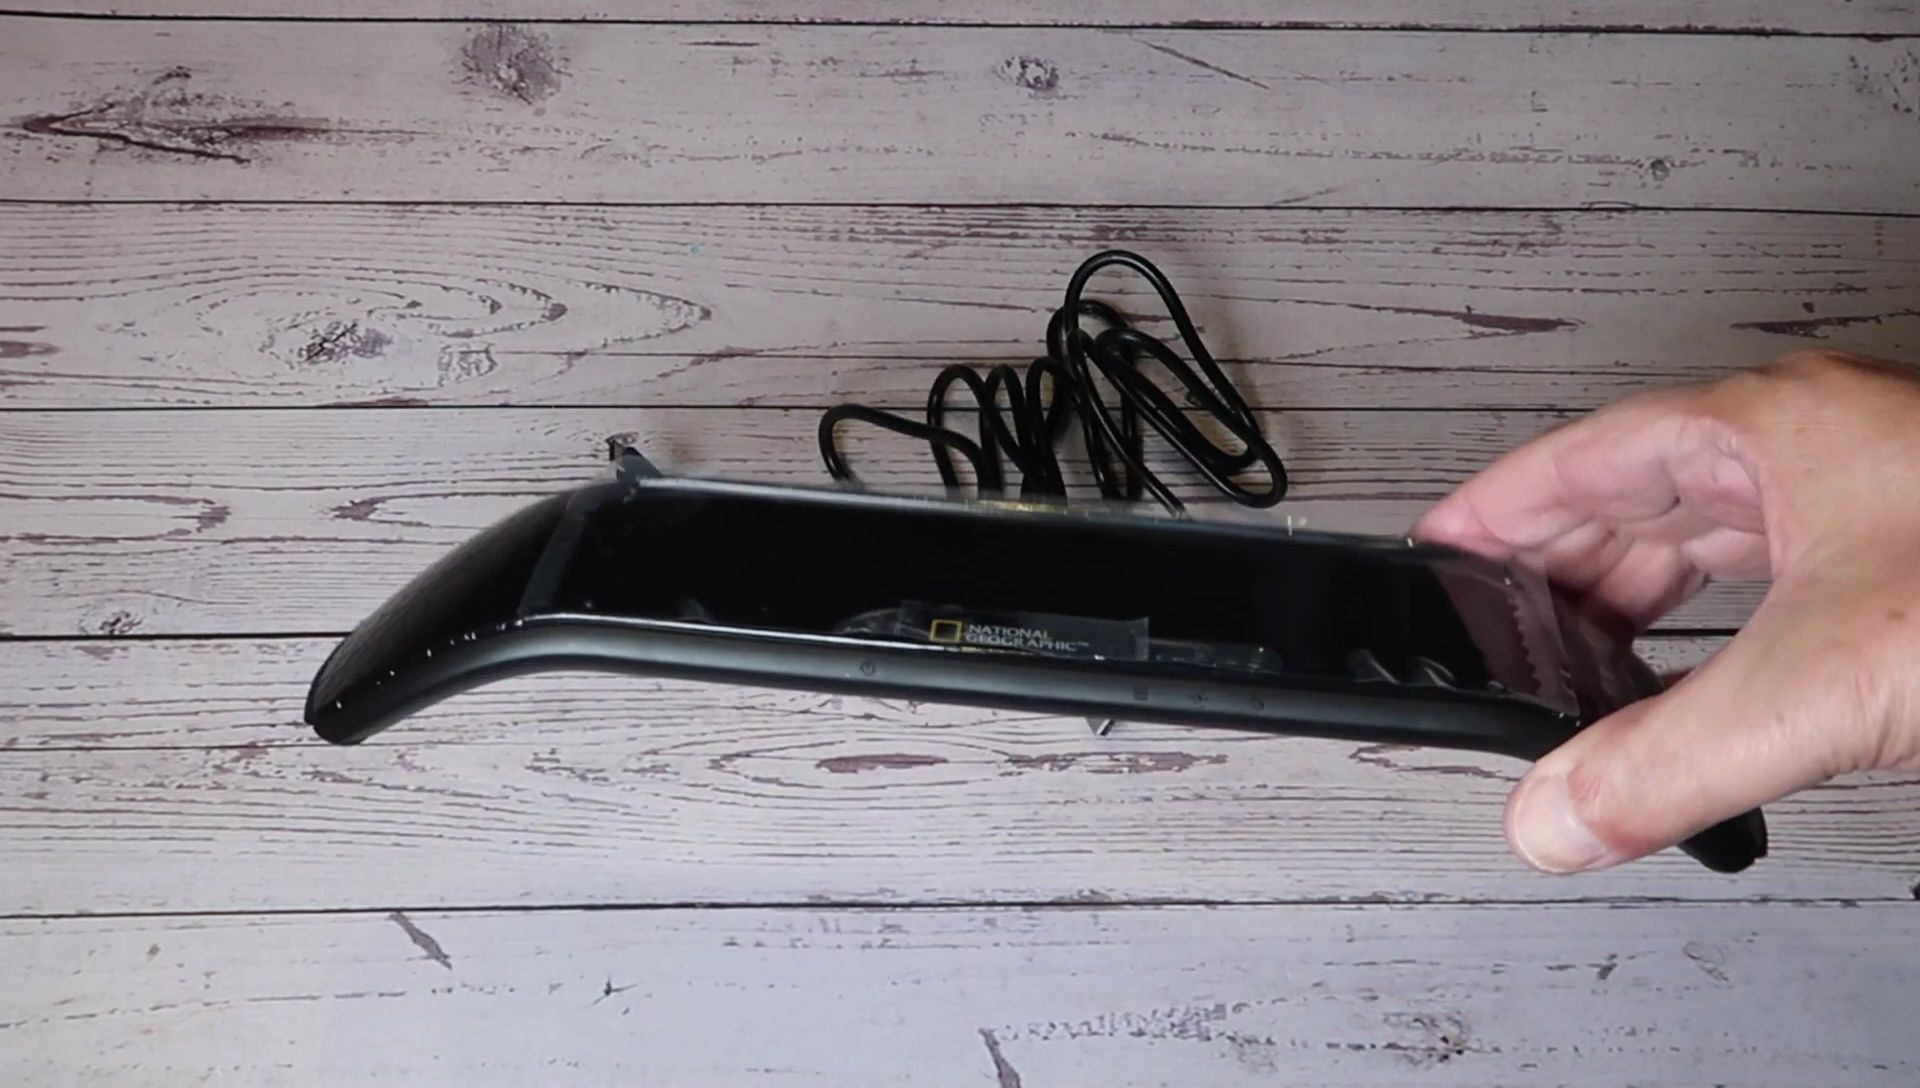
The USB-powered base provided a captivating way to showcase the crystals. The lighting options are versatile, allowing for a customized display depending on the mood or setting. The crystals looked even more stunning with the light shining through.
It's a thoughtful addition to the kit, enhancing the overall educational and enjoyable experience.
Final Thoughts and Conclusion
The National Geographic Crystal Growing Lab kit is an excellent science project for kids and adults who enjoy STEM activities. The clear instructions, high-quality materials, and the innovative display base combine to create a truly engaging experience.
While the crystal growth process takes several days, the final result is a beautiful and unique set of crystals that are far more impressive than expected. It’s a worthwhile investment for an educational and entertaining activity that will spark curiosity and appreciation for science.
The kit's value goes beyond simple crystal growing; it encourages learning about crystal formation, chemistry, and the scientific method—making it a fantastic addition to any home or classroom.