This step-by-step guide provides a comprehensive tutorial on setting up your Raspberry Pi 3B+ for the first time. We'll walk you through the entire process, from safely unpacking and assembling your Pi to connecting peripherals and booting up the operating system. Whether you're a seasoned electronics enthusiast or a complete beginner, this guide will equip you with the knowledge and instructions needed to get your Raspberry Pi up and running smoothly. We'll cover essential steps such as connecting your keyboard, mouse, monitor, and power supply, along with important considerations for protecting your hardware and avoiding common pitfalls.This guide is particularly useful for those new to the Raspberry Pi, but even experienced users might find helpful tips and reminders. We'll also address connecting to the internet and explain the importance of proper shutdown procedures to prevent data corruption. Specific instructions are given for utilizing a breadboard and Pi Wedge for circuit projects, making this guide a valuable resource for a wide range of users and project types. Following these simple steps will have you exploring the incredible potential of your Raspberry Pi in no time.
Pros And Cons
- Compact size (fits in included case)
- Familiar desktop interface (similar to Windows or Mac)
- Requires separate keyboard, mouse, monitor, and power supply
- No internal hard drive; requires microSD card for OS and programs
- Sensitive to static electricity
- No power button; requires proper shutdown procedure to prevent SD card corruption
Read more: Smartivity Magic of Science Kit Review: 50+ Engaging Experiments for Kids
Unboxing and Case Assembly
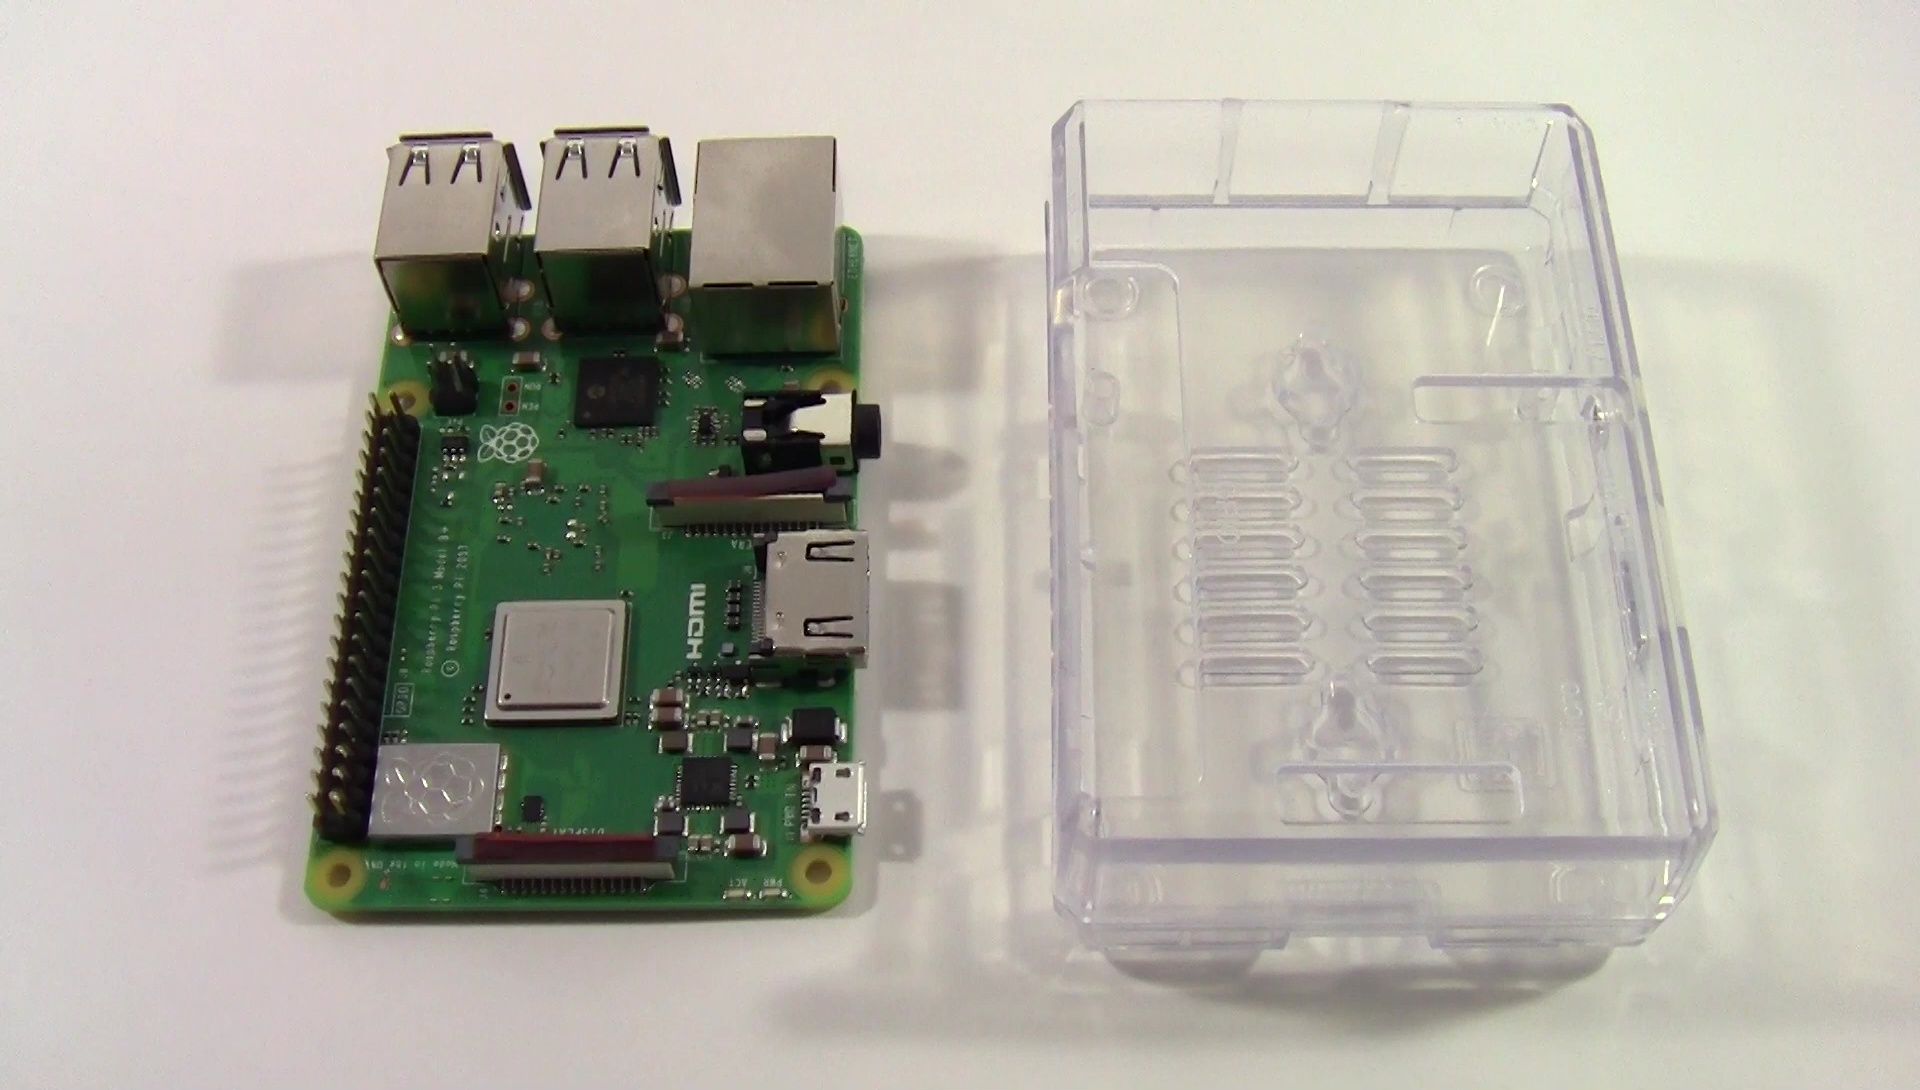
The Raspberry Pi 3B+ arrives as a bare circuit board, requiring careful handling to prevent static electricity damage. Before handling the board, ground yourself by touching a large metal object. The kit includes a clear plastic case with two halves that easily snap together. Align the case cutouts with the Raspberry Pi's ports for a snug fit.
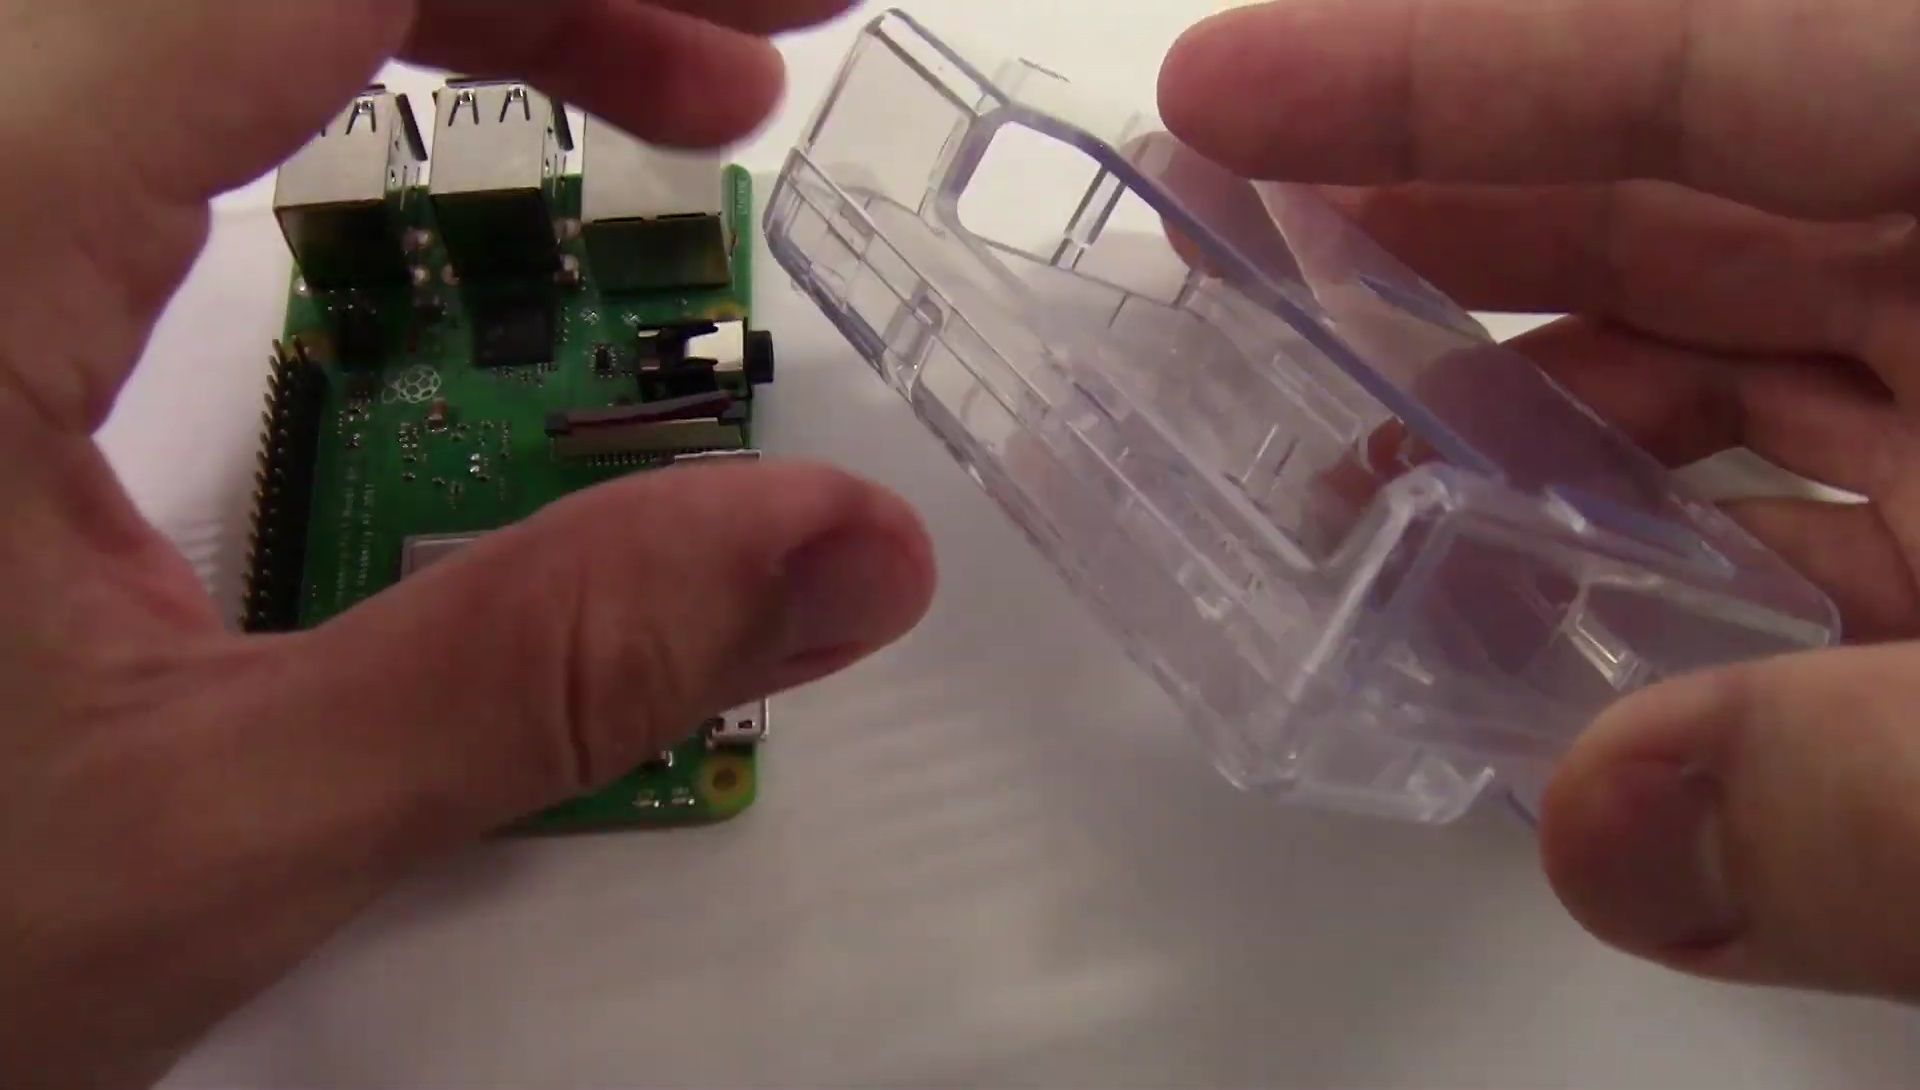
Carefully insert the Raspberry Pi into the bottom half of the case, ensuring it's securely fastened. Then, attach the top half of the case, making sure all ports are accessible. The case protects the sensitive components and keeps the Raspberry Pi organized.
Connecting Peripherals
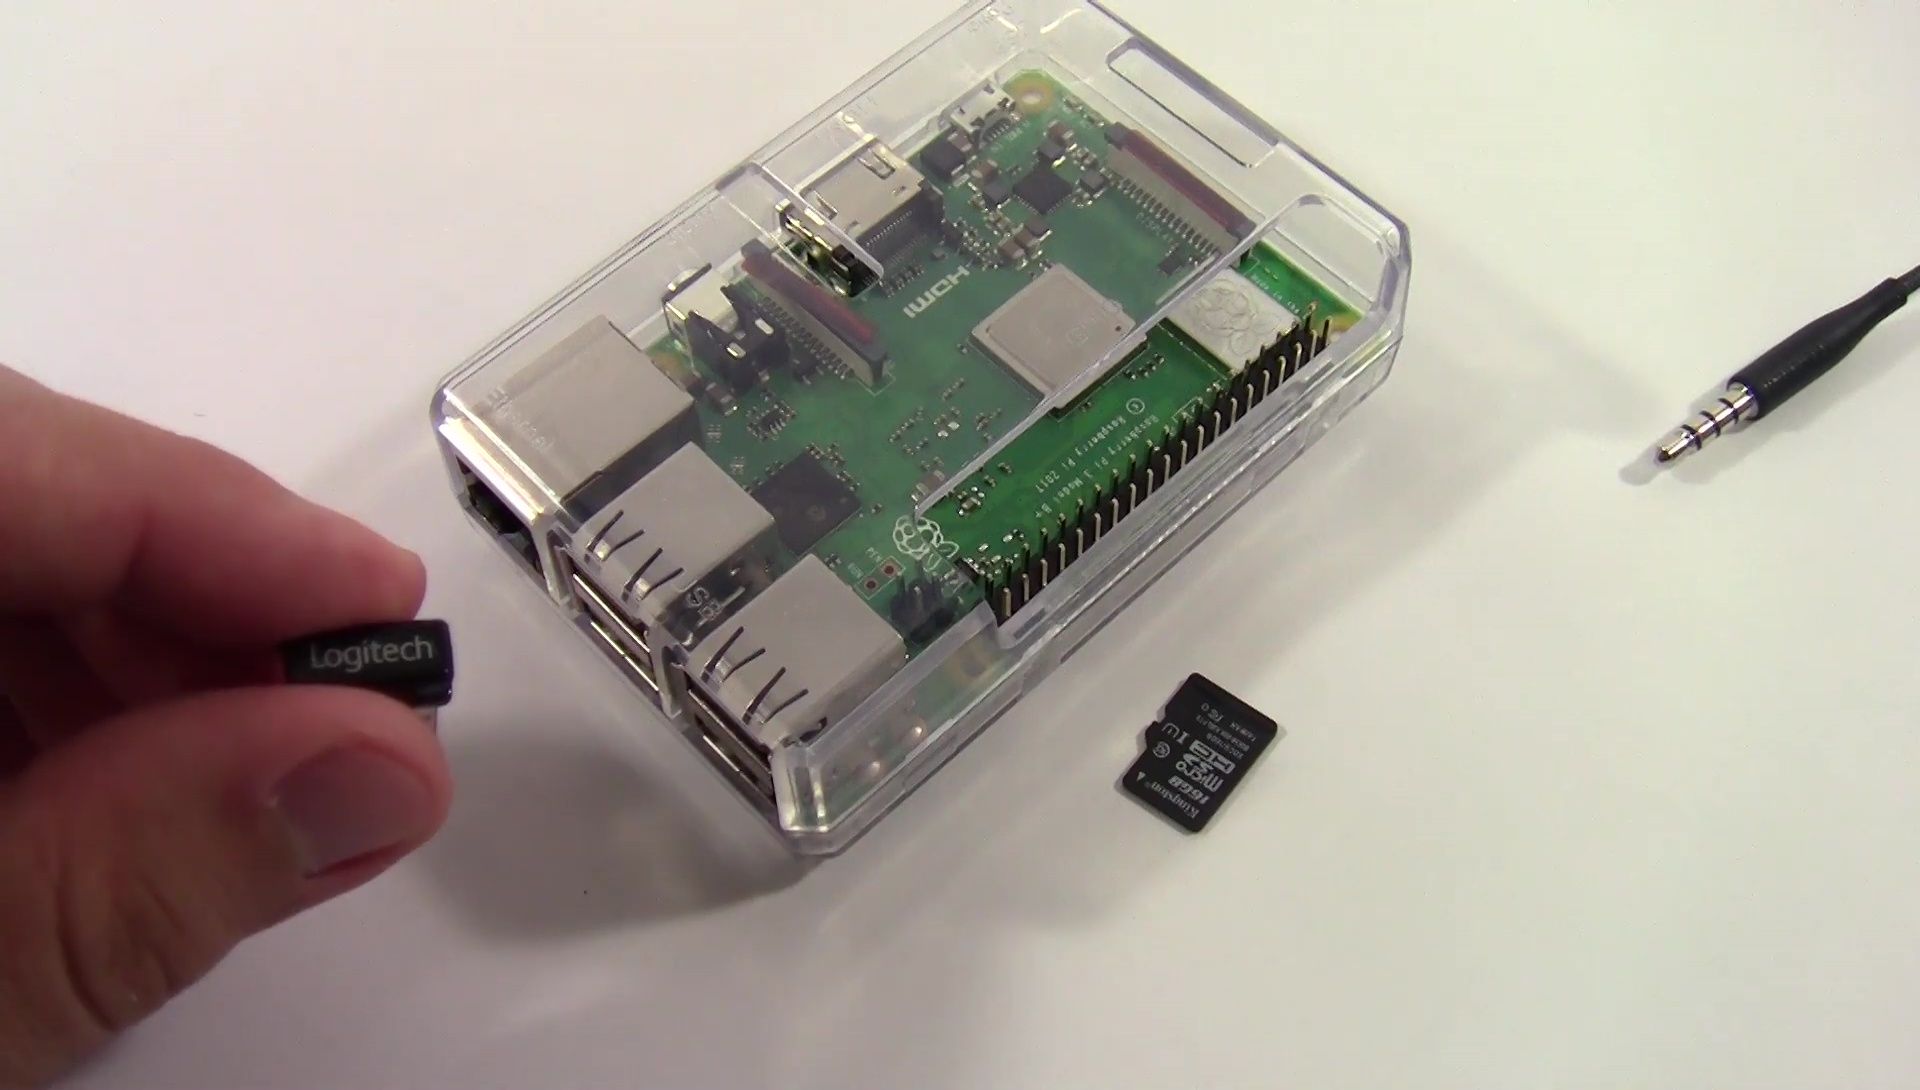
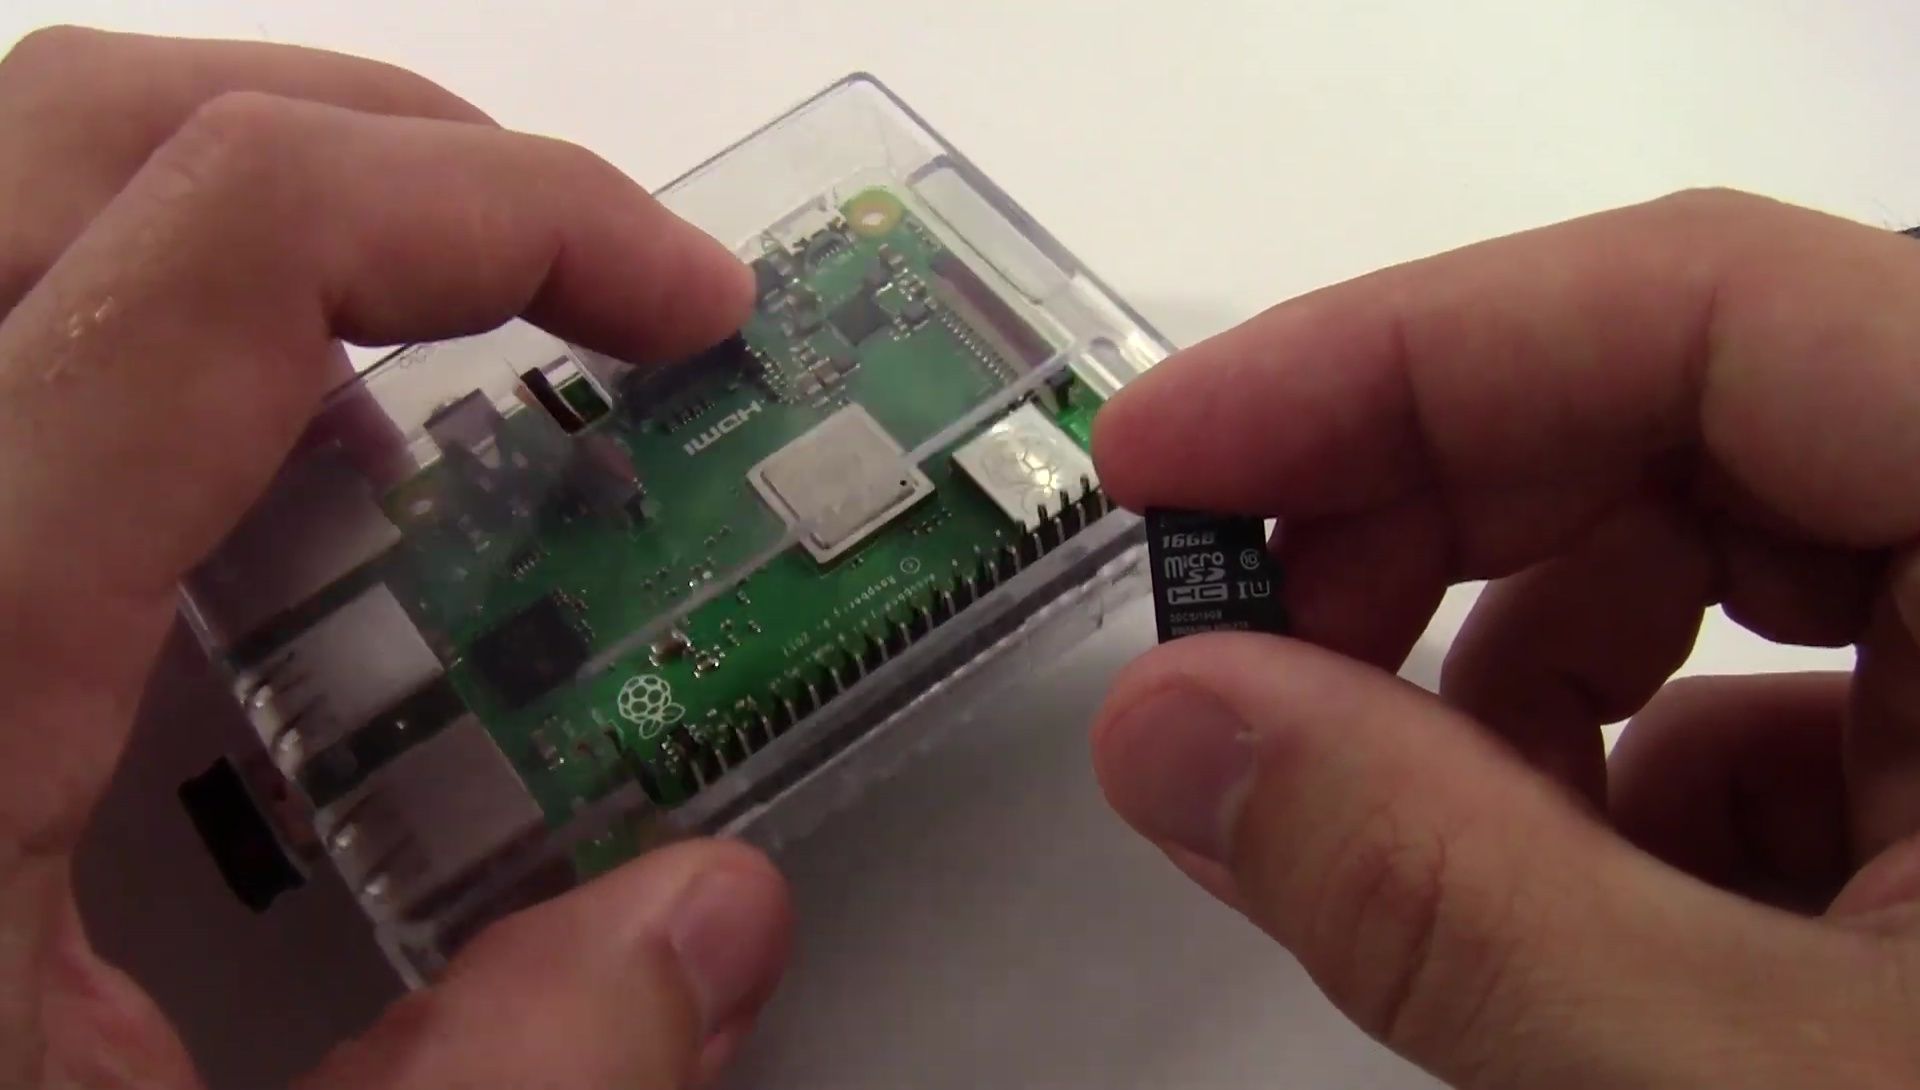
Connect your USB keyboard and mouse (wired or wireless via adapter) to the available USB ports. The micro SD card, containing the operating system and programs, is crucial; insert it carefully into the slot, ensuring it's flush with the case. This is essential for the Raspberry Pi to function.
Connect the HDMI cable to the Raspberry Pi and your monitor or TV. If your display lacks built-in speakers or uses a non-HDMI connection, use separate headphones or external speakers connected to the 3.5mm audio jack.
GPIO Setup: Breadboard, Ribbon Cable, and Pi Wedge
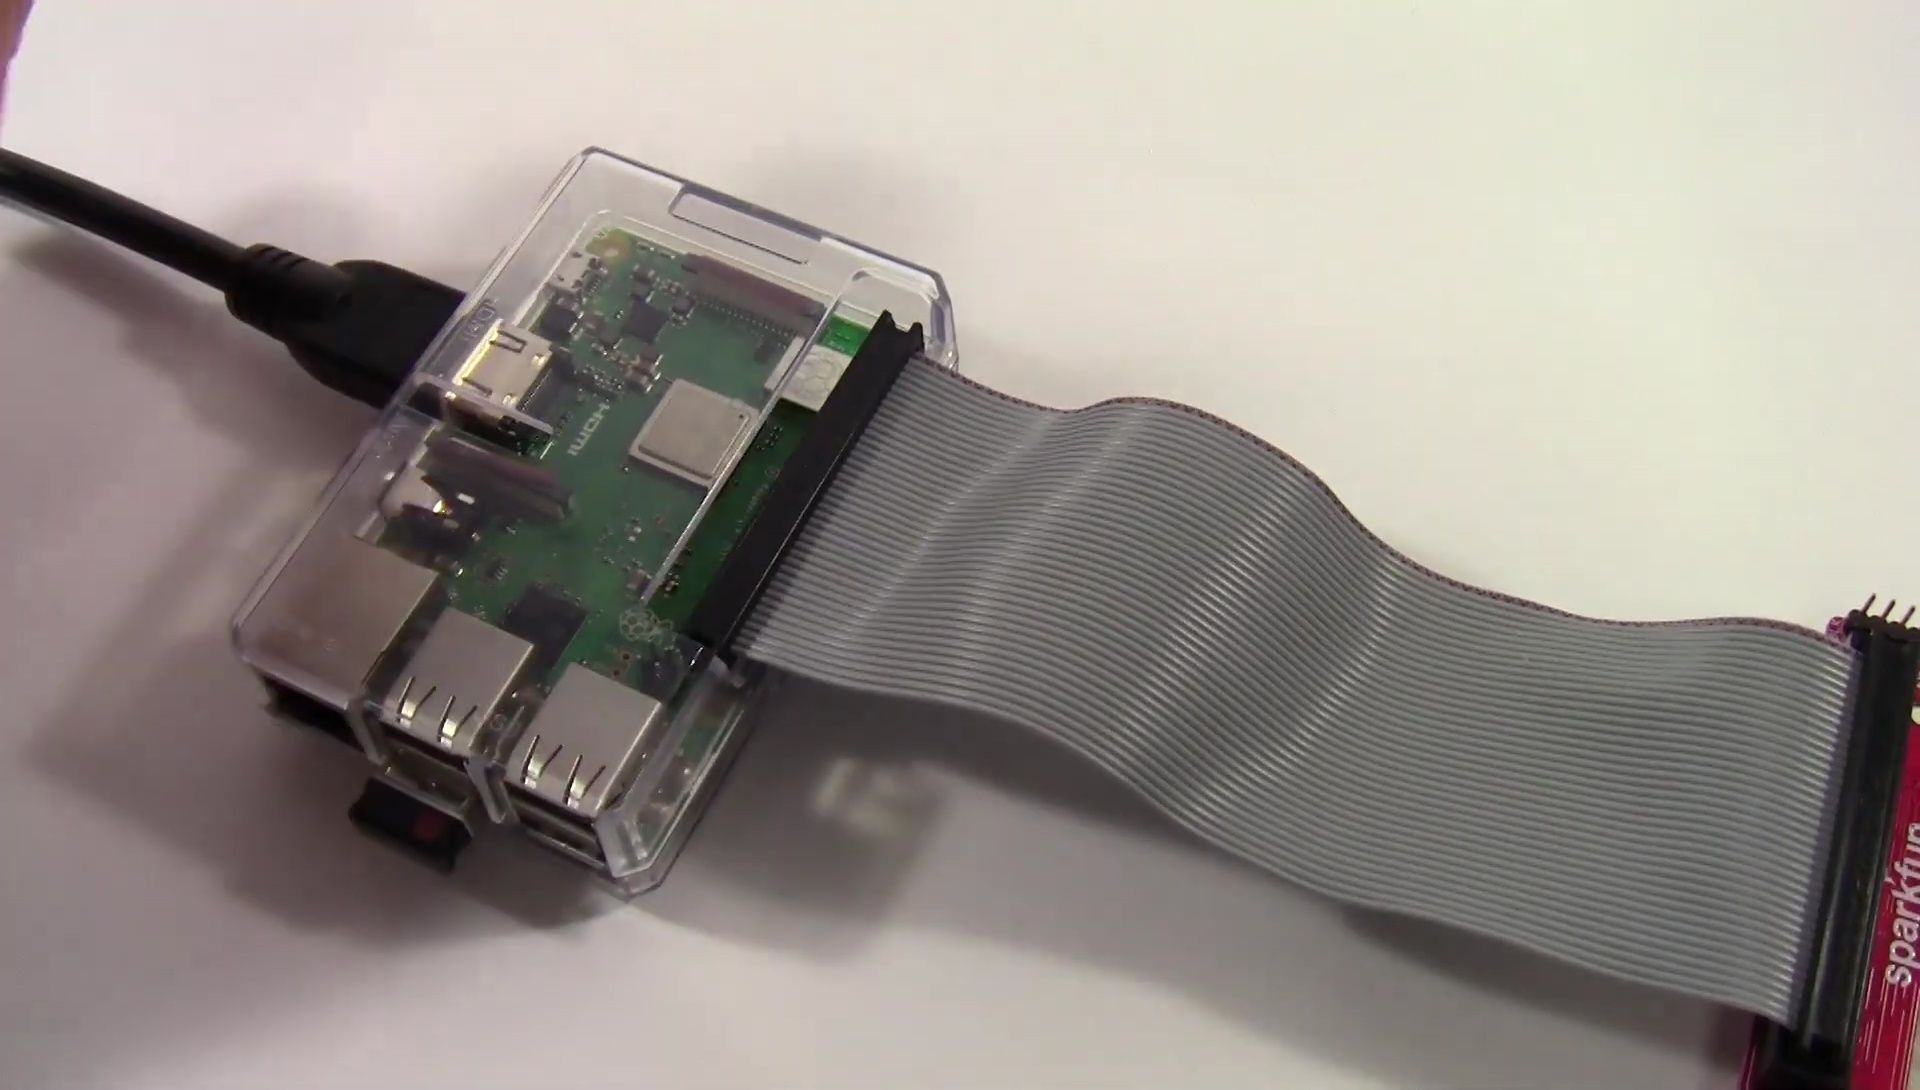
For circuit projects, connect the breadboard, ribbon cable, and Pi Wedge. The Pi Wedge's black connector has a notch; align it with the corresponding notch on the ribbon cable's end before connecting. Ensure the cable is straight to avoid bending the pins.
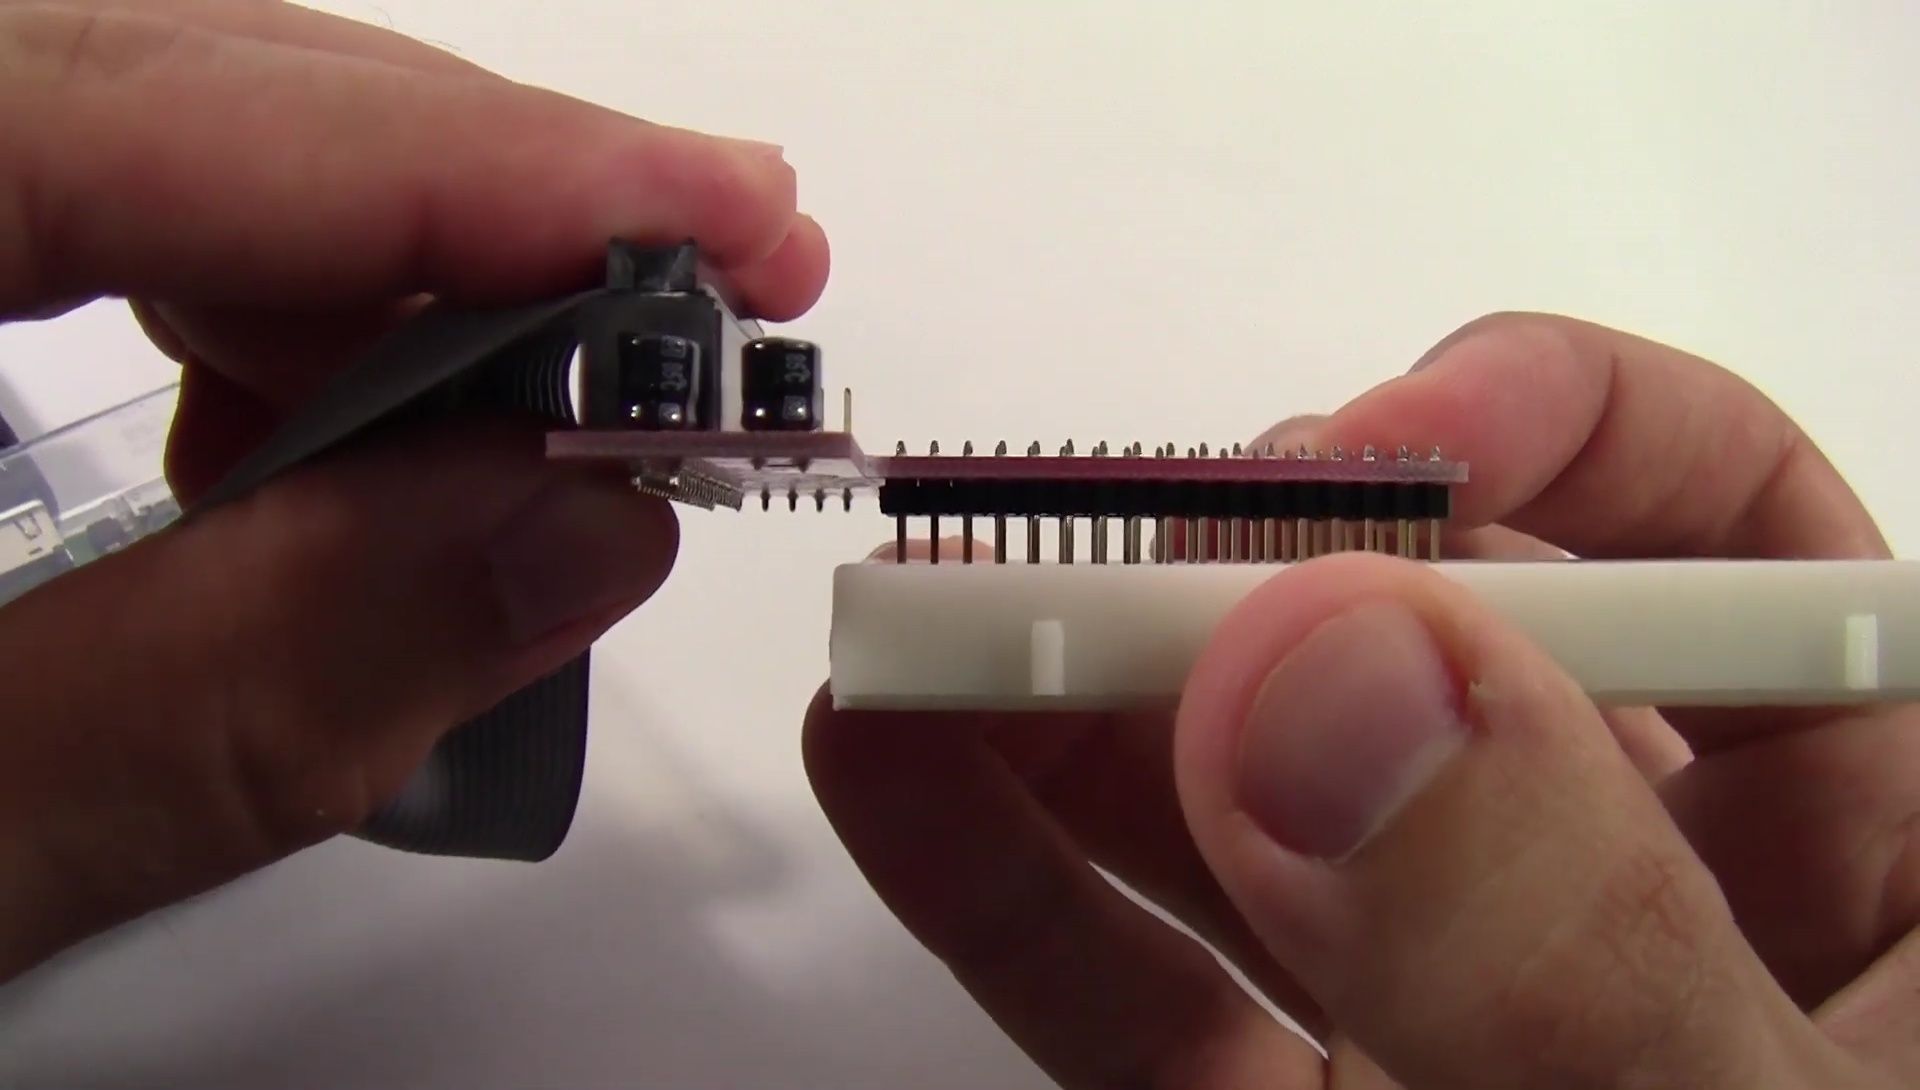
Connect the other end of the ribbon cable to the GPIO pins on the Raspberry Pi. Finally, connect the Pi Wedge's pins to the breadboard, ensuring they straddle the central gap. This setup allows for easy circuit connections.
Powering On and Initial Setup
Plug in the micro USB power cable. The red LED near the port should illuminate, indicating power is received. A flashing green LED confirms the Raspberry Pi is reading the SD card and booting up. If neither LED is active, troubleshoot power or the SD card.
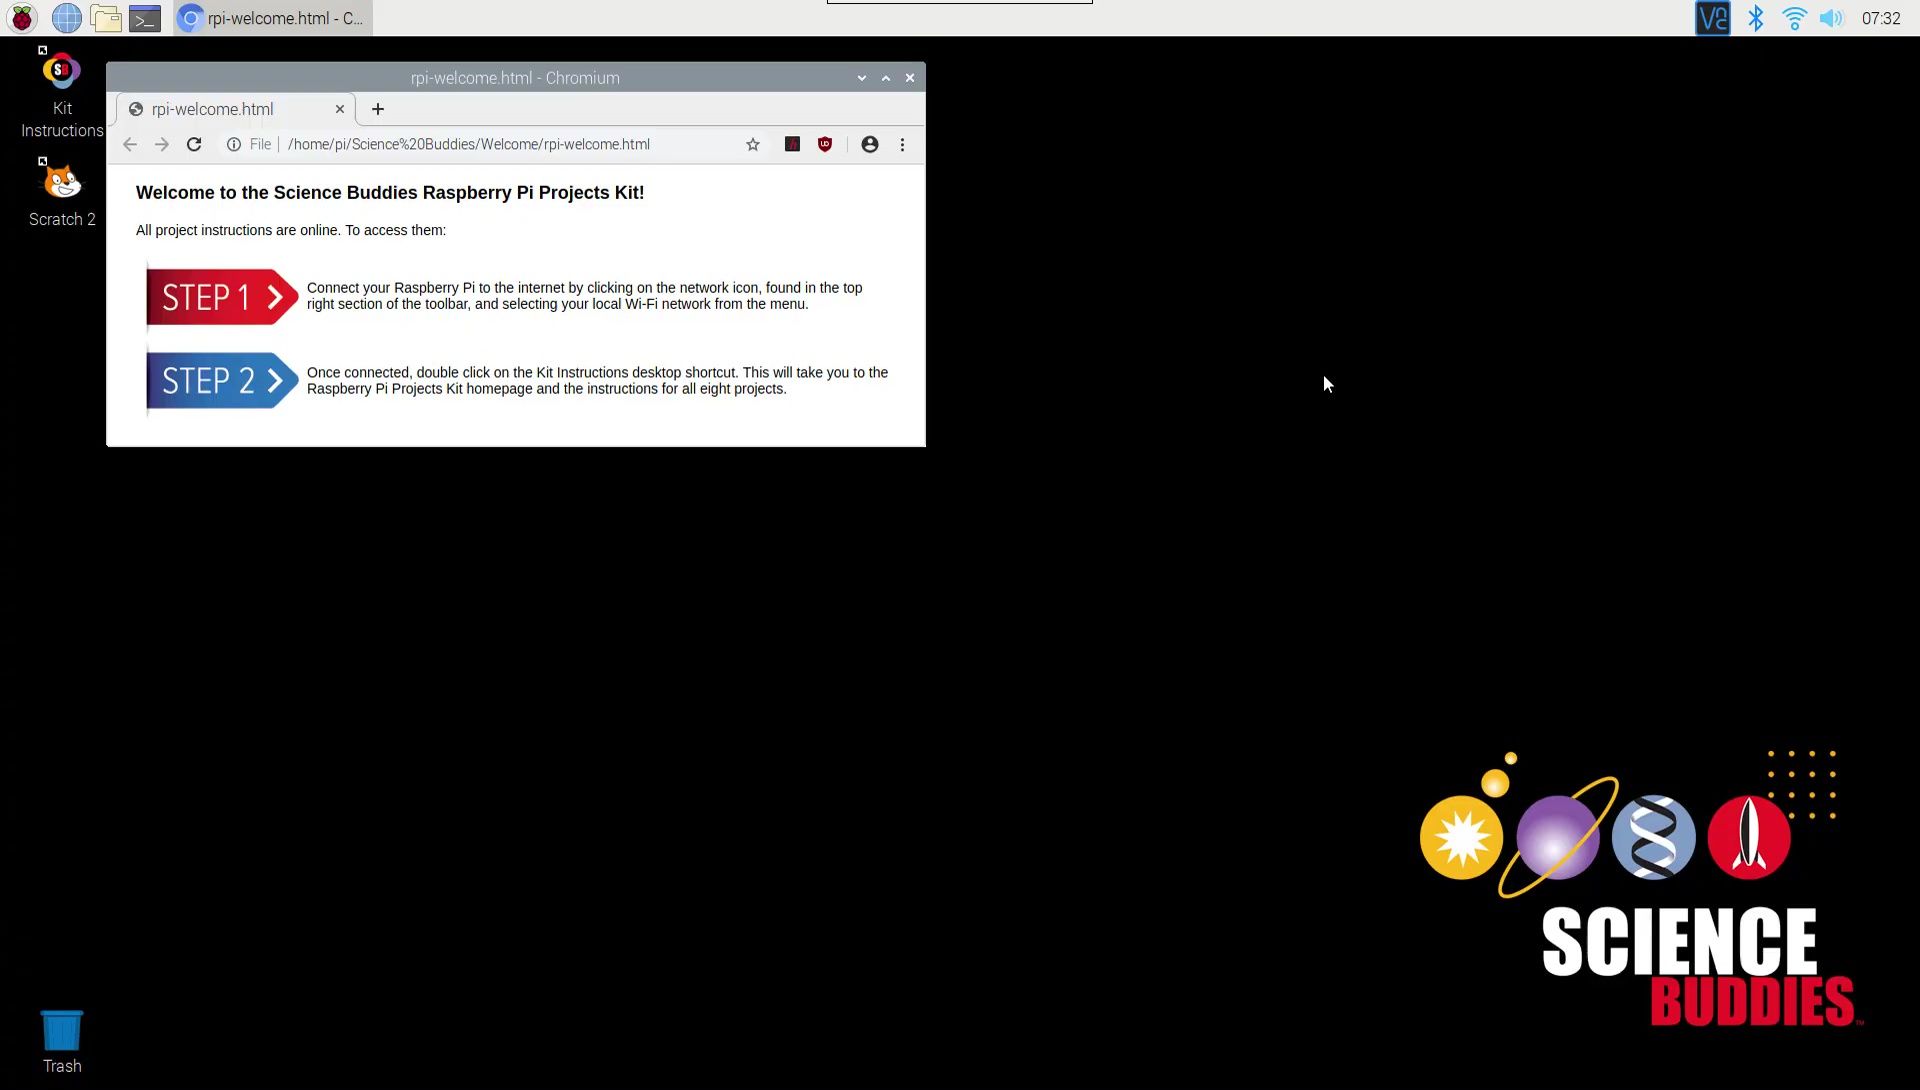
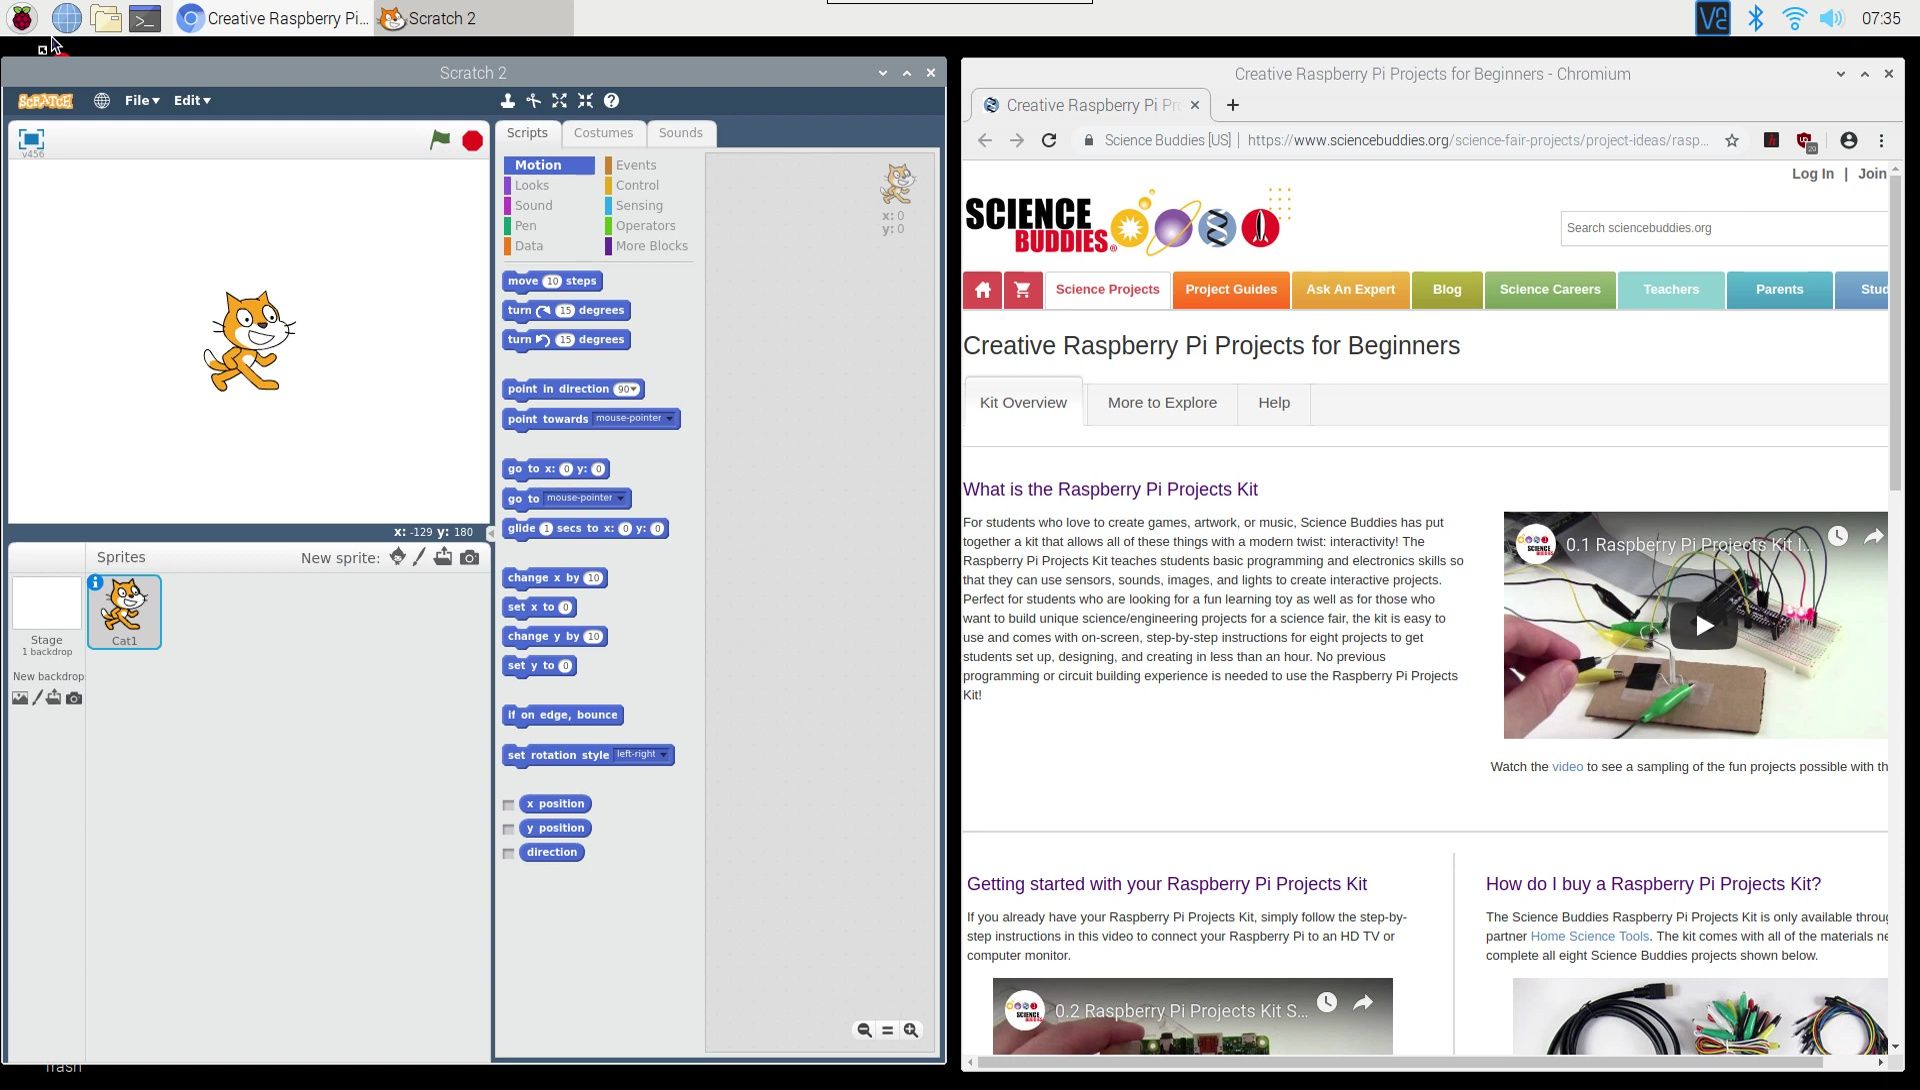
After a minute, the desktop interface should appear, similar to Windows or macOS. A reminder box prompts you to connect to the internet (Ethernet or Wi-Fi). If using a Science Buddies kit, desktop shortcuts for online instructions and Scratch 2 will be available.
Important Considerations: Shut Down and Troubleshooting
Always shut down the Raspberry Pi properly through the menu (Raspberry Pi icon -> Shutdown). Never unplug the power cable directly; this can corrupt the SD card. Observe the LEDs; the green LED stops blinking completely when shut down properly.
If you encounter issues during setup, refer to the FAQ and troubleshooting links in the video description for assistance. The video offers helpful tips and solutions to common problems.
