This review dives into the Solar Rover Kit, a hands-on STEM project perfect for both kids and adults. We explore the ease of assembly, the quality of the components, and the overall educational experience. From unpacking to the final test run, we detail every step, highlighting both the straightforward aspects and any minor challenges encountered. This comprehensive review will provide you with a clear understanding of what to expect from this engaging and affordable solar-powered kit.The Solar Rover Kit offers a unique blend of fun and learning. We assess the kit's design flexibility, the clarity of its instructions, and the effectiveness of its educational value. Discover whether this kit lives up to its promise as an enjoyable and insightful introduction to solar energy and basic mechanics. Find out if it’s a worthwhile investment for a family project or a solo STEM endeavor.
Pros And Cons
- Fun to build
- Mobile once assembled
- Uses solar power
Read more: 4M Green Science Solar Rover Kit Review: A Fun STEM Project for Kids
Unboxing and Initial Impressions
The Solar Rover kit arrived well-packaged and contained all the necessary components. The instructions were easy to follow, though not overly detailed, which makes it a good choice for a project with kids. The parts seem sturdy and of good quality, promising a long-lasting solar-powered toy.
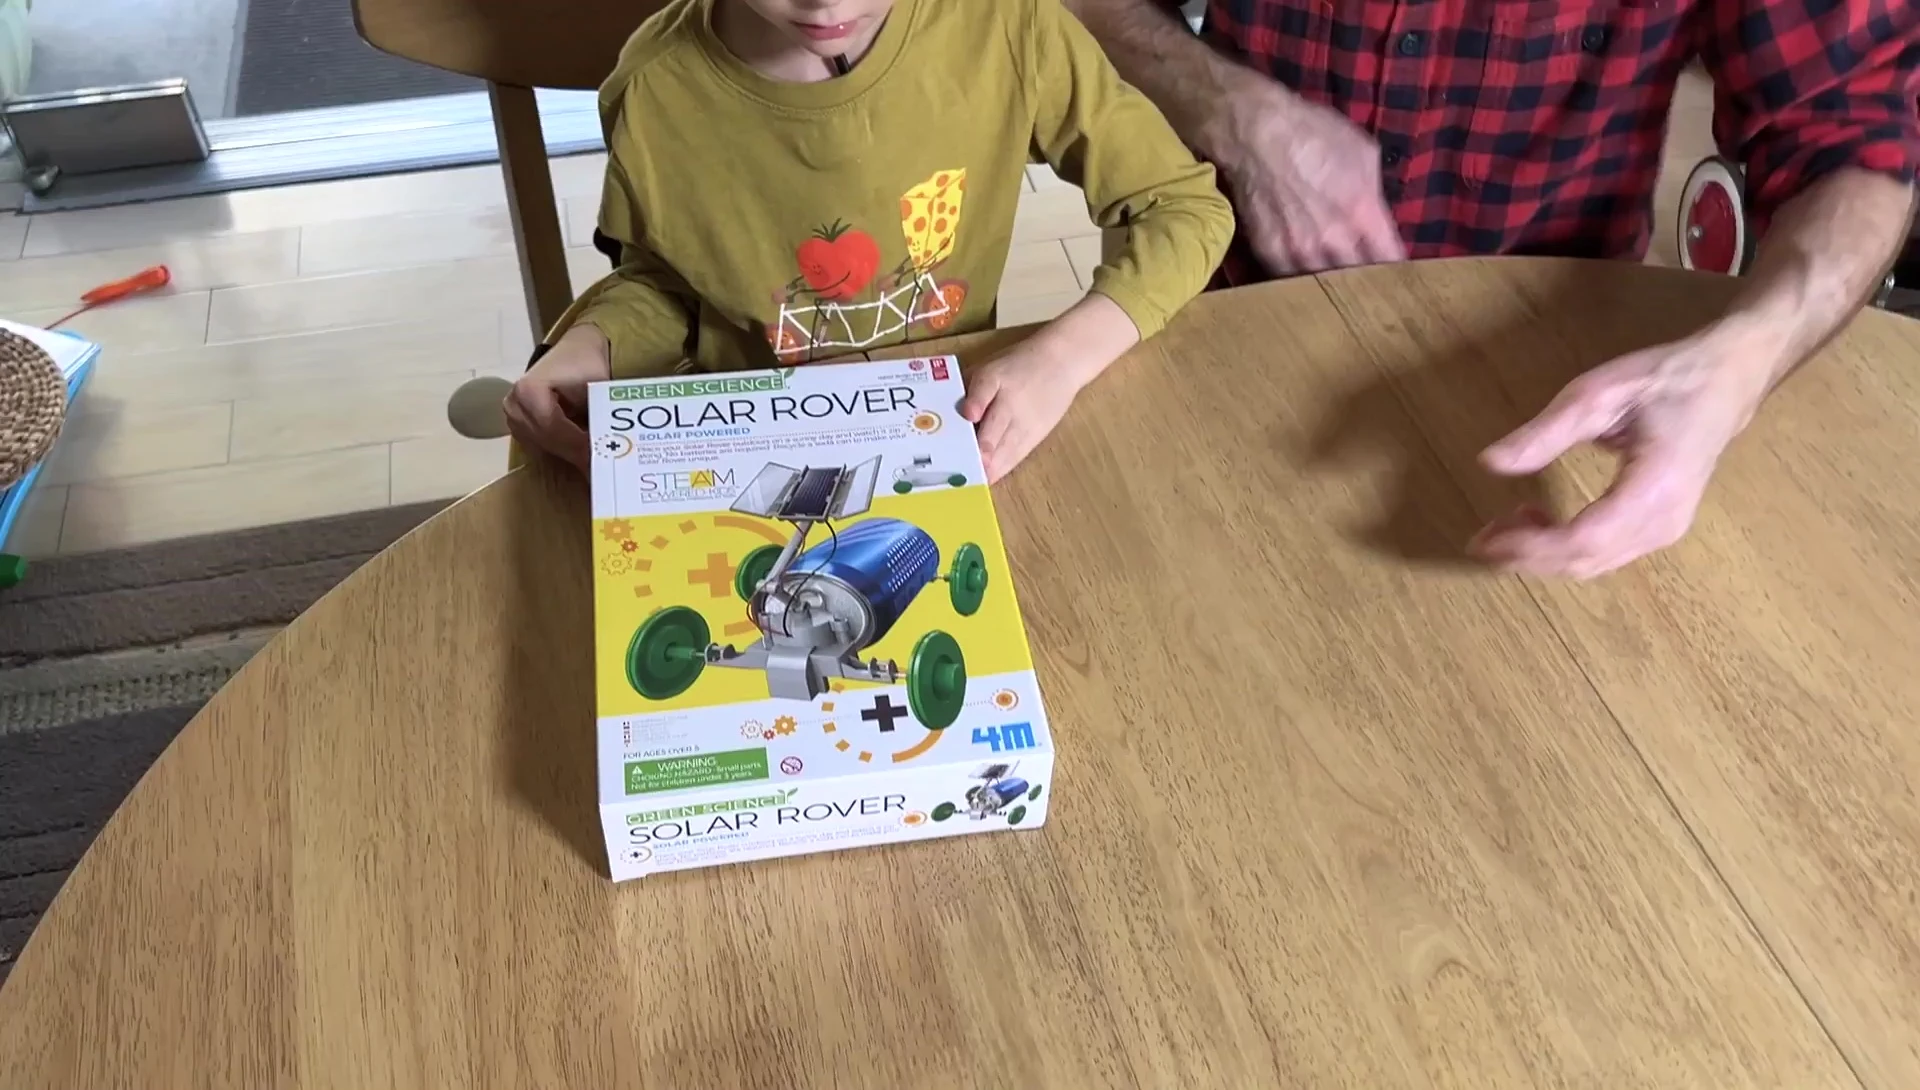
I particularly liked that the kit offers flexibility. While the instructions suggest using a soda can for the body, alternative materials were provided, demonstrating resourcefulness and adaptability. This added a creative element to the build process itself.
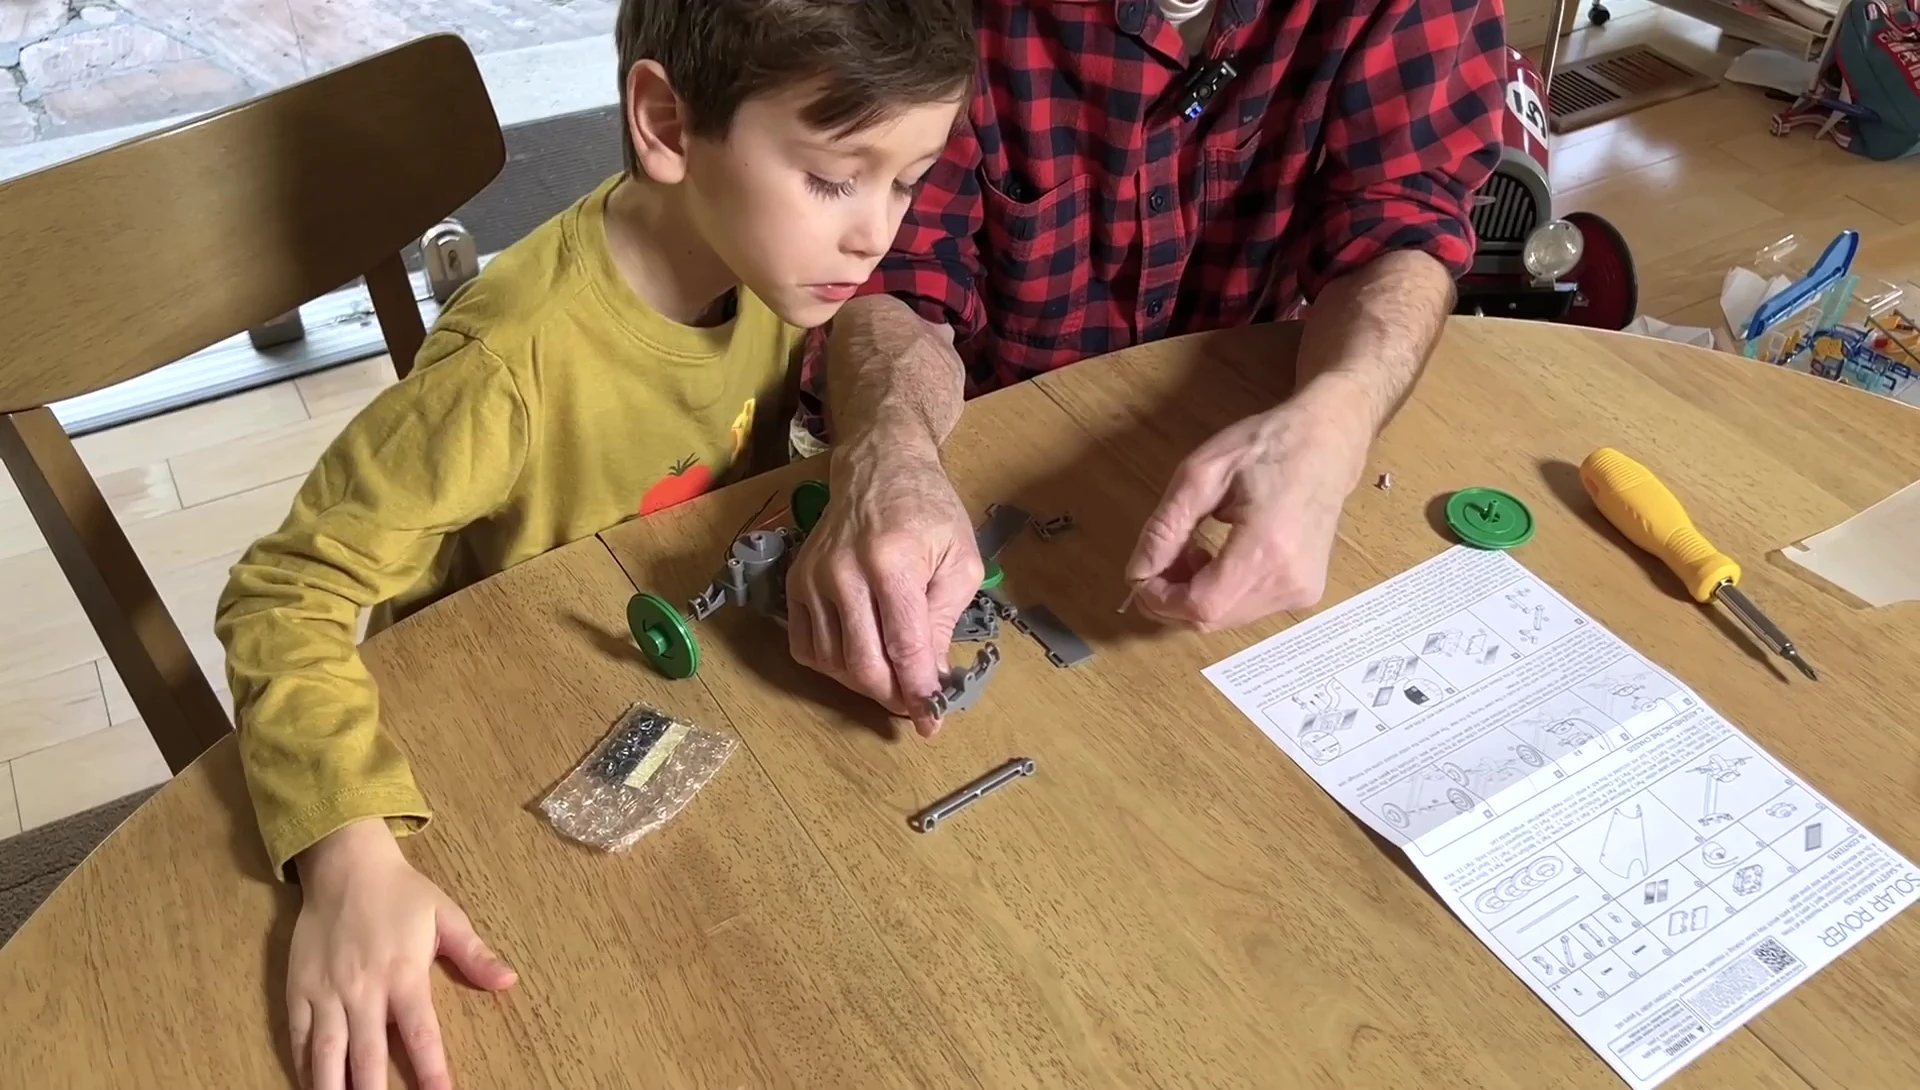
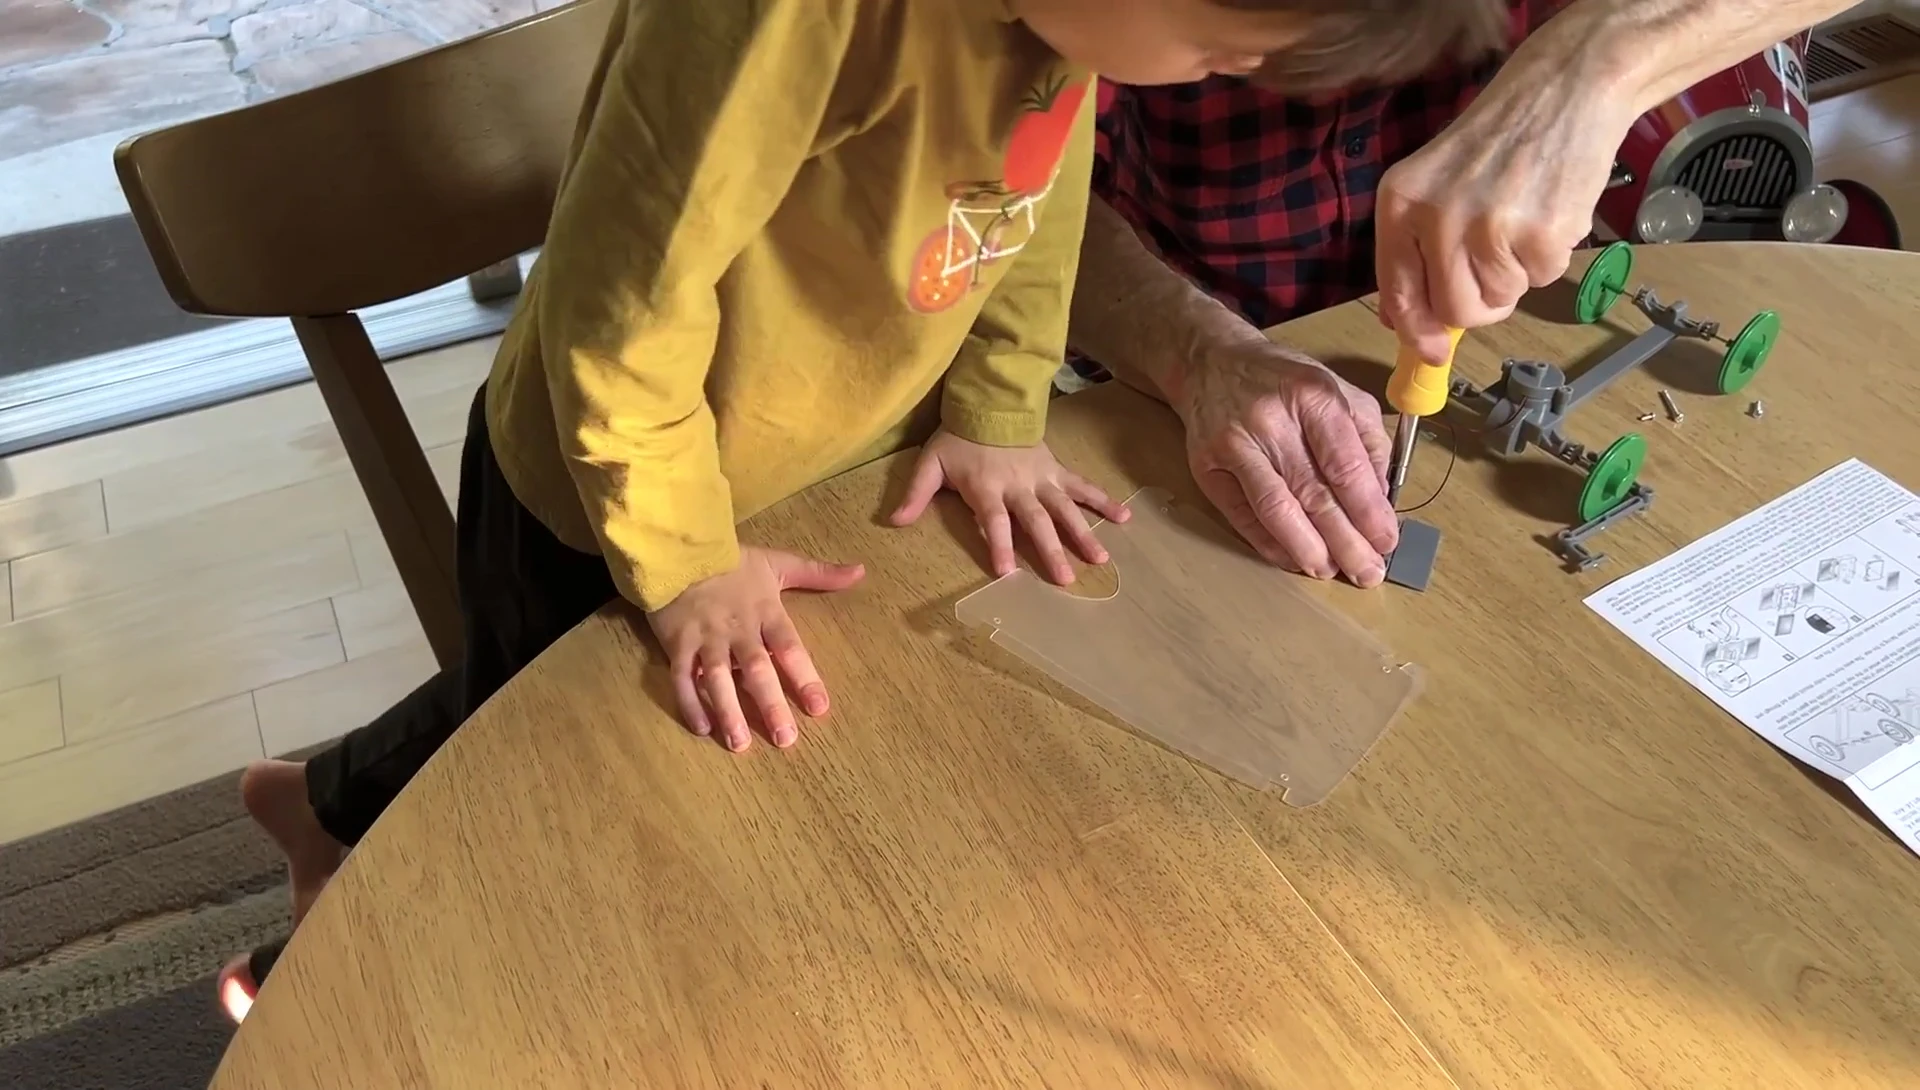
Assembly Process and Challenges
Assembling the Solar Rover was surprisingly straightforward. The step-by-step instructions were clear enough to be followed even without prior experience. The chassis, motor, and motor mount were simple to put together and connect; my child even assisted with screwing in parts.
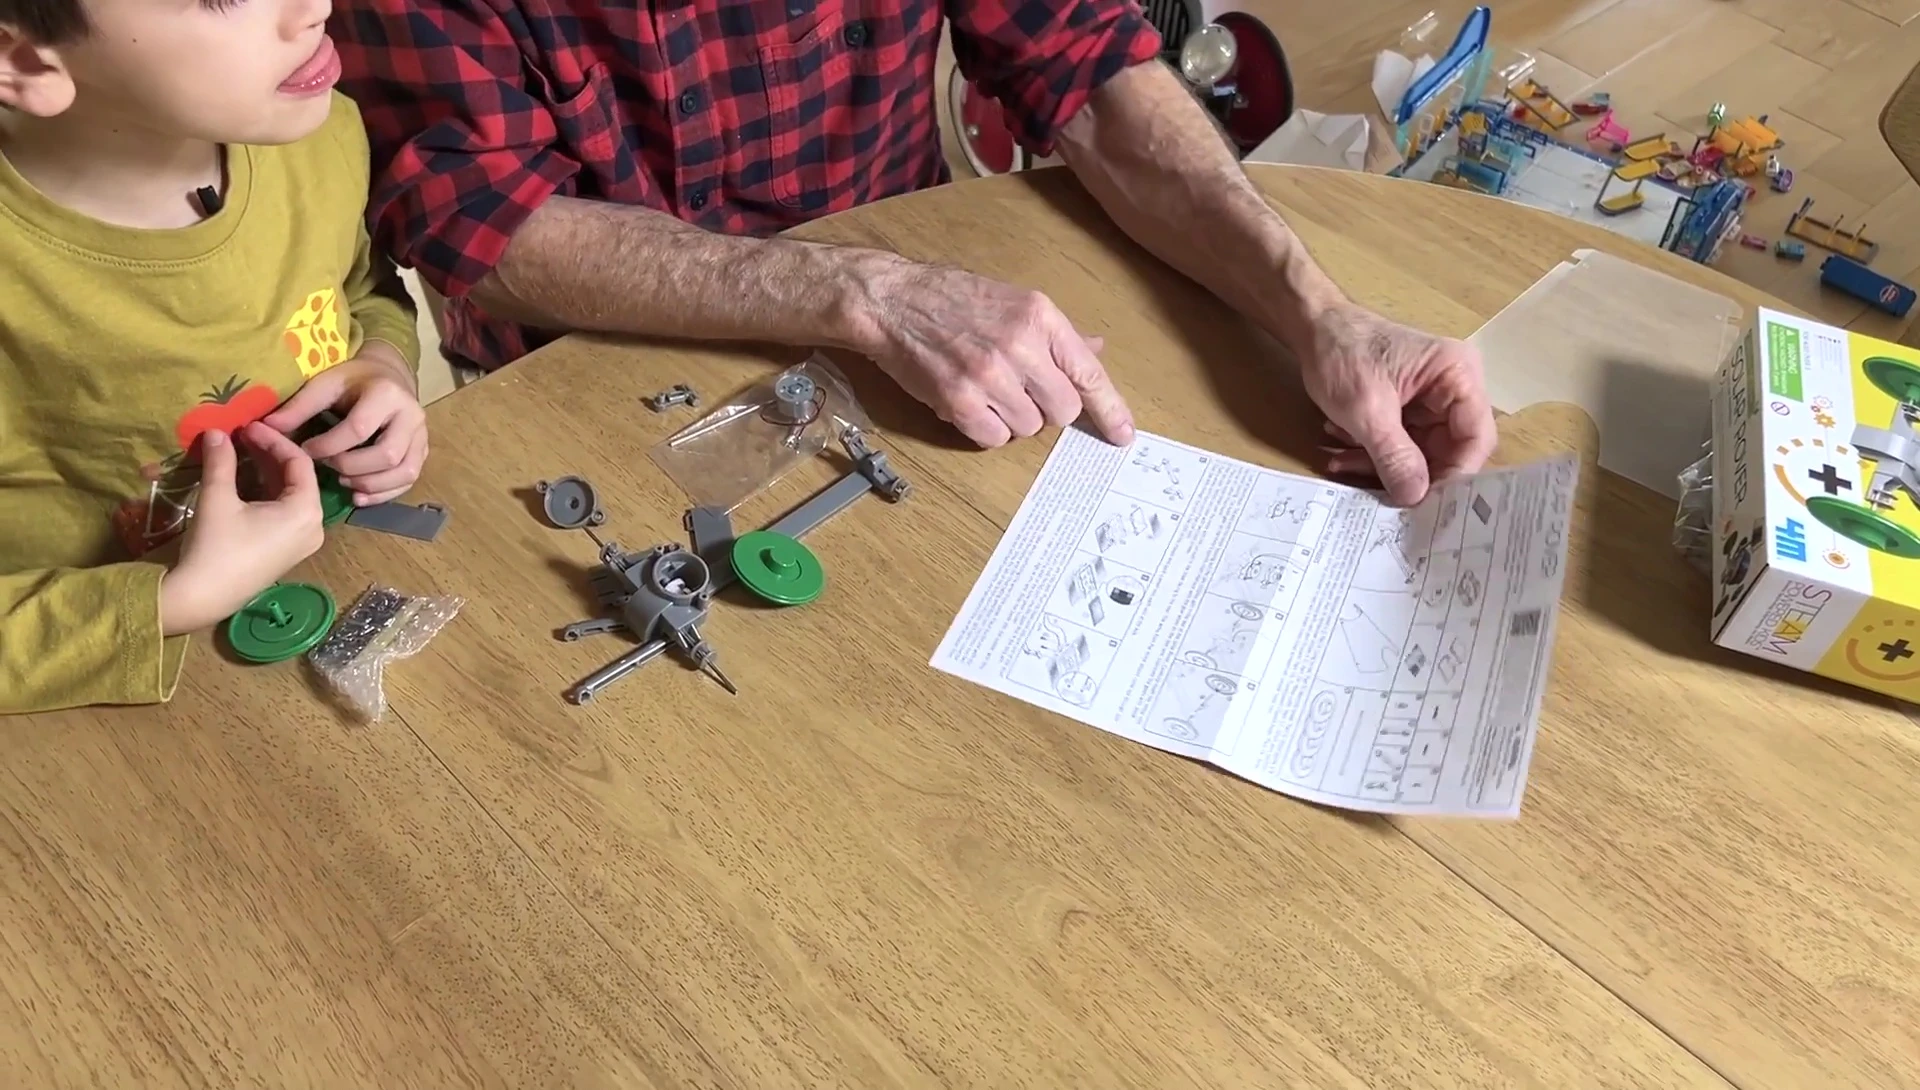
The only slightly tricky part involved fitting the wheels and axle, but it still was a manageable challenge. There was a moment of confusion in determining which way the motor should face. It would have been helpful if the instructions highlighted this more clearly. Nevertheless, we successfully installed and tested the motor to ensure it was working properly.
Final Assembly and Finishing Touches
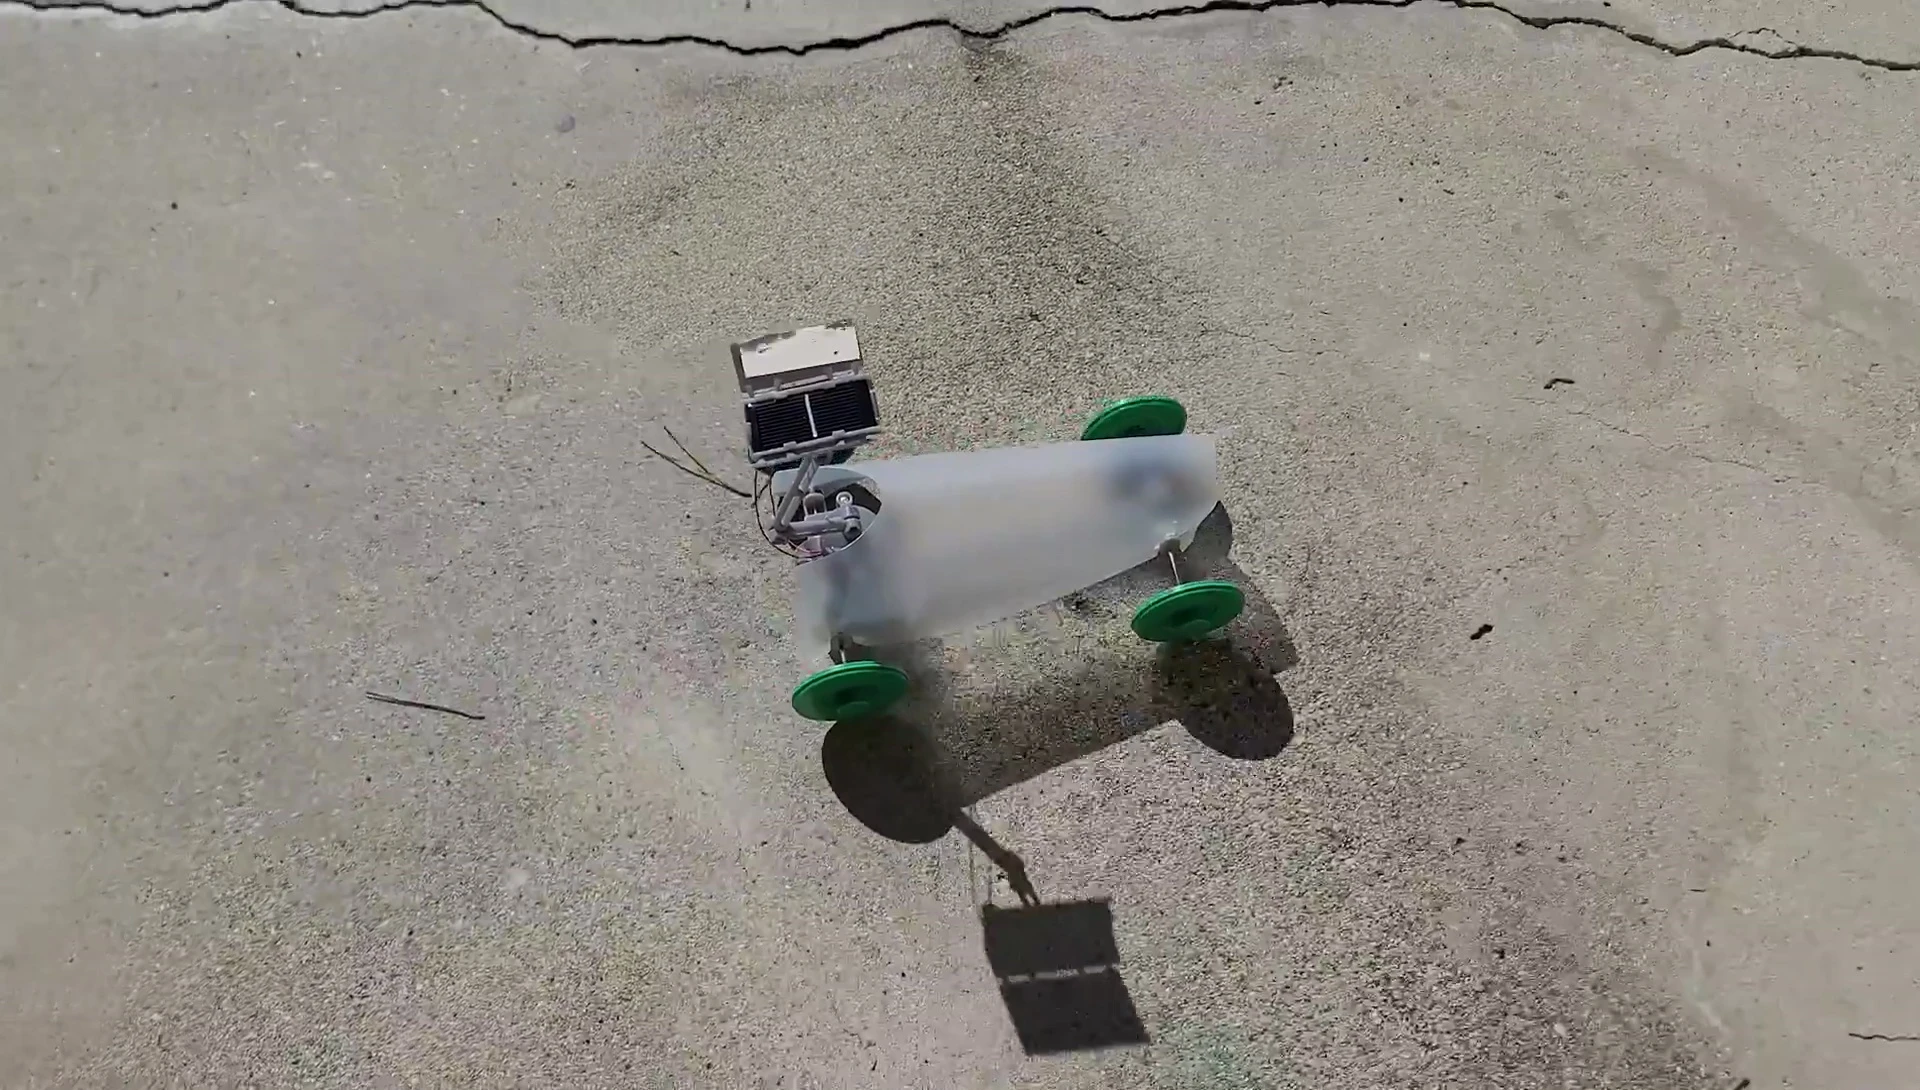
Adding the reflector panels was a nice touch. These were easy to attach and added a functional and aesthetic element to the finished product. The stickers provided a way to personalize the design further.
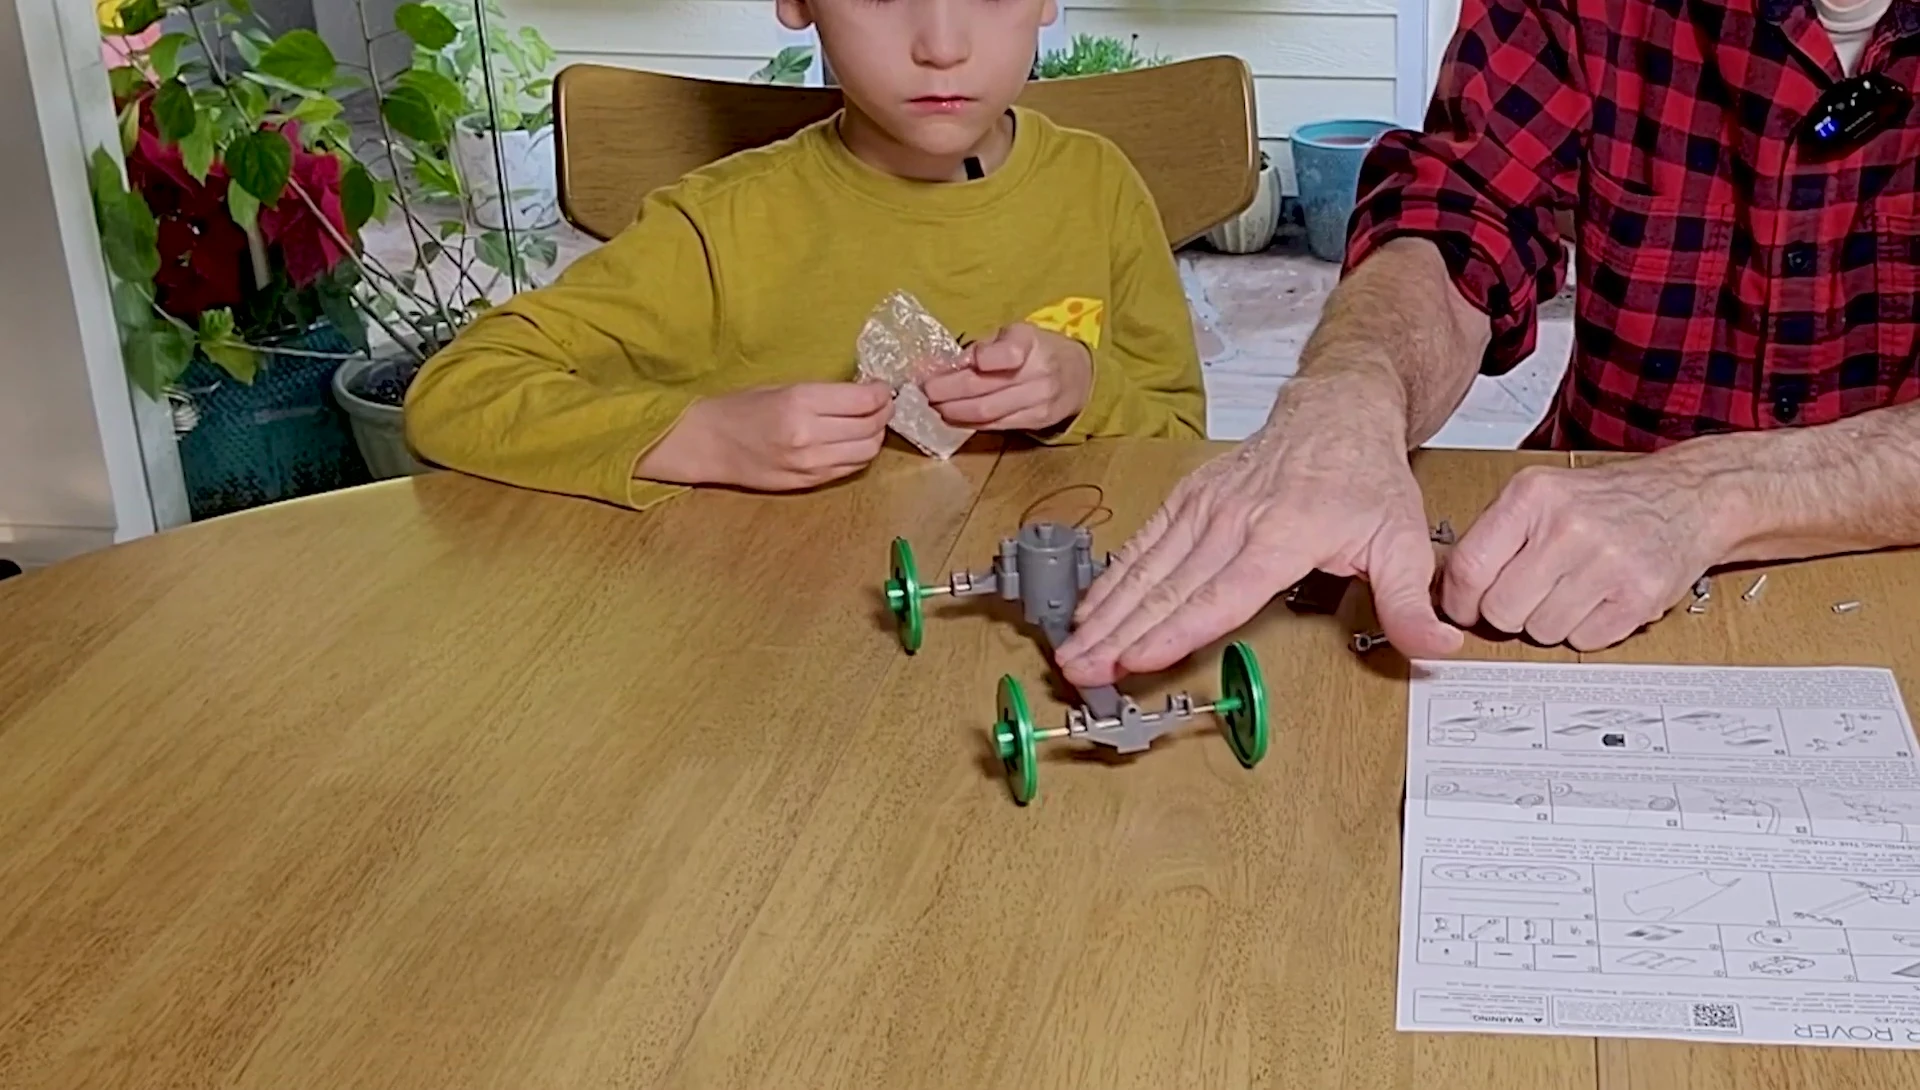
Connecting the solar cell and reflector pad was important and required careful attention to polarity. The instructions emphasized the importance of correct orientation; running it in reverse would have caused problems. We successfully secured the solar cell, ensuring proper contact to complete the circuit.
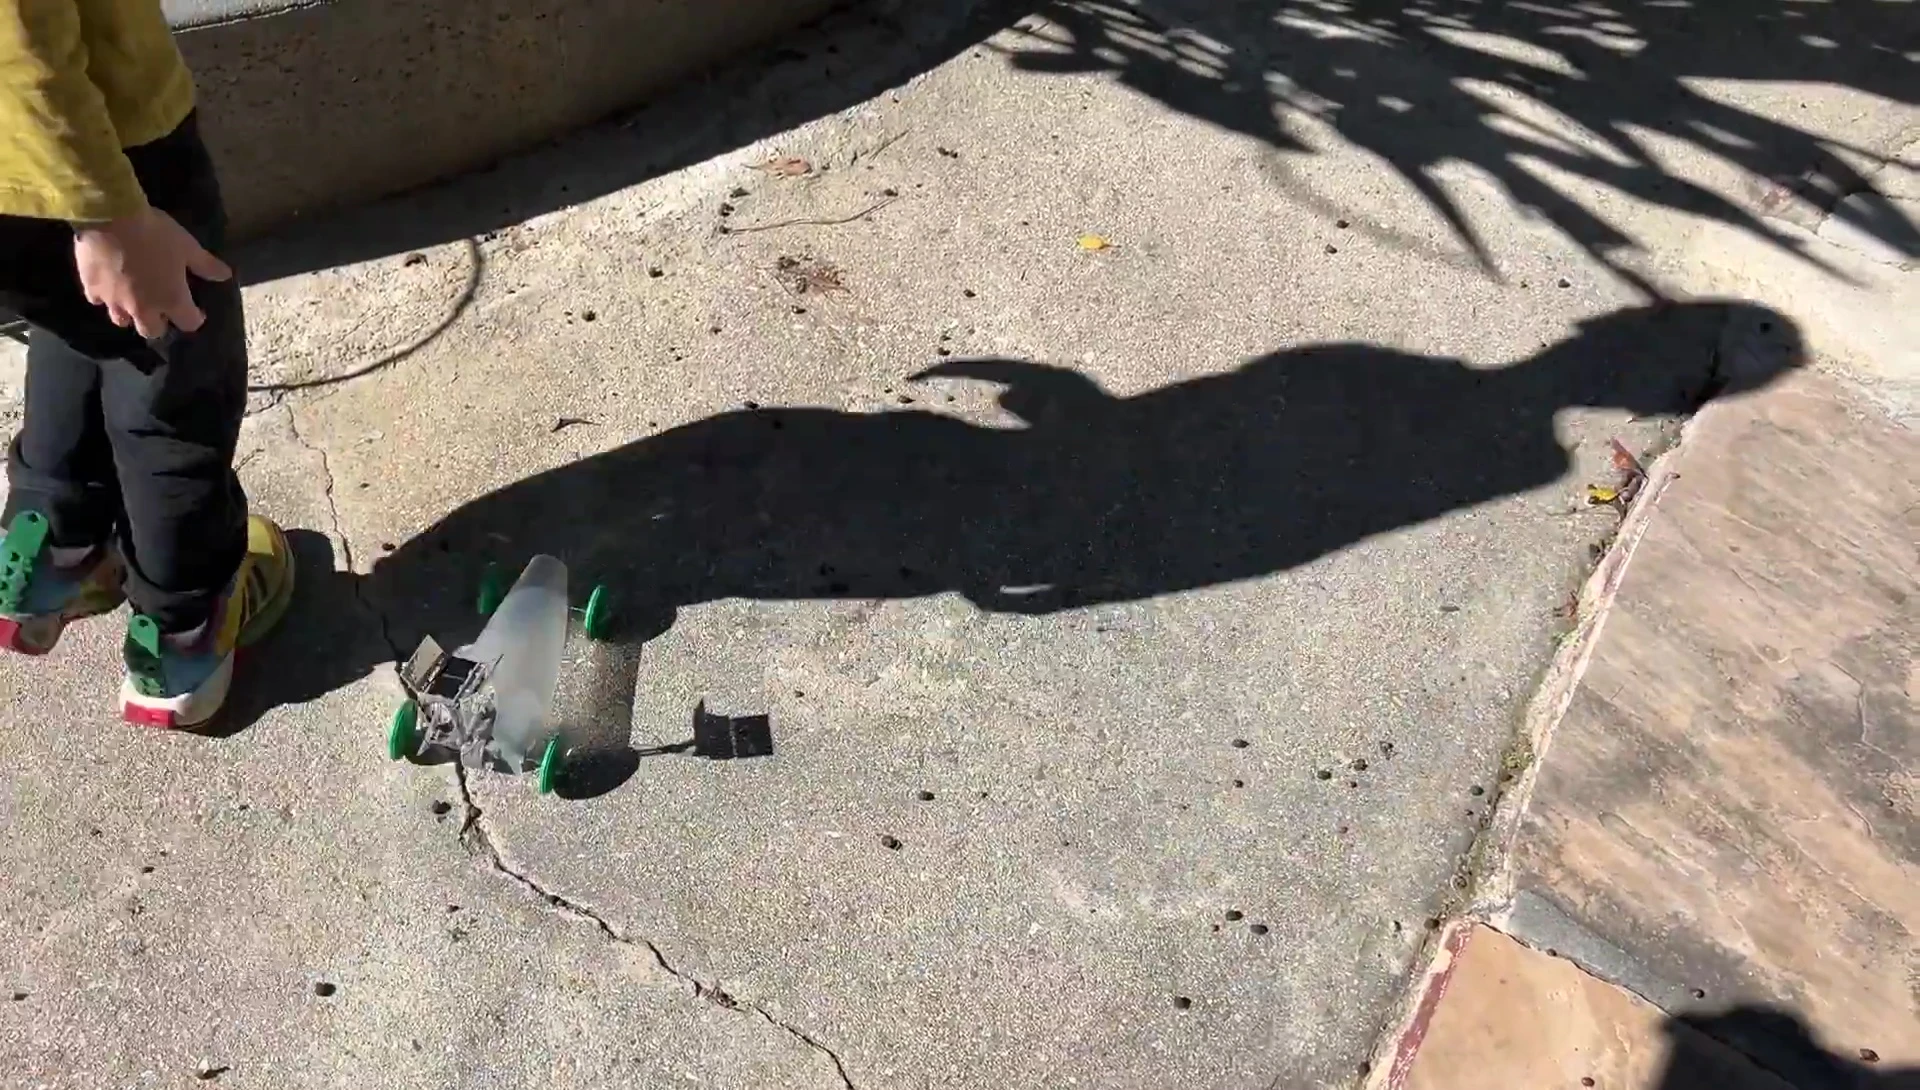
Testing and Performance
Once fully assembled, it was time to test the Solar Rover. Aiming the solar cell towards the sun, we watched it effortlessly move forward. It was very responsive to light levels; moving into the shade immediately stopped the motion. It performed as expected, demonstrating a successful transfer of solar energy to mechanical movement.
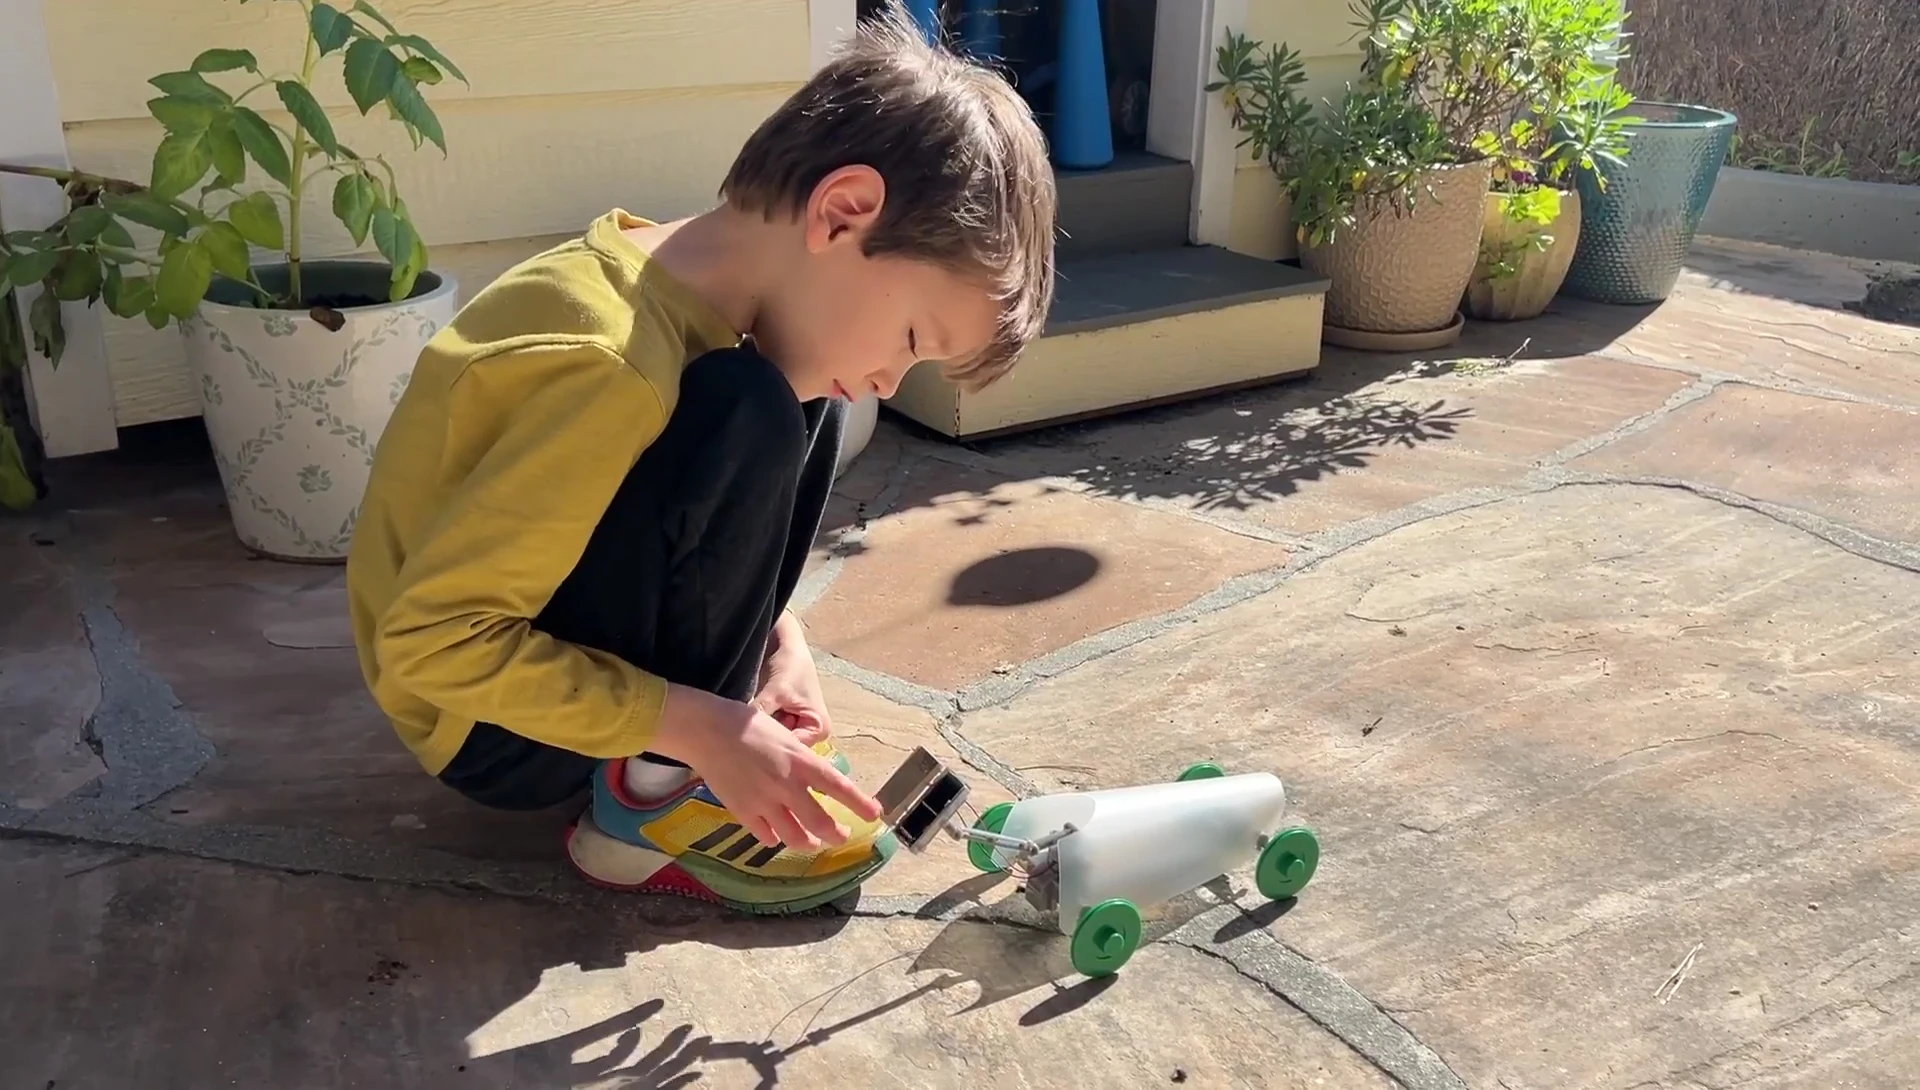
Adjusting the angle of the solar panel to optimize sun exposure was crucial for performance. We found that even small adjustments significantly impacted the rover’s speed and efficiency. This demonstrated the basic principles of solar energy and its relation to energy conversion and efficiency.
Conclusion
The Solar Rover kit is an excellent choice for children and adults alike who want a fun and educational STEM project. The simplicity of assembly, coupled with its engaging nature, makes it an ideal introduction to the concepts of solar energy and basic mechanics.
It is very affordable; the kit's quality is good. The addition of alternative design options, a simple but effective learning experience, and the fun of a working solar-powered toy make it highly recommended. I would recommend it to anyone interested in a hands-on STEM activity or a fun project to do with kids.