In today's fast-paced digital world, capturing attention is paramount. Static images, while useful, often lack the dynamism needed to truly engage viewers. Enter the spinning image disc – a captivating visual technique that adds a layer of movement and intrigue to any project, from website banners to social media posts, and even short films. This simple yet effective method allows you to transform ordinary visuals into mesmerizing, attention-grabbing pieces, adding a professional polish that's easily achievable.
Imagine transforming a static product shot into a dynamic 360° view, or creating a mesmerizing kaleidoscope effect from a single image. The possibilities are endless! This article will guide you through a step-by-step process, showing you exactly how to create these engaging visuals using readily available tools and software. Get ready to elevate your visual game and discover the exciting potential of spinning image discs!
Preparation and Safety Guidelines
- Cardboard
- Pictures
- Paste/Glue
- String or Skewers
- Marker
- Tape
- Always use appropriate safety glasses when operating spinning image discs or laser cutters. Flying debris can cause serious eye injuries.
- Ensure your spinning image disc apparatus is securely fastened and balanced to prevent accidents. High-speed rotation presents a significant risk of instability and potential harm.
- Never touch the spinning disc while it's in motion. Wait for complete stop before handling to avoid cuts or other injuries.
Step-by-Step Instructions
Prepare Images and Template
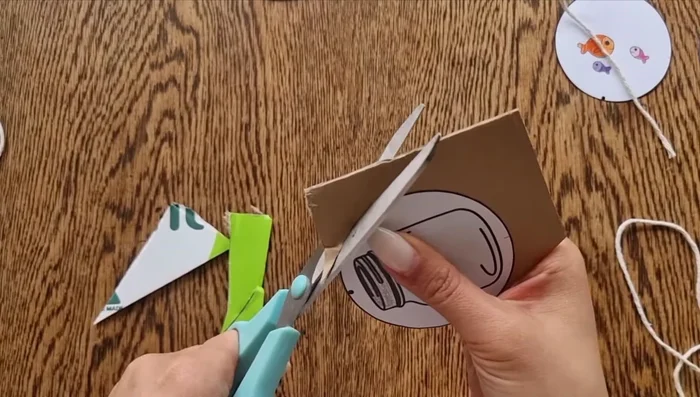
- Color in your pictures and cut them out.
- Cut out your disc template.

Prepare Images and Template Assemble the Spinning Disc
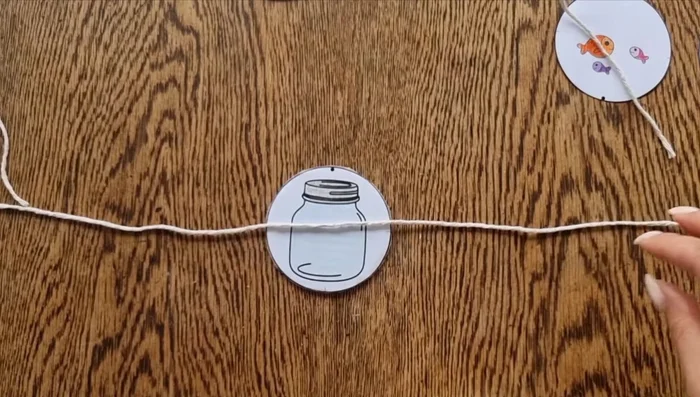
- Tape string (or skewers) to the center of the disc, using markings as a guide.
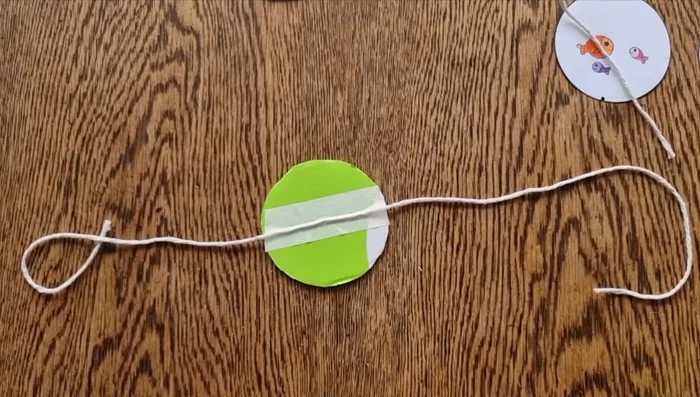
- Glue one side of the picture to the disc.
- Glue the opposite side of the picture (upside down, aligning the black dots) to the other side of the disc.
Assemble the Spinning Disc Animate the Images
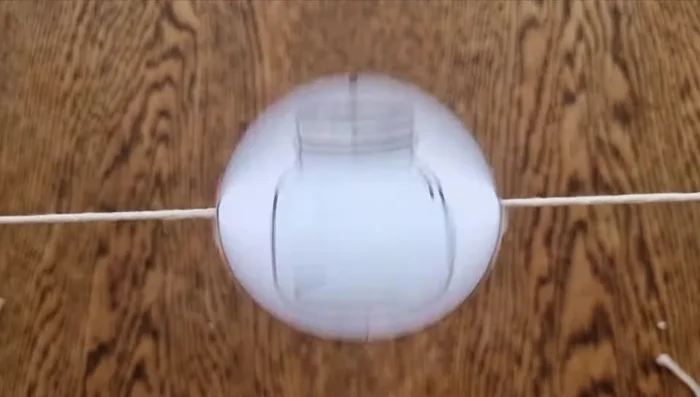
- Twirl the disc between your fingers to merge the images.
Animate the Images


Read more: Understanding Different Light Sources: Chemiluminescence, Bioluminescence, and More!
Tips
- Use a cereal box for the card.
- For best results, align the black dots on your pictures when gluing them upside down.
- If using skewers, ask an adult to help cut off sharp ends.
- For some designs (like spiderwebs and birds), you don't need to glue the images upside down.