Ever wanted to create a mesmerizing optical illusion with just a few simple materials? Then get ready to be amazed by the thaumatrope, a Victorian-era toy that cleverly plays with the persistence of vision. This simple spinning disc creates the illusion of a single, combined image from two separate pictures, offering a surprisingly enchanting effect. It's a fantastic project for both children and adults, combining creativity with a touch of scientific wonder, making it a perfect introduction to the fascinating world of optical illusions.
The thaumatrope's deceptively simple design belies the impressive optical trickery at play. With minimal effort and readily available materials, you can construct your own mesmerizing thaumatrope in minutes. Ready to bring this classic illusion to life? Let's dive into the step-by-step instructions below and learn how to make your very own DIY thaumatrope.
Preparation and Safety Guidelines
- Sheet of card
- Pencil
- Pair of scissors
- Wool or string (80cm)
- Coloring pens or pencils
- Something round as a template (e.g., roll of sellotape)
- Hole punch (or pencil)
- Use sharp scissors with adult supervision. Children should not handle scissors without careful adult guidance.
- Ensure the string is securely tied to avoid the discs from flying off and potentially causing eye injuries.
- Supervise young children while they play with the thaumatrope to prevent accidental ingestion of small parts.
Step-by-Step Instructions
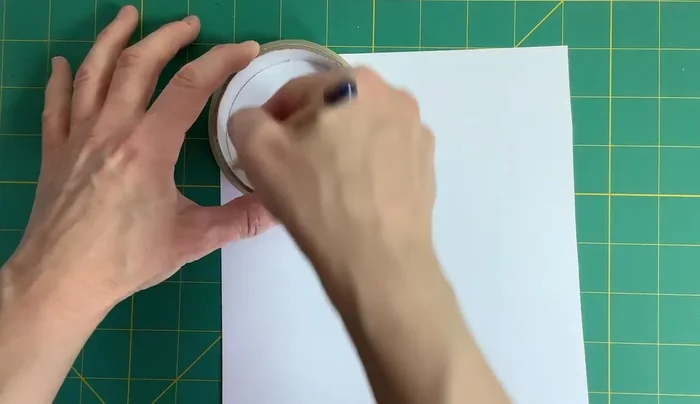
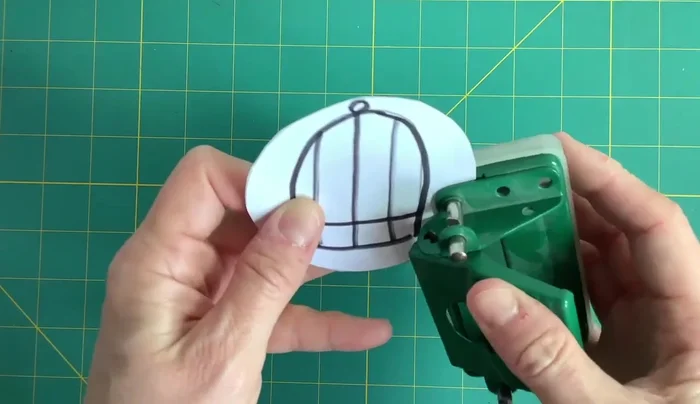
Prepare the Card
- Draw a circle (approx. 7.5cm diameter) on your card and cut it out.
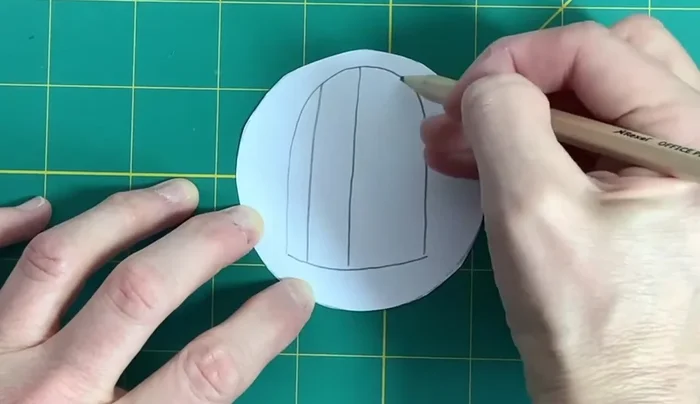
- On one side of the circle, draw a cage. Don't make it too small.
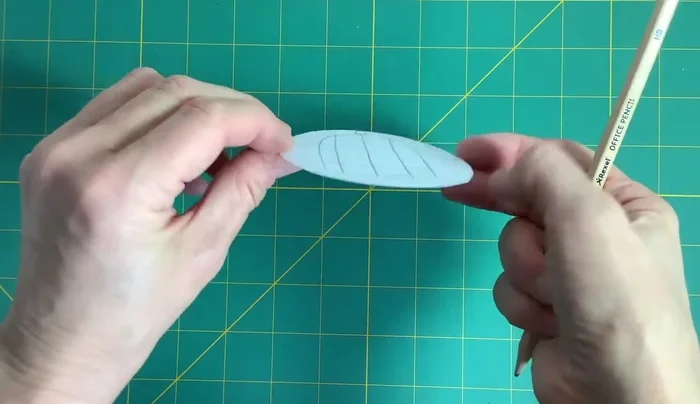
- Flip the card over (rotating it bottom to top). The cage will be upside down on the back.
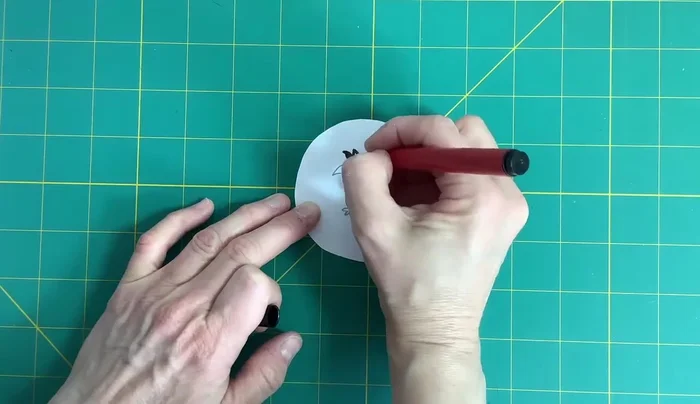
- Draw a bird in the middle of the card, ensuring it's not upside down when the card is spun. Color it in.

Prepare the Card - Outline the birdcage with a dark colored pen.
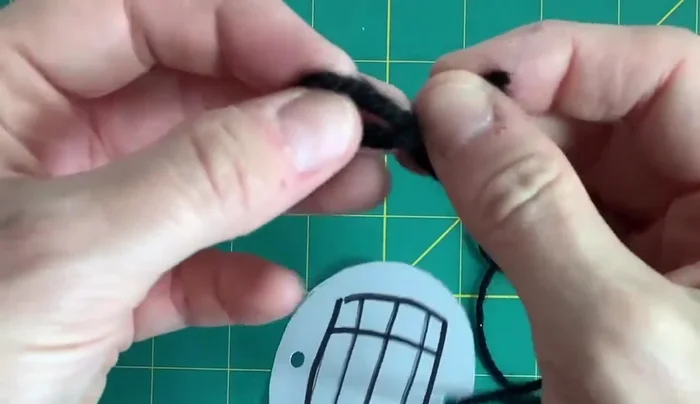
Prepare the Card Create the Spinning Mechanism
- Punch two holes on either side of the circle, using the cage as a guide. Don't place the holes too near the edge.
- Cut your wool or string into two pieces and thread each piece through the holes, tying a knot at the end.
Create the Spinning Mechanism

Read more: Understanding Different Light Sources: Chemiluminescence, Bioluminescence, and More!
Tips
- Use a design featuring a container and something inside it (e.g., rabbit in a hutch, fish in a bowl, butterflies in a jar).