Ever wondered about the invisible forces that power our modern world? Electricity and magnetism, often seemingly separate, are intrinsically linked, a relationship you can explore firsthand through simple, safe, and surprisingly engaging DIY science experiments. This article delves into the fascinating world of electromagnetism, guiding you through the construction of two foundational projects: a powerful electromagnet and a surprisingly simple electric motor. These experiments require only readily available household materials, making them perfect for curious minds of all ages. They offer a tangible way to understand fundamental physics principles, transforming abstract concepts into hands-on experiences.
Prepare to be amazed as you witness the power of electromagnetism in action! We’ll begin with a step-by-step guide to building your very own electromagnet, followed by the construction of a basic electric motor, demonstrating the conversion of electrical energy into mechanical energy. Through these projects, you’ll gain a deeper understanding of how electricity and magnetism work together, proving that exciting science doesn't require expensive lab equipment.
Preparation and Safety Guidelines
- Battery
- Insulated copper wire
- Battery connector
- Iron pin
- Two stands
- Plain copper wire
- Sandpaper
- Magnet
- Adult supervision is required at all times. These experiments involve electricity and can be dangerous if not handled properly.
- Avoid using damaged wires or components. Damaged insulation can lead to electric shocks.
- Do not touch the battery terminals while the circuit is closed. This can cause burns or a short circuit.
Step-by-Step Instructions
Prepare the Electromagnet
- Wrap the insulated copper wire 15-20 times around the iron pin.
- Test the electromagnet with an iron pin.

Prepare the Electromagnet Assemble the Electromagnet Circuit
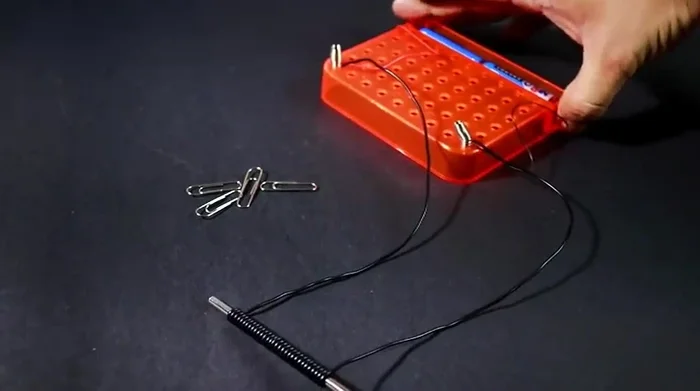
- Place the battery connector.
- Connect the wire ends to the battery connector.
Assemble the Electromagnet Circuit Prepare the Simple Motor
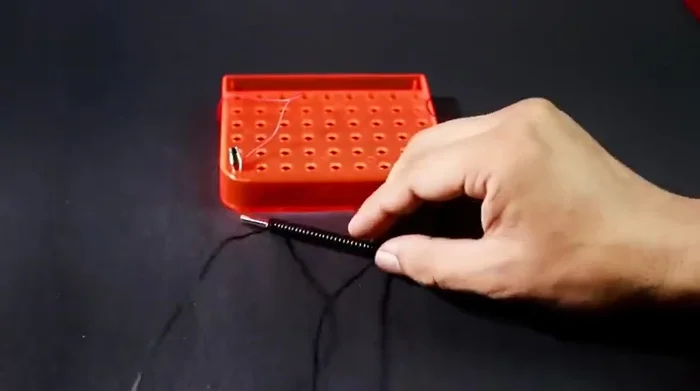
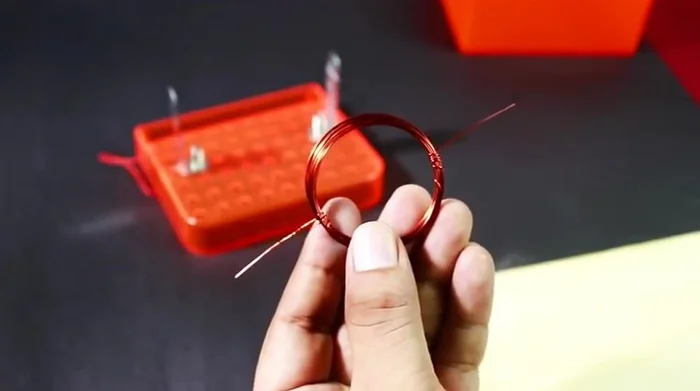
- Create a coil by wrapping the plain copper wire 15-20 times (around 2.5 meters).
- Sand the ends of the copper wire coil to remove enamel insulation.
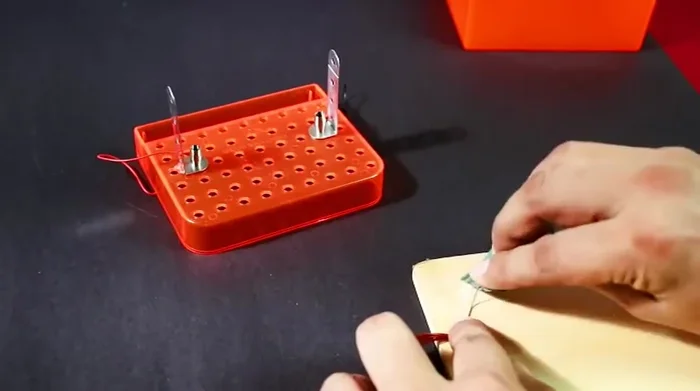
Prepare the Simple Motor Assemble the Simple Motor
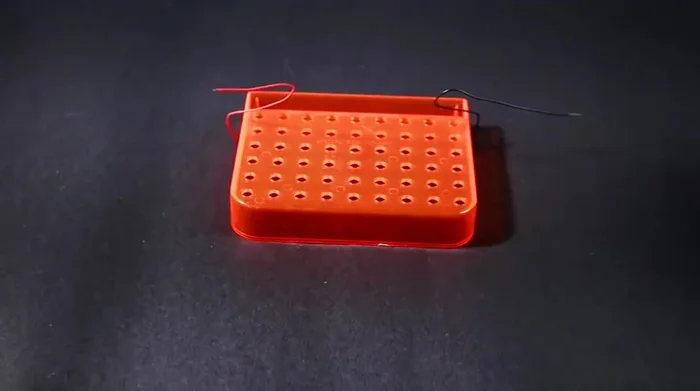
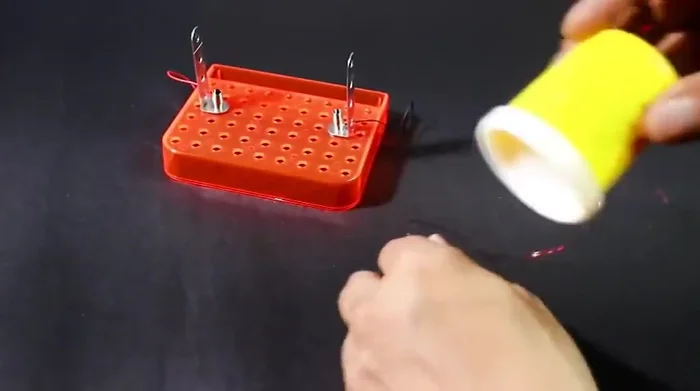
- Attach the two stands to the base using the battery connector.
- Connect the coil to the battery and stands.
Assemble the Simple Motor Test the Simple Motor
- Place a magnet underneath the coil to make the motor rotate.
Test the Simple Motor


Read more: Build a Solar Updraft Tower: A Fun Science Project!
Tips
- Ensure the battery is fully charged for the electromagnet to work effectively.
- Remove the enamel coating from the ends of the copper wire coil to ensure proper electrical connection in the motor.
- Don't run the motor for extended periods to avoid overheating and damaging the copper wire.