Access to clean, safe drinking water is a fundamental human right, yet millions worldwide lack this essential resource. Waterborne illnesses are a devastating consequence of contaminated water sources, highlighting the urgent need for affordable and accessible purification methods. This is where a DIY water purification kit can be a game-changer, offering a practical solution for individuals and communities facing water scarcity or contamination. Building your own kit not only empowers you to safeguard your health but also allows you to understand the crucial processes involved in water purification.
This guide provides a comprehensive, step-by-step approach to constructing a highly effective and cost-efficient DIY water purification kit using readily available materials. We will walk you through each stage of the process, from assembling the necessary components to testing the purified water for safety and efficacy. Let's dive in and learn how to build your own life-saving water purifier!
Preparation and Safety Guidelines
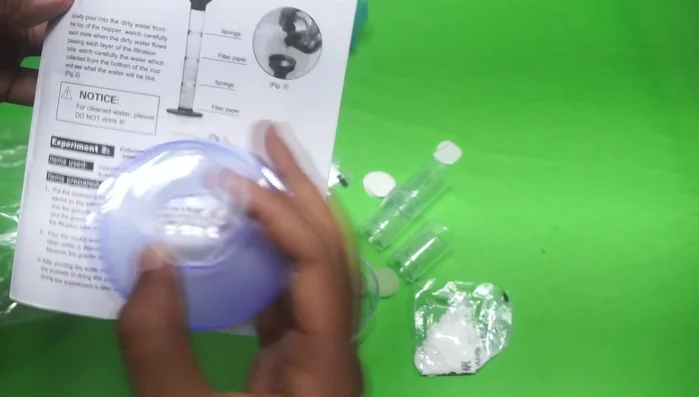
- Plastic hopper
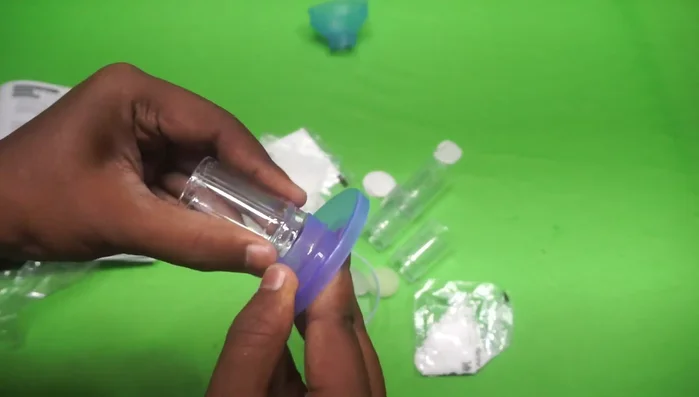
- Filter tube
- Plastic cover
- Plastic pickup
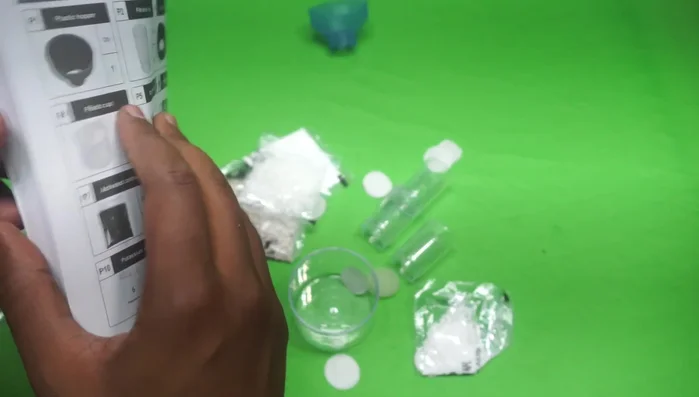
- Crushed gravel
- Activated carbon
- Quarter sand
- Filter paper
- Always boil water for at least 1 minute after any filtration process to eliminate remaining pathogens. Improperly treated water can still cause illness.
- Never use a DIY filter for water that is visibly contaminated with sediment, oil, or other debris. Pre-filter using a clean cloth or coffee filter if necessary before employing your DIY purification method.
- Thoroughly research and understand the materials you are using for your DIY filter. Some materials may leach chemicals into the water, rendering it unsafe for consumption.
Step-by-Step Instructions
Prepare the Filter
- Start with a layer of crushed gravel at the bottom, followed by activated carbon, then quarter sand, and finally another layer of crushed gravel.
- Add filter paper on top of the gravel to act as an additional filter layer.

Prepare the Filter Assemble the Filter Tube
- Insert the filter layers into the filter tube. Ensure that each layer is evenly distributed to prevent clogging.
Assemble the Filter Tube Assemble the Water Filter
- Place the filter tube inside the plastic hopper. Make sure it's securely positioned.
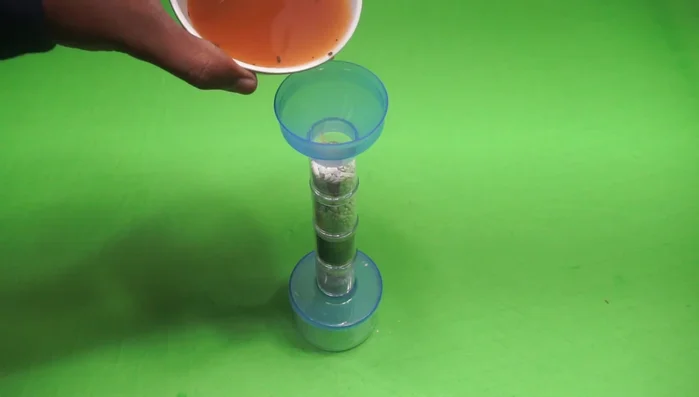
Assemble the Water Filter Filter the Water
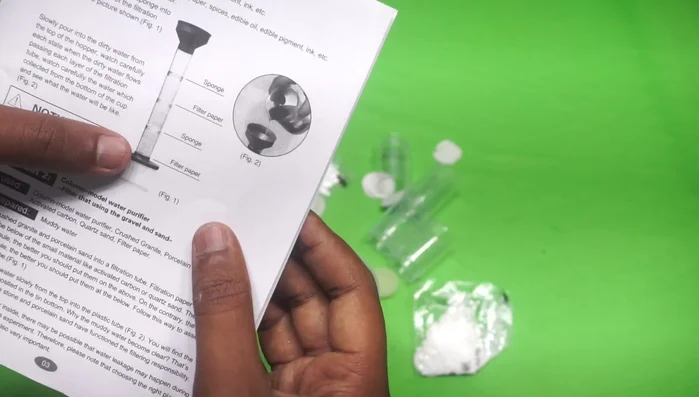
- Pour the dirty water into the hopper slowly, allowing the water to filter through the layers.
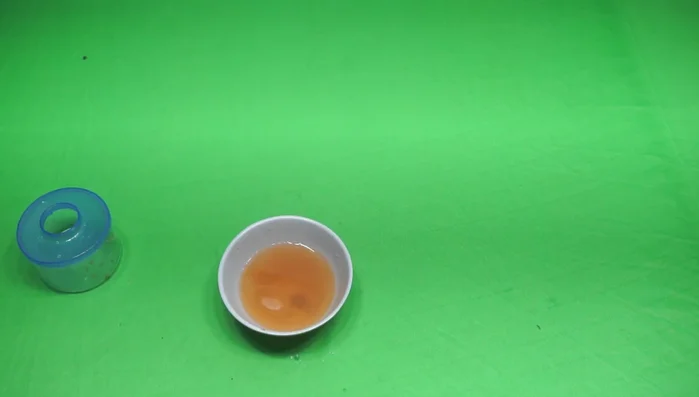
- Collect the filtered water from the bottom of the hopper. Repeat the process if necessary for better purification.
Filter the Water
Read more: Build a Solar Updraft Tower: A Fun Science Project!
Tips
- Ensure each layer is evenly distributed to avoid clogging and ensure efficient filtering.
- Pour the dirty water slowly to allow for proper filtering and prevent overflowing.
- Repeat the filtering process if the water is not sufficiently clean after the first filtration.