Harnessing the power of the sun has never been more accessible, and with this guide, you'll discover how simple it can be to create your own miniature solar panel. Imagine the satisfaction of building a functional, albeit small-scale, energy-generating device entirely from readily available materials – a perfect project for enthusiasts of renewable energy, crafting, or anyone curious about sustainable technology. This DIY project is not only educational, offering a hands-on understanding of solar power's fundamental principles, but also surprisingly affordable and rewarding.
Building your own miniature solar panel provides a unique opportunity to understand the technology behind this crucial renewable resource. You’ll learn about the essential components and their functions, gaining a deeper appreciation for solar energy's potential. Ready to embark on this exciting adventure? Let's dive into the step-by-step instructions and begin building your very own miniature solar panel!
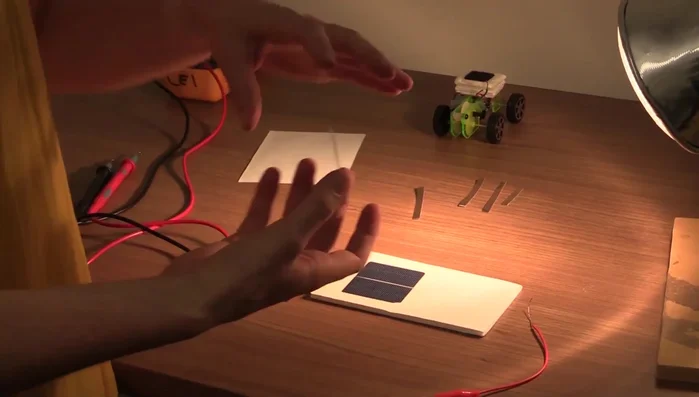
Preparation and Safety Guidelines
- firm foam backing
- two solar cells
- copper tape
- clip leads with exposed copper wire
- multimeter
- laminating cover
- Always wear safety glasses when handling solar cells and soldering equipment. Solar cells are fragile and can shatter, and soldering irons can cause burns.
- Work in a well-ventilated area. Soldering fumes can be harmful if inhaled.
- Avoid touching the surface of the solar cells directly. Oils from your fingers can reduce their efficiency.
Step-by-Step Instructions
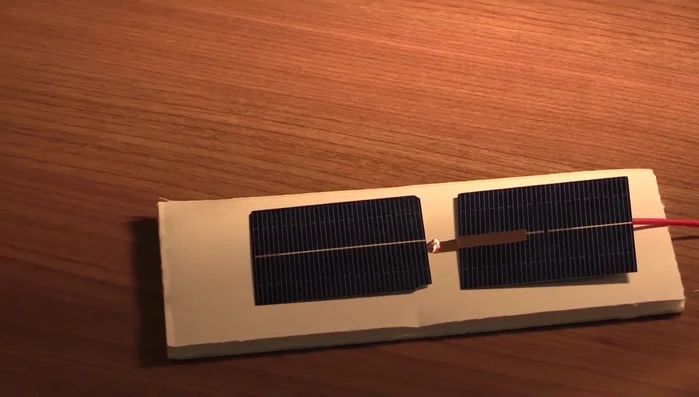
Prepare the First Solar Cell
- Attach one clip lead to the gray side of the first solar cell using copper tape.

Prepare the First Solar Cell Connect the Solar Cells
- Flip over the second solar cell (gray side up).
- Use copper tape to connect the white contact on the gray side of the first cell to the white contact on the blue side of the second cell.
Connect the Solar Cells Prepare and Connect the Second Solar Cell
- Attach the last wire to the exposed copper wire of the second clip lead and place it over the white contact on the second solar cell.
Prepare and Connect the Second Solar Cell Test the Miniature Solar Panel
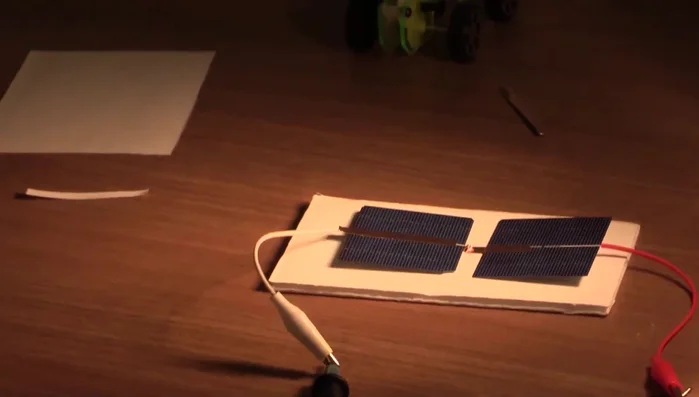
- Test the device with a multimeter to measure voltage and current.
Test the Miniature Solar Panel Protect and Encapsulate
- Protect the solar panel with a laminating cover to keep the cells attached and prevent damage.
Protect and Encapsulate

Read more: Harnessing Solar Power: A Green Energy Solution
Tips
- Use the copper tape to secure the clip leads to the solar cells for easier alignment.
- Be careful not to press down between the solar cells when taping to prevent the tape from sticking to the wrong surface.
- Don't press too hard when applying the laminating cover to avoid cracking the solar cells.