Observing the bending of waves as they pass from one medium to another is a fundamental concept in physics, crucial to understanding phenomena like rainbows and the workings of lenses. The ripple tank provides a simple yet elegant method to visualize this wave refraction, allowing for a clear and compelling demonstration of Snell's Law in action. Understanding how to create a truly effective demonstration, however, requires careful attention to detail and precise execution. Imprecise techniques can lead to muddled results, obscuring the very phenomenon you’re trying to showcase.
This guide will address those issues, providing a detailed, step-by-step process to ensure a perfect ripple tank refraction demonstration. We'll cover everything from setting up the tank and creating consistent waves to accurately measuring angles and interpreting the results, allowing you to showcase the beauty and precision of wave refraction with confidence. Follow along as we explore the intricacies of achieving a truly flawless demonstration.
Preparation and Safety Guidelines
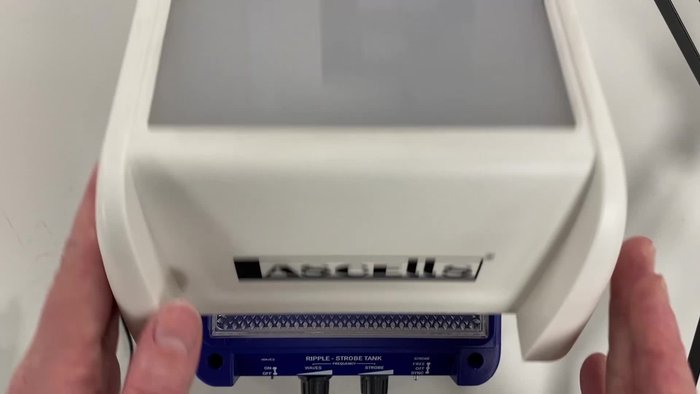
- Mini ripple tank
- Plane wave dipper
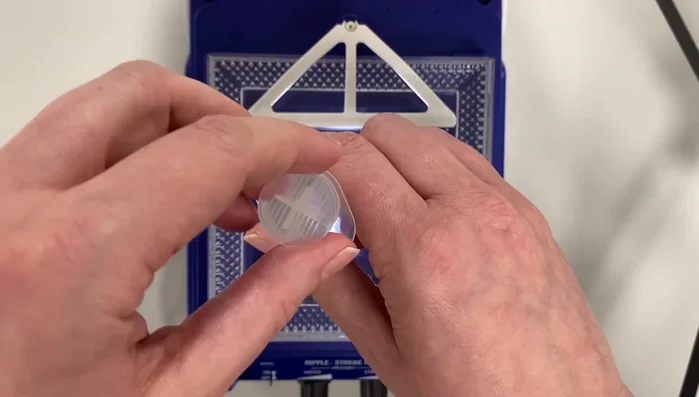
- Wedge shape
- Syringe
- Always supervise children closely during the experiment. The shallow water and potentially sharp objects (if using a custom-built tank) pose a tripping or cutting hazard.
- Avoid using excessive force when creating ripples. This could splash water and damage the equipment or cause injury.
- Ensure the ripple tank is placed on a stable, level surface to prevent accidental spills or damage during the demonstration.
Step-by-Step Instructions
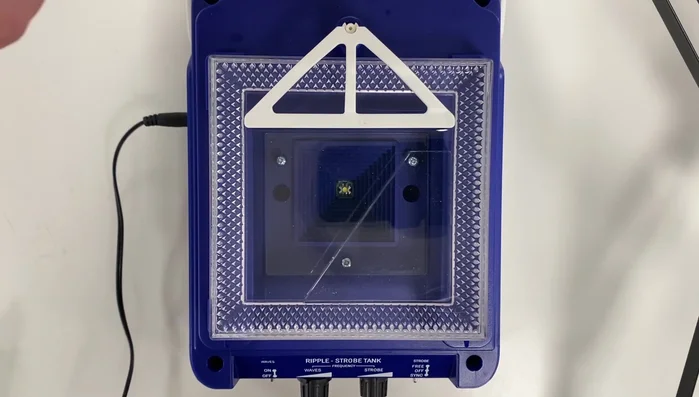
Setting up the Ripple Tank
- Set up the mini ripple tank with the plane wave dipper and wedge shape in the bottom right-hand corner.

Setting up the Ripple Tank Initial Observation
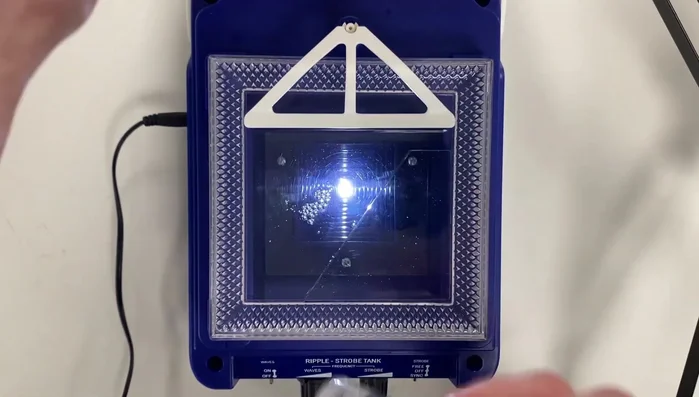
- Close the lid and turn on the waves and strobe.
- Observe the waves. If there's no significant refraction, the depth difference isn't enough.
Initial Observation Adjusting Water Depth
- Use a syringe to carefully remove water from the top of the wedge shape to create a thin layer of water above it, creating a more significant depth difference.
- Carefully adjust the water level; avoid creating dry spots on the wedge.
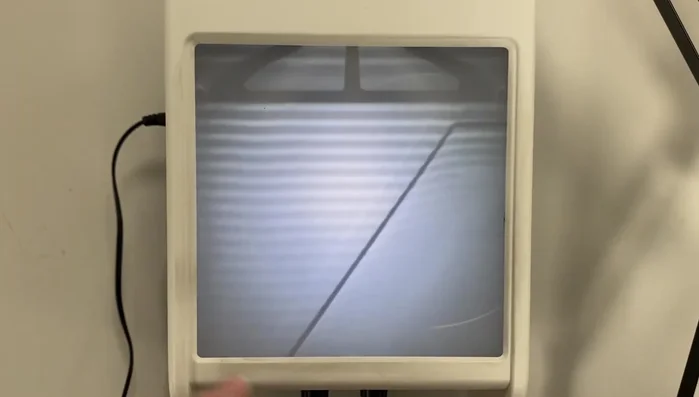
Adjusting Water Depth Observing Refraction
- the wavefronts bend as they pass from the deep to shallow sections. You'll see the change in wave speed and direction.
Observing Refraction

Read more: Understanding Different Light Sources: Chemiluminescence, Bioluminescence, and More!
Tips
- The key is to create a sufficient depth difference between the deep and shallow parts of the tank. Too much or too little water adjustment may hinder the demonstration.
- Avoid creating dry spots on top of the wedge shape; this will distort the wave pattern and prevent proper refraction.
- Observe the angles of refraction relative to the normal line (perpendicular to the boundary between the deep and shallow sections). The waves will bend towards the normal in the shallow region.