Harnessing the power of the sun to propel a vehicle might seem like a complex feat of engineering, but building a simple solar-powered car is surprisingly accessible. This project, perfect for hobbyists, students, and anyone curious about renewable energy, combines basic mechanics with the fascinating principles of photovoltaic technology. You'll discover how sunlight can be transformed into kinetic energy, creating a miniature marvel of sustainable transportation. The process is far more straightforward than you might imagine, relying on readily available materials and simple tools.
This guide provides a clear and concise step-by-step approach, demystifying the process and making it achievable for even the most novice builder. From assembling the chassis and installing the solar panel to connecting the motor and wiring the circuit, each stage is explained in detail, ensuring a successful and enjoyable build. Let's get started on your journey to creating your own sun-powered car!
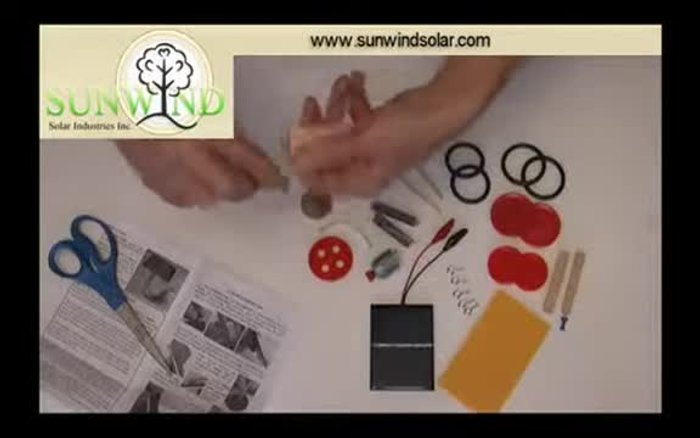
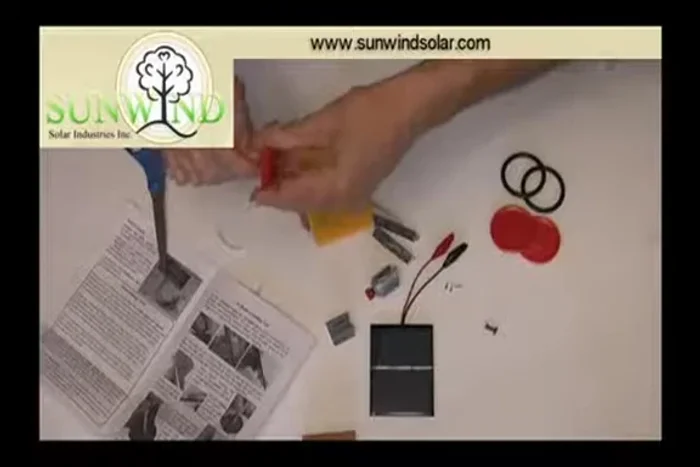
Preparation and Safety Guidelines
- Sandpaper
- Axles
- Solar car kit body (Coroplast or similar material)
- Screw eyes
- Blocks of wood
- Small awl (optional)
- Tubing
- Wheels
- 50-tooth gear
- Pliers (optional)
- Velcro
- Solar panel
- Motor
- Always wear safety glasses when working with tools and handling solar panels. Solar panel glass can shatter.
- Never attempt to directly connect the solar panel to a battery without a charge controller. This can damage both the panel and the battery.
- Ensure all wiring connections are secure and properly insulated to prevent short circuits and fire hazards.
Step-by-Step Instructions
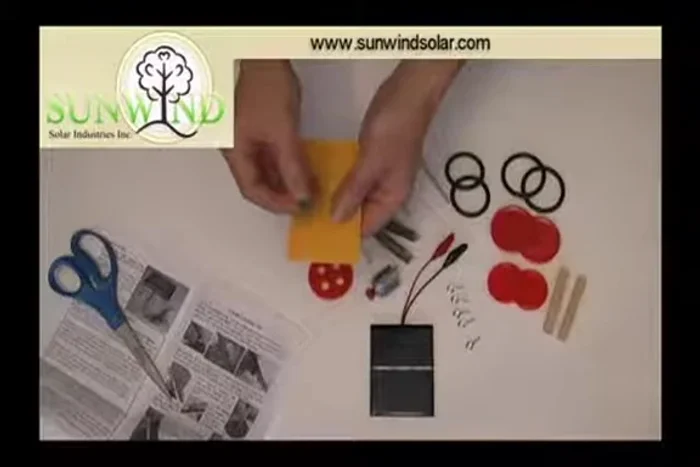
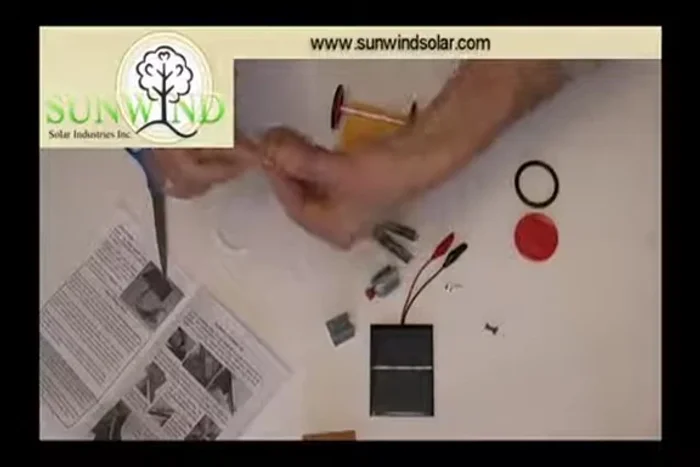
Prepare the Axles
- Smooth the ends of the axles using sandpaper folded in half and twisted.

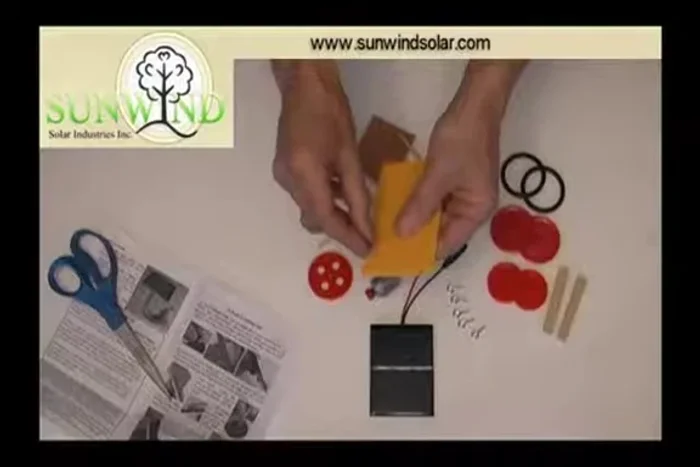
Prepare the Axles Assemble the Chassis
- Mark the holes on the car body for the axle holders (screw eyes). Ensure the axles will run parallel.
- Insert screw eyes through the body and into the wood blocks for stability.
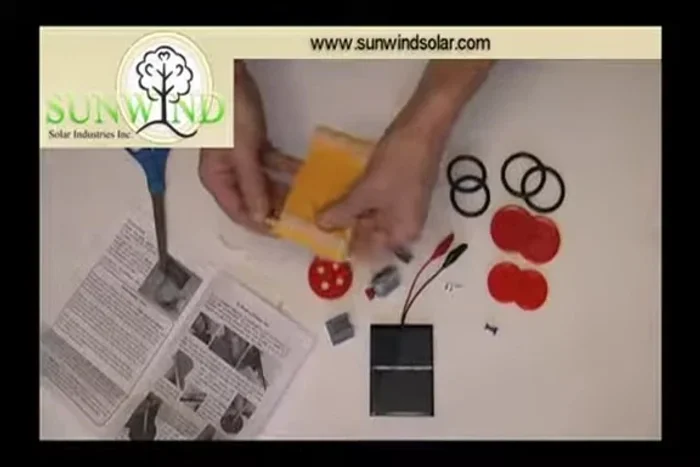
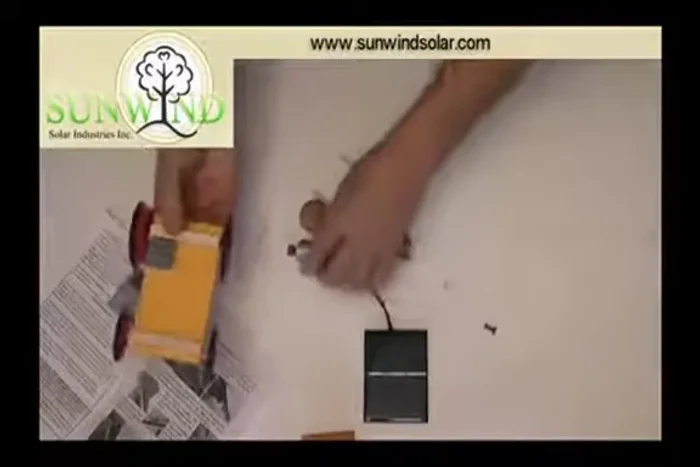
Assemble the Chassis Attach Front Wheels
- Slide small pieces of tubing onto the axles to act as shaft retainers, preventing the wheels from rolling off.
- Attach the wheels to the axles.
Attach Front Wheels Attach Rear Axle Components
- Attach the wheels to the axles.
- Attach the 50-tooth gear to the rear axle.
- Add tubing to the rear axle to secure the gear and wheel.
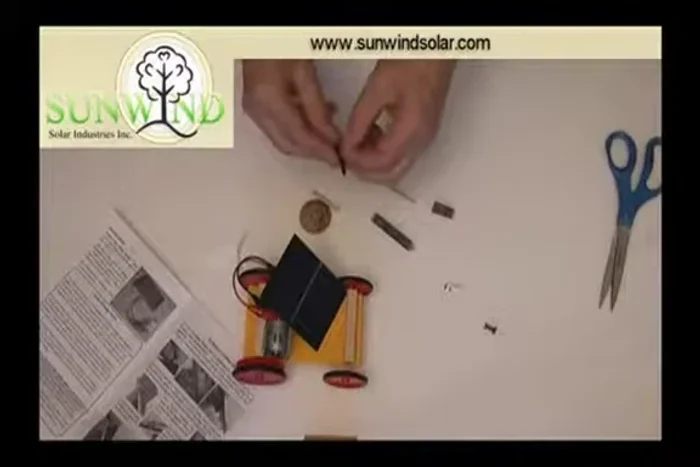
Attach Rear Axle Components Attach the Motor
- Attach the motor using the motor clip and sticky back.
Attach the Motor Secure Solar Panel and Motor
- Secure the solar panel and motor with velcro.
Secure Solar Panel and Motor

Read more: Harnessing Solar Power: A Green Energy Solution
Tips
- Use a small awl to pre-drill holes in the wood if the screw eyes are difficult to insert.
- If the axles are too tight, sand them down to achieve a smooth fit.
- Test the motor and solar panel before fully assembling the car to ensure functionality.
- Adjust axle placement to ensure the gears mesh properly.