Teaching children about engineering and problem-solving can be incredibly rewarding, and what better way to do so than with a fun, hands-on project? This guide will walk you through building a simple, automated water pump – a perfect project for budding young engineers. This DIY project is not only educational but also encourages creativity and resourcefulness, providing a tangible demonstration of basic mechanical principles like levers, gears, and the power of simple machines. It's a great opportunity to explore the concepts of water conservation and the importance of efficient water usage, teaching valuable life lessons alongside practical skills.
Building your own automated water pump is easier than you might think, requiring only readily available materials and basic tools. This project is designed to be accessible and safe for children with adult supervision, allowing them to learn through experience and develop a deeper understanding of how things work. Ready to get your hands dirty and learn how to bring this fascinating project to life? Let's dive into the step-by-step instructions below.
Preparation and Safety Guidelines
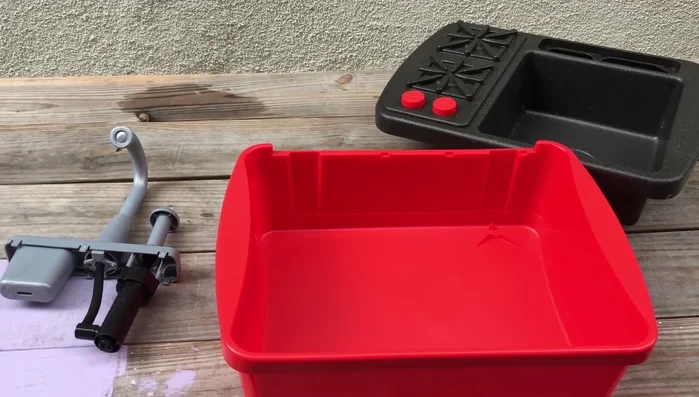
- Water basin
- Sink
- Manual pump
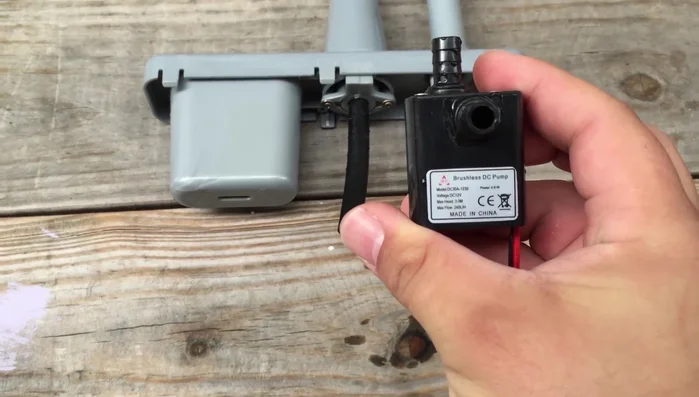
- Brushless DC pump (5V compatible)
- LittleBits electronic components (Proto bit, slide switch)
- Wires
- Adult supervision is absolutely required throughout the entire project and operation of the automated pump. This is not a project for children to undertake alone.
- Ensure all electrical connections are properly insulated and protected from water exposure to prevent electric shock. Use weatherproof enclosures and connectors.
- Never leave the automated pump running unattended. Regularly check for leaks, malfunctions, and ensure the pump doesn't overheat.
Step-by-Step Instructions
Prepare the Water Basin
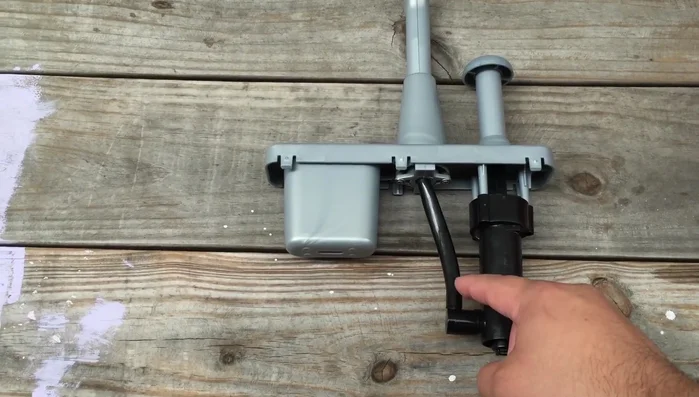
- Remove the manual pump from the water basin setup.
- Cut the tube connecting the manual pump, as it's glued on.

Prepare the Water Basin Install the Electric Pump
- Attach the brushless DC pump to the water basin, ensuring the intake and outlet are correctly positioned.
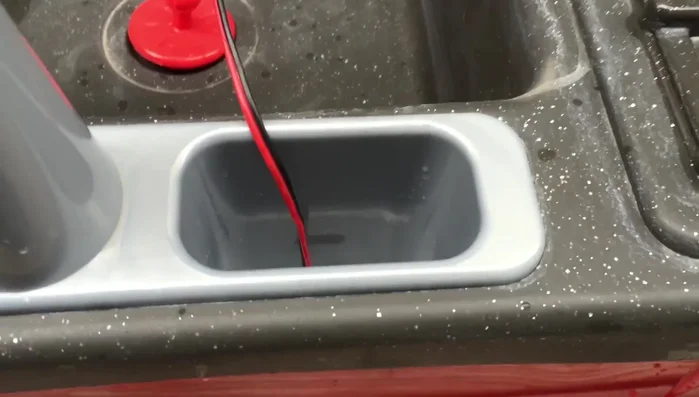
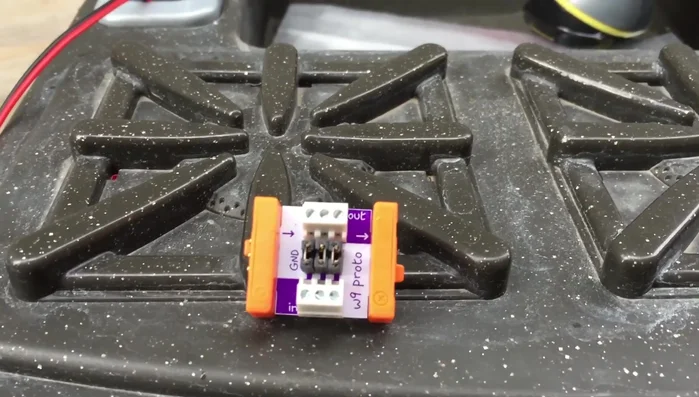
Install the Electric Pump Wire the Pump to the Proto Bit
- Wire the pump, connecting its wires to the LittleBits Proto bit.
- Connect the Proto bit's ground and signal to the pump's ground and positive.
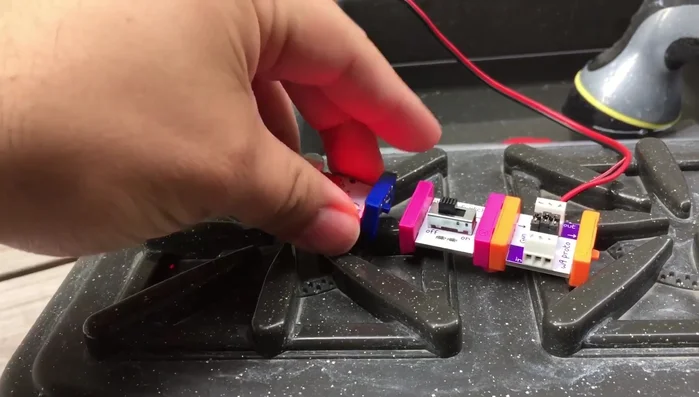
Wire the Pump to the Proto Bit Add Power Control
- Use a slide switch to control the pump's power, enabling on/off functionality.
Add Power Control
Read more: Harnessing Solar Power: A Green Energy Solution
Tips
- Use a 5V compatible brushless DC pump to avoid over-powering it.
- Ensure the pump fits snugly into the existing setup for a secure connection.