Harnessing the power of the sun for cooking is not only environmentally friendly but also surprisingly accessible. This guide introduces you to the world of DIY solar cooking with a focus on building a simple yet effective box-type solar cooker. Forget expensive, complicated equipment; this project utilizes readily available materials and straightforward construction techniques, making it a perfect endeavor for beginners and seasoned DIY enthusiasts alike. You'll learn how to build a cooker that can efficiently reach high temperatures, suitable for a wide variety of dishes, from simmering stews to baking bread. This sustainable cooking method offers significant cost savings on fuel and reduces your carbon footprint.
This step-by-step guide will walk you through each stage of the construction process, from gathering the necessary materials to the final assembly and testing. With clear instructions and helpful illustrations, you'll soon be enjoying delicious, sun-powered meals. Let's get started and build your own efficient and environmentally conscious solar cooker!
Preparation and Safety Guidelines
- Small box
- Cardboard (1 inch thick)
- Black paint or pepper
- Aluminum foil
- Glue
- Glass
- Tape
- Handle
- Wire
- Always use oven mitts or heat-resistant gloves when handling the cooker, especially after cooking. The box and its contents will be very hot.
- Never leave the solar cooker unattended while in use. Direct sunlight is crucial for its operation, but overheating can occur if not monitored.
- Ensure adequate ventilation to prevent overheating and potential fire hazards. Do not enclose the cooker completely.
Step-by-Step Instructions
Prepare the Base
- Glue black paint or pepper onto a piece of cardboard that will serve as the base of the cooker.

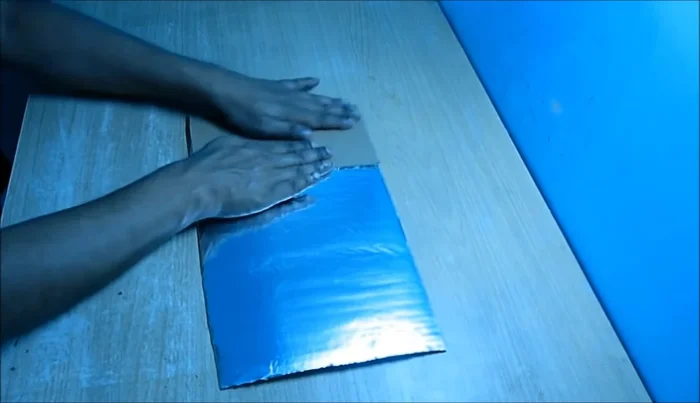
Prepare the Base Prepare Thermal Sheets
- Cut four thermal sheets (1 cm thick) to the sizes shown on the screen.
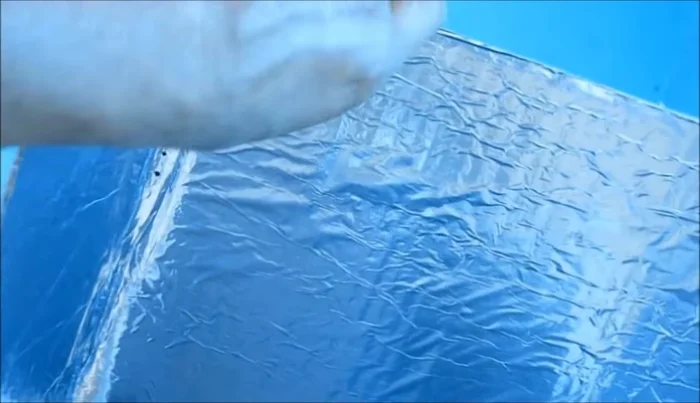
- Apply glue to the thermal sheets and stick aluminum foil onto them, ensuring the shiny side is outward.
Prepare Thermal Sheets Assemble the Box
- Glue the four thermal sheets to the sides of the box base.
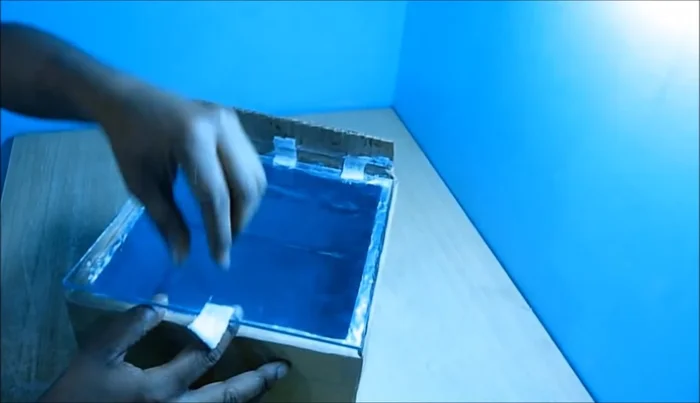
Assemble the Box Create and Attach the Lid
- Cut a top cover for the box, leaving a 2-cm overhang. Attach a glass to the top using tape and glue. Add a handle for opening.
Create and Attach the Lid Construct the Reflector
- Cut a piece of cardboard to the size shown and cover it with aluminum foil. Fold the cardboard to form a reflector.
Construct the Reflector Attach and Adjust the Reflector
- Glue the reflector to the top of the box, securing any excess cardboard with glue and tape.
- Once the glue dries, make holes in the reflector and use wire to adjust the angle for optimal sunlight reflection.
Attach and Adjust the Reflector

Read more: Harnessing Solar Power: A Green Energy Solution
Tips
- Use a black-painted cooking utensil inside to absorb heat more efficiently.