Maintaining a sparkling clean pool can be a time-consuming chore, often involving tedious manual cleaning or expensive service contracts. But what if you could automate the process with a simple, eco-friendly solution? This guide introduces you to the exciting world of DIY solar-powered pool cleaning boats, offering a cost-effective and sustainable alternative to traditional methods. Imagine a self-sufficient little boat effortlessly gliding across your pool surface, collecting debris and leaving you with more time to relax and enjoy your aquatic oasis.
Building your own solar-powered pool cleaner is surprisingly achievable, even for those with limited engineering experience. This step-by-step guide will walk you through the entire process, from gathering materials and designing the hull to assembling the solar panel system and programming the autonomous navigation. Get ready to dive into a rewarding project that will leave your pool pristine and your wallet happy.
Preparation and Safety Guidelines
- Peanut jars
- Cardboard
- Plastic bottle (sip)
- Metal hooks
- Popsicle sticks
- Glue
- Solar panels
- DC motors
- Switch
- Wires
- Soldering iron
- Always disconnect the solar panel and battery before making any repairs or modifications to the boat's electrical system. Electricity and water are a dangerous combination.
- Ensure all electrical components are properly sealed and waterproofed to prevent short circuits and potential hazards. Use marine-grade sealant and connectors.
- Never operate the boat near high-voltage power lines or in stormy weather. Pay attention to weather forecasts before and during use.
Step-by-Step Instructions
Constructing the Boat Hull
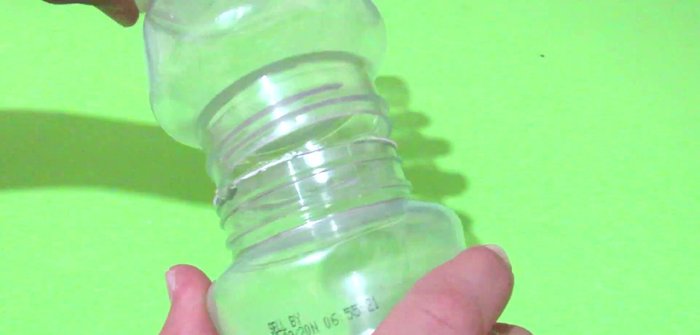
- Glue two peanut jars together. Repeat to make the boat hull.
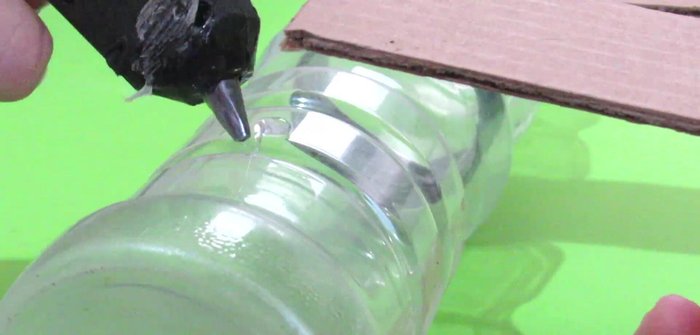
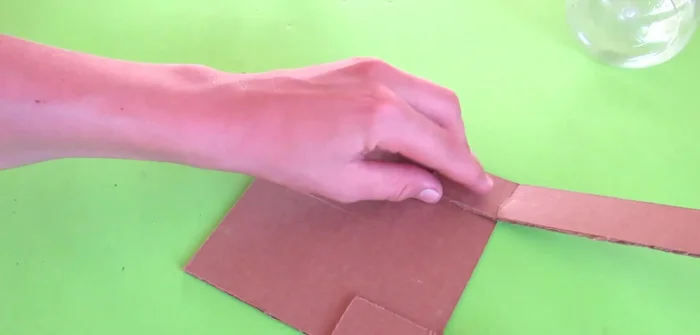
- Glue 32x5cm cardboard pieces onto the jars. Trim any excess.
- Glue broken popsicle sticks to the bottom of the boat for added stability.

Constructing the Boat Hull Preparing the Motor Mounts
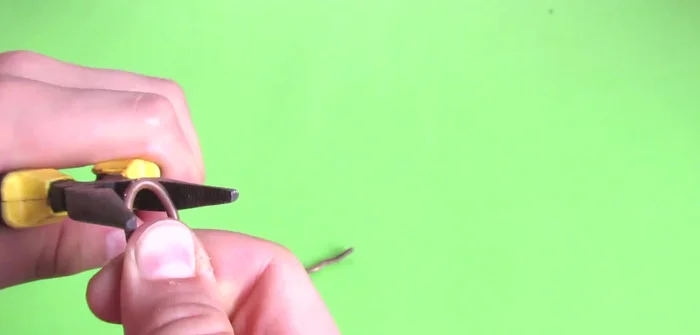
- Create hooks from metal to hold the sip in place. Cut notches on the sip to accommodate the hooks.
Preparing the Motor Mounts Building the Solar Panel Base
- Create a base for the solar panels (the boat's roof) using glued cardboard pieces.
Building the Solar Panel Base Wiring the Solar Panels
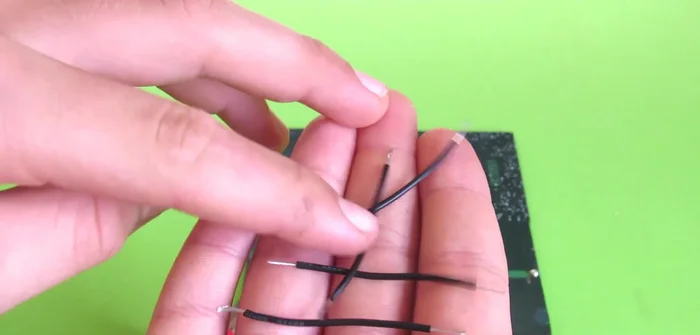
- connect positive contacts together, then negative contacts together. Create two pairs of wires to connect to the motors.
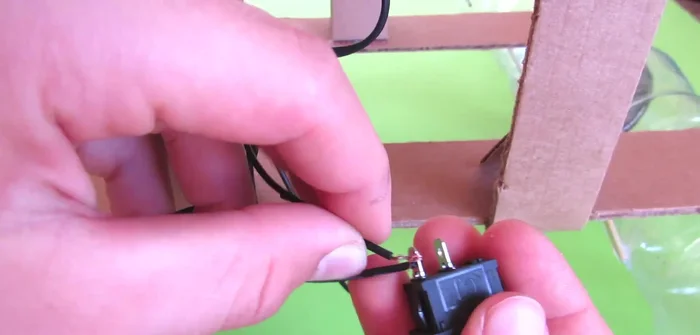
Wiring the Solar Panels Connecting the Motors and Switch
- Connect the solar panel wires to the switch and motors. Connect one positive wire from each solar panel pair to one switch contact; connect the remaining wires to the other switch contact.
Connecting the Motors and Switch Creating the Propellers
- Make propellers (detailed process shown visually in the video).
Creating the Propellers Final Assembly
- Attach the solar panels to the roof.
Final Assembly


Read more: Harnessing Solar Power: A Green Energy Solution
Tips
- The best time to run the boat is between 11 a.m. and 3 p.m. when the sun is highest.
- Tilting the boat at a 45-degree angle helps improve the flow of debris into the net.