Harness the power of the sun and create a mesmerizing physics demonstration with a giant solar balloon! This exciting project combines simple materials with fundamental scientific principles to produce a surprisingly effective and visually stunning result. Imagine a balloon seemingly floating effortlessly, propelled solely by the warmth of the sun – a captivating spectacle perfect for science fairs, classroom experiments, or simply a fun afternoon of learning. The seemingly magical ascent is, of course, explained by the principles of buoyancy and thermal expansion.
This project requires minimal resources and allows for creative customization. You can experiment with different balloon sizes and materials to explore the relationship between surface area and lift. Let's delve into the step-by-step construction process and discover how easily you can build your own giant solar balloon and witness the fascinating physics in action!
Preparation and Safety Guidelines
- Plastic sheeting (0.31 mil thickness)
- Glue tape
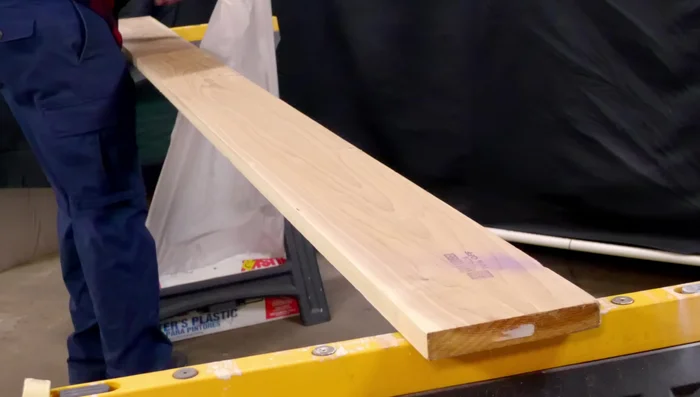
- Wood plank
- Masking tape
- Hula hoops
- Pine fatwood fire starters
- Metal bucket
- String
- Anchor (e.g., cinder block)
- Never inflate the balloon near open flames or sparks. Static electricity buildup can ignite highly flammable materials used in balloon construction.
- Always supervise children during construction and operation. The balloon, even deflated, can present a choking hazard for young children.
- Use only approved, non-toxic materials for balloon construction. Improper materials can release harmful gases when heated by the sun.
Step-by-Step Instructions
Prepare Materials
- Use a roll of thin painter's plastic (0.31 mil thickness is ideal).
Construct the Balloon Tube
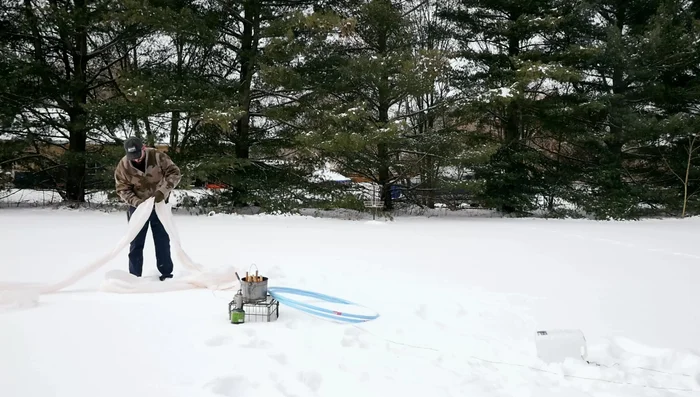
- Lay the plastic sheet on a wood plank. Attach one edge with masking tape. Find the opposite edge, bring it around the board and join it to the first edge using glue tape. Repeat the process to extend the tube to the desired length (e.g., 50ft).

Construct the Balloon Tube Seal and Secure the Balloon
- Close one end of the tube with a knot, cut off excess plastic, and tie a string above the knot for securing the tether.
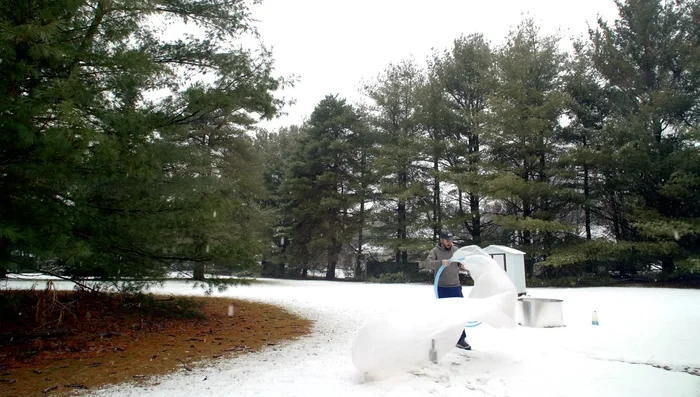
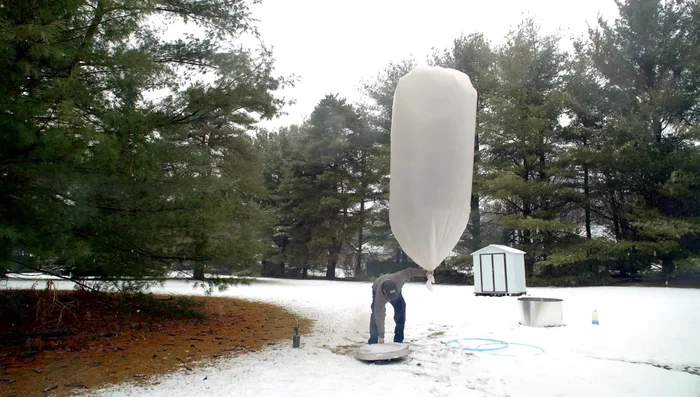
- Use two hula hoops to keep the mouth of the tube open. Tie the other end of the tube closed.
Seal and Secure the Balloon Achieve Initial Lift (Fire)
- Use pine fatwood fire starters in a metal bucket to heat the air inside the tube and achieve initial lift.
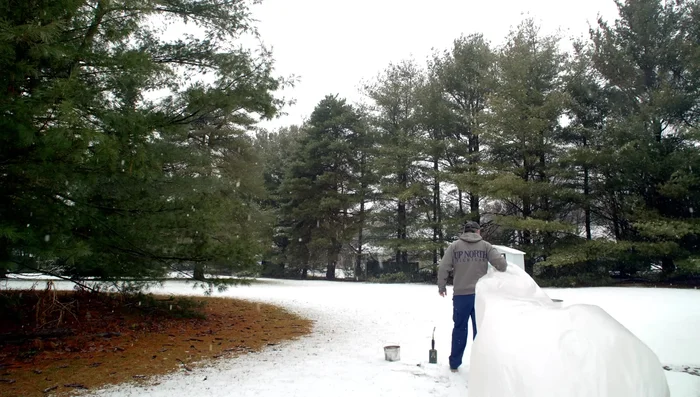
Achieve Initial Lift (Fire) Transition to Solar Lift
- Once aloft, the black soot from the fire should absorb sunlight, providing continued lift.
Transition to Solar Lift Safety Precautions
- Always secure the balloon with a strong tether and anchor to prevent it from becoming a hazard.
Safety Precautions
Read more: Harnessing Solar Power: A Green Energy Solution
Tips
- Use extremely thin plastic sheeting (0.31 mil or thinner) for optimal lift.
- Glue tape is an effective adhesive for joining the plastic sheets.
- Secure the balloon with a tether and anchor, especially when using solar power, to prevent it from becoming a hazard.
- Use a smooth, sturdy anchor to prevent tearing the balloon. Avoid sharp edges.